Monthly Archives: February 2014

Oatmeal Blackberry Almond Scones

IMG_3680 Blackberry Almond Oatmeal Scone

Oatmeal Blackberry Almond Scones

Author: Sweet Green Kitchen’s Jen Jones

Endorsed by my four year old, who took one bite and pronounced (unsolicited, I might add) “mmm, these are really tasty”, what more could you ask for.  I make a lot of different scones and these are my latest variation.  These are by no means traditional Irish scones, but my very Americanized version with whole grains and less fat, I would agree with the four year old they are “really tasty”, but also a little bit healthy to boot.  A nice breakfast treat, perhaps with a little yogurt or a lovely afternoon “teatime” or after school snack.  I use frozen blackberries here which stay intact a little bit more than fresh berries would, plus using frozen berries makes it a great year round recipe when perfect summer berries are not available.

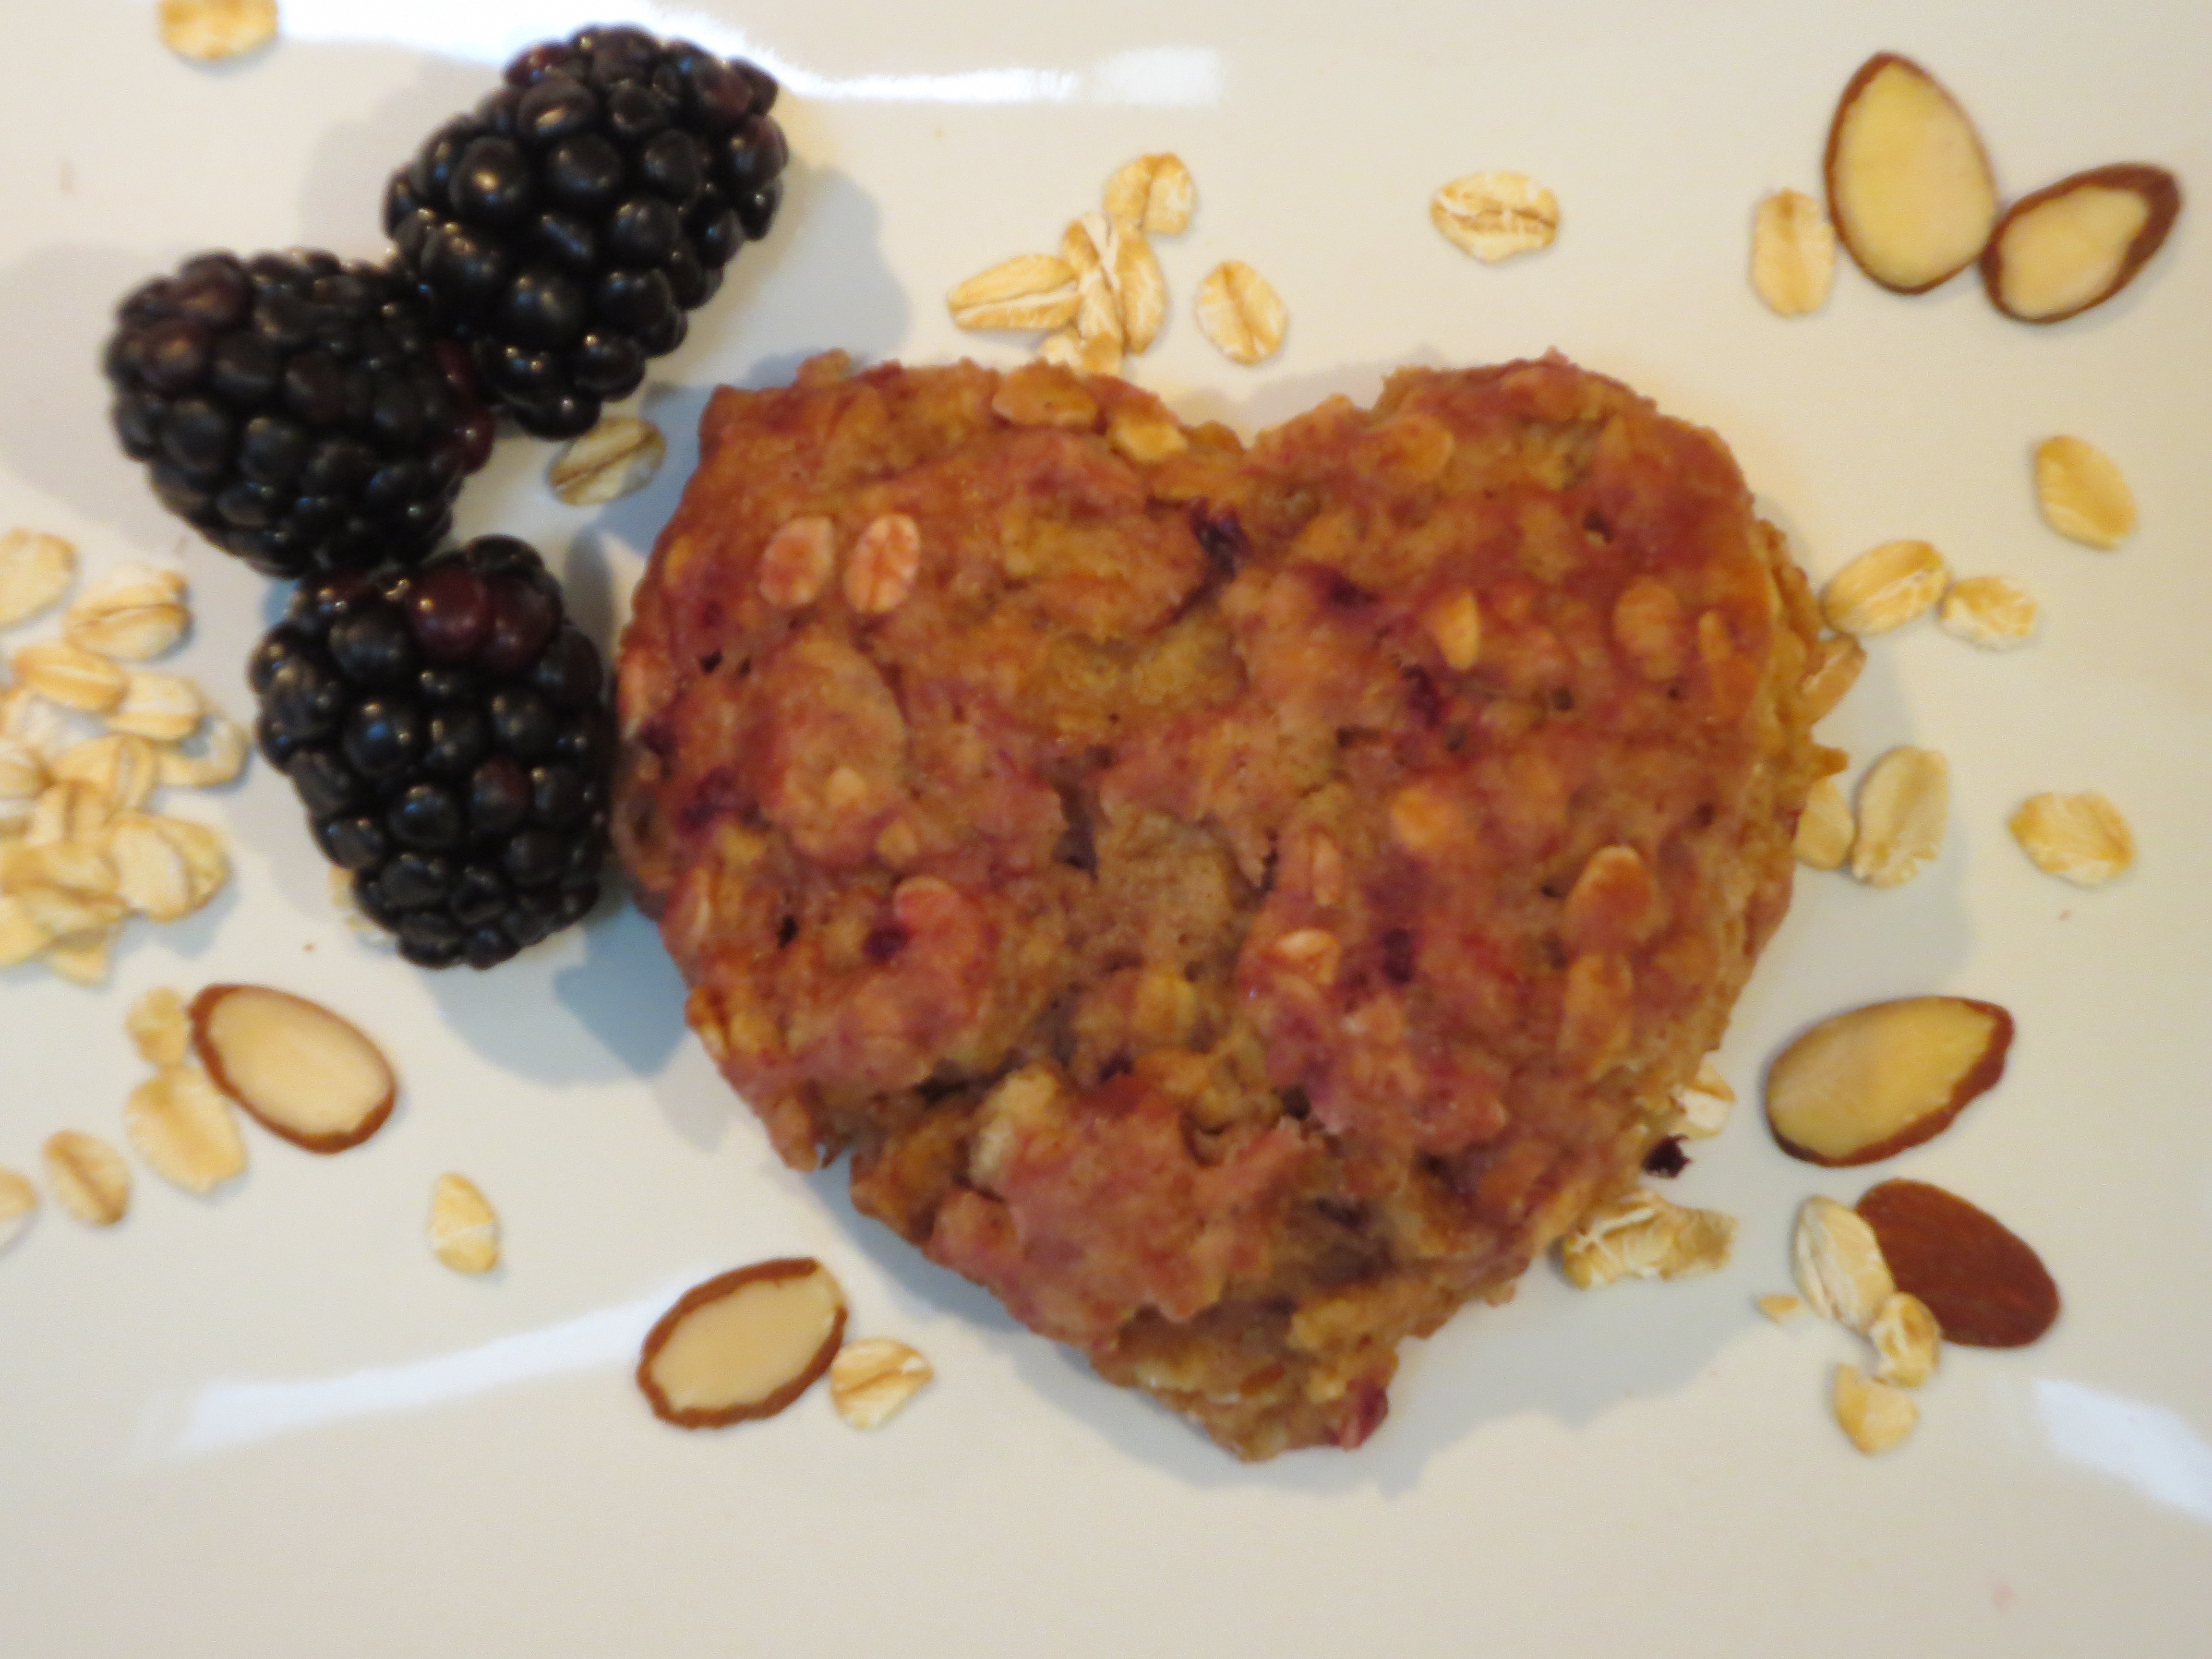
Heart shapes seemed to be in order since the blackberries “bleed” quite a bit into the dough, coloring it a nice pinkish red. I resisted the urge to title this recipe “Bleeding Hearts”, but maybe for Halloween…Otherwise you can share the love all year long with these tasty little scones.

IMG_3619


Ingredients:

1 Cup Unbleached White Flour

½ Cup Whole Wheat Pastry Flour

1 Cup Old Fashioned Rolled Oats (not instant)

¼ Cup Almond Flour (see note below)

1 Tablespoon Baking Powder

¼ teaspoon Fine Sea Salt

1 teaspoon Cinnamon

¼ teaspoon Ground Ginger

Zest of 1 Lemon

¼ Cup Sugar (I use a minimally processed and Organic sugar)

2 Tablespoons Brown Sugar


3 Tablespoons Coconut Oil (Solid) OR cold Butter OR Vegan Butter

 IMG_3563

¼ Cup Slivered Almonds

1 Cup Partially Defrosted Frozen Blackberries


½ Cup Buttermilk (I use lowfat)

1 Extra Large Egg

1 teaspoon Vanilla Extract

1 teaspoon Almond Extract

About 1 Tablespoon Lemon Juice


Directions:

Measure out 1 cup Frozen Blackberries and set aside in a small bowl.  Leave at room temperature while preparing other ingredients.

Preheat Oven to 400 F

In a medium – large bowl combine all the dry ingredients (Flour through Sugars) with a whisk.

Next, measure out the Coconut Oil or Butter and cut into small pieces.  Add to the flour mixture and incorporate through using a pastry cutter or I find a potato masher works great too or even the back of a fork, leaving small pieces throughout, about the size of peas. 

Next, stir in Almond slivers.  Then add in the partially defrosted Blackberries, do not mix in.

IMG_3567 Blackberry Almond Oatmeal Scone dry mix

In a separate bowl or directly in the liquid measuring cup, mix together Buttermilk, Egg, Lemon Juice and Vanilla and Almond Extracts. 

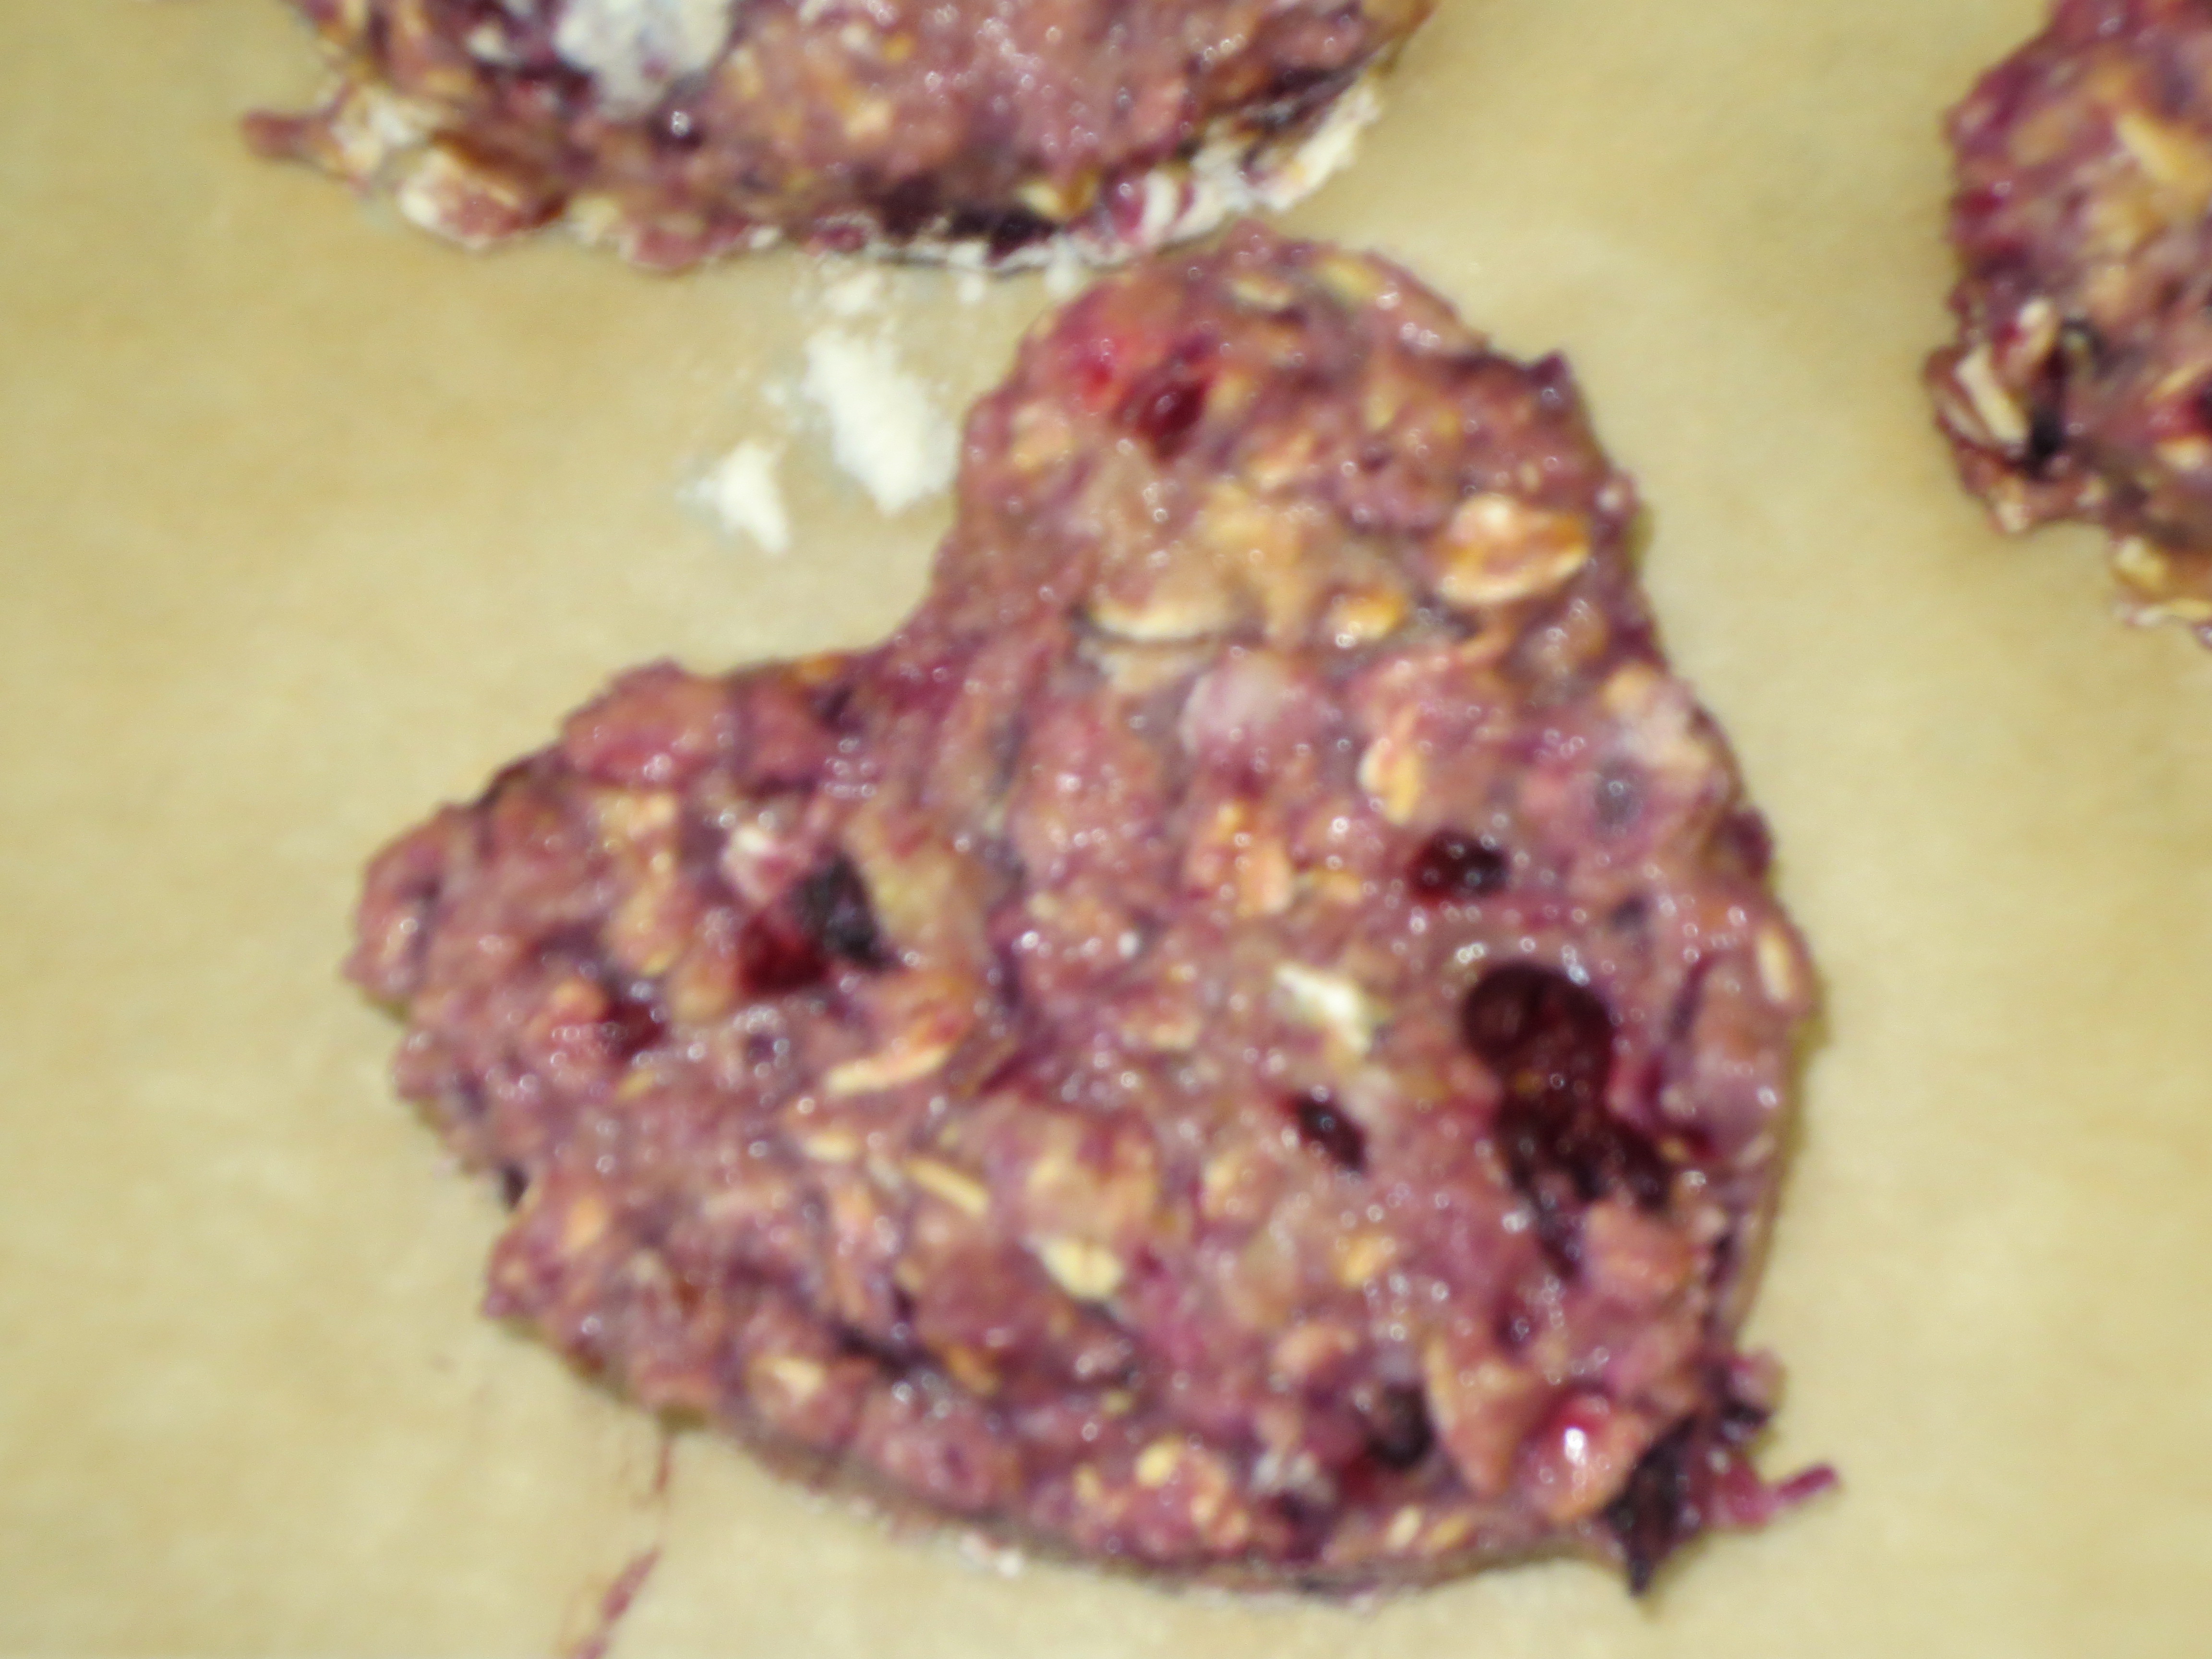
Add the liquids to the flour mixture.  Stir to combine.  At this point, the Blackberries will mash up a bit and color the batter a pinkish hue, try not to completely annihilate them, you want to still be left with some pieces and even a few whole berries is nice.  IMG_3649

Place the batter in the refrigerator for about 15-20 minutes to chill a bit so it will be easier to form into shapes.  


I cut my scones into heart shapes, using a 2 ½ inch heart shaped cookie cutter.  I get about 13-14 scones.  If you plan to cut the scones into shapes as I do, sprinkle a little bit of flour onto a pastry mat.  Pour the batter out onto the mat, it will be very wet.  Spread the batter out using the back of a spoon, spatula or your hands, to about 1 inch thick.  Carefully cut shapes out of the batter and transfer to a parchment lined baking sheet.  I find it easiest to cut out the dough and then move the cutter over to the baking sheet and gently press the batter out of the cutter directly onto the parchment.  Continue and reshape the dough to cut more shapes. IMG_3651

IMG_3590 IMG_3589

Alternatively, you can make “drop” scones, by scooping out some batter with an ice cream scoop or large soup spoon and drop it onto the parchment.

Depending upon the size of your cutter or drop scones you should end up with about 12-16 scones. 

Bake in the middle of the oven for about 12-16 minutes.  Remove from the oven, cool on the pan for about a minute and then transfer to a wire cooling rack. Any leftover cooled scones can be stored in an airtight container for a few days or frozen in a zip top bag.  Enjoy!

 IMG_3681

Ingredient Note: If you don’t have almond flour on hand, you can make your own by grinding whole or sliced almonds in a spice grinder or food processor.  They should be finely ground when done, just be sure not to process so long that the almonds turn into paste, which would be Almond Butter, also quite tasty.

Crispy Quinoa Fritters

IMG_3704

It’s Meatless Monday! Truth be told it’s Meatless Monday every day of the week around here, but whether you embrace a Vegetarian lifestyle all of the time or you just try to eat a little less meat here and there, this recipe is perfect.  Quinoa is the only plant based complete protein and with the addition of eggs and cheese, this makes a delicious protein packed Vegetarian main dish, which also wouldn’t be bad as a side dish when you’re not embracing the meat free world.  Bonus, they’re even gluten free. If you have leftover quinoa or cook it the day or two before, these fritters come together quickly, with a cheesy, crispy exterior, complete the meal with a salad and/or roasted veggies, yum.IMG_3689


Crispy Quinoa Fritters

Author: Sweet Green Kitchen’s Jen Jones

Adapted from one of my favorite recipe books, Heidi Swanson’s “Super Natural Every Day”, Little Quinoa Patties.

Ingredients:

3 cups cooked Quinoa (from 1 cup uncooked)

4 extra large Eggs (I use Organic)

Chopped Red Onion – 1 small or ½ of one large OR about 4 Shallots

3 cloves Garlic – minced

¼ cup chopped Parsley

½ teaspoon Sea Salt, or more to taste

¼ teaspoon Red Pepper Flakes, or more to taste

½ cup Chick Pea (Garbanzo) Flour OR ½ cup dried Bread Crumbs

½ cup grated Asiago Cheese (Gruyere would also be good)

1 cup (divided) grated Pecorino Romano OR Parmesan

About 1 – 2 Tablespoons Butter or Olive Oil or a combo

Optional:

Zest of one Lemon

Juice of ½ Lemon

Chopped Sun Dried Tomatoes

Fresh Herbs – about 1 teaspoon Thyme or Oregano


Directions:

In a medium bowl combine the Quinoa, Eggs, Onion, Garlic, Parsley, Salt & Red Pepper, Chick Pea Flour or Bread Crumbs, Asiago Cheese, ½ cup of the Romano cheese and any of the optional ingredients you like.  Chill in the refrigerator for 15 minutes or longer (sometimes I mix it up in the morning and then it’s ready to go when I get home at night).IMG_3686 Quinoa Fritter mix

After 15 minutes, heat the butter and/or olive oil (I like a combo of both) in a large non stick skillet.  Scoop out about ¼ cup of the quinoa mixture (I use a spring loaded ice cream scoop, pressing it against the inside of the bowl to help it hold together a little more) and drop it into the heated skillet.  About 6 – 7 fritters should fit in the pan.  Cover and cook over medium heat for 7 – 10 minutes until the bottoms are browned.  Adjust the flame if not browning quickly enough.

IMG_2465 Quinoa Fritters in the panIMG_2466 Qunioa Fritters flipped

Sprinkle some of the remaining ½ cup of Romano cheese on top of each fritter and then flip over in the pan and flatten out a bit with the spatula.  Cover the pan and cook for another 7 minutes or so until browned on the other side.

Remove from the skillet and place on a serving platter and then continue to cook the rest.  Adding a little more butter or olive oil to the pan as needed

Makes about 12-15 fritters, serve 2-3 per person. 

Leftovers keep great in the fridge for a few days, they’re good cold or heated up.  Enjoy them over a salad or in a wrap, if you like with a little hummus and hot sauce as Colin does.     

Note: we’ve tried these with all types of different sauces and finally came to the conclusion they’re perfect all on their own.


Click here for printable version

Brussels Sprouts Two Ways

IMG_3528

I think Brussels Sprouts have come a long way.  They used to be the dreaded vegetable, the one nobody liked.  But more and more, I’m finding people who love them as much as I do, including my 13 year old daughter and a lot of her friends (surprising, but true).  I think, people have finally just started preparing them in ways that bring out all their delicious flavors, instead of just boiling them all away.  But for those of you out there who still can’t get past the strong and somewhat bitter flavor of the roasted sprout, have I got a surprise for you…the raw Brussels sprout.  The raw version is completely different than the cooked, they are surprisingly mild in flavor, delicious in a salad and what’s even better it’s a salad that keeps well for days in the fridge, leftovers make a perfectly quick and easy healthy lunch or snack.  Whether you’re a fan of the roasted sprout or not, I encourage you to give the salad a try and IF you’re new to the world of Brussels sprouts, do not hesitate to roast up a few and enjoy. 

Roasted Brussels Sprouts

Author: Sweet Green Kitchen’s Jen Jones

 Roasted Brussels Sprouts

Ingredients: IMG_3539

Brussels Sprouts

Olive Oil

Sea Salt

Thyme – Optional


Directions:


Preheat Oven to 375 F


Wash Brussels Sprouts, trim off stem ends and remove the outer leaves.  Cut smaller sprouts in half and larger ones in quarters.  Note, I know a lot of people roast their Brussels Sprouts whole, but I prefer to halve or quarter them, allowing more of them to brown and crisp, which is what makes them taste so darn good.


Toss Sprouts onto a rimmed baking pan, drizzle with olive oil, sprinkle salt and thyme and toss so the sprouts are evenly covered with the oil and seasonings.


Cook in the 375 F oven for about 15 – 20 minutes.  Turn the sprouts around and return to the oven for another 10 – 15 minutes, until the outer leaves turn brown and crispy.  Remove from the oven and serve.  Enjoy!


Recipe Notes: This is one of those recipes where it’s easy to adjust the quantity of ingredients to your needs and tastes.  A 10 ounce container of Brussels Sprouts will serve about 2 – 3.


Maple Dijon Brussels Sprout Salad

Author: Sweet Green Kitchen’s Jen Jones

Maple Dijon Brussels Sprouts Salad

Adapted from Judita Wignall’s “Raw and Simple”

Salad Ingredients:

1 10 ounce container of Brussels Sprouts – approximately 2 cups – Shredded/Finely Sliced

2 – 4 cups Baby Arugula OR Baby Spinach

About ¼ cup Chopped Pecans – Toasted

1 – 2 Tablespoons Dried Cranberries

1 Blood Orange, Regular Orange or 2 Clementines


Dressing Ingredients:


1 Tablespoon Dijon Mustard

1 ½ – 2 Tablespoons Apple Cider Vinegar

1 Tablespoon Maple Syrup

2 Tablespoons Olive Oil

1 Large Shallot – Slivered

Thyme – about 6-10 Fresh Sprigs OR 1 teaspoon Dried

Sea Salt to taste – I use large flaked Maldon Sea Salt


Directions:


I like to make my salad dressings first in the bottom of the serving bowl, that way nothing gets left behind in the transfer and you have one less bowl to wash (always a plus!).  Combine all the dressing ingredients in a large bowl.


Wash the Brussels Sprouts and trim off the stem ends, remove the outer leaves.  Finely slice and break apart, you can leave a few leaves whole if you like.  Add the shredded Sprouts to the bowl with the dressing and toss.  Next add in the Arugula or Baby Spinach, if your leaves are large you can slice them a bit, leaving smaller leaves whole.


Peel the Oranges and separate the segments.  Depending upon the size of each segment, cut in half or thirds.  Add the Orange pieces to the bowl, along with the Cranberries and Pecans.  Toss everything to combine and serve.  Enjoy! 


Serves about 4-6


Recipe Notes: a little crumbled Goat Cheese is a nice addition, but definitely not necessary. IMG_3562

Leftovers of this salad keep great for a few days in the fridge. 


Chocolate Raspberry and Peanut Butter Cups

Happy Valentine's Day

Happy Valentine’s Day

Chocolate Raspberry and Peanut Butter Cups

Author: Sweet Green Kitchen’s Jen Jones

IMG_3496

This is one for all the fans of chocolate and peanut butter (and isn’t almost everyone a fan of that perfect combo).  This recipe is inspired by and adapted from Sprouted Kitchen’s (www.sproutedkitchen.com) Sara Forte (her blog is one of my favorites, creative, healthy and deliciously inventive recipes).  I started making her chocolate peanut butter cups with just a few minor changes and they were absolutely spectacular, but then a little blue birdie I know politely requested, “I WANT JELLY CUPS!”, so a little raspberry jam was added to the mix and we haven’t looked back since.  These are so simple to make, but oh so sinfully delicious.  Your friends will be amazed that you made them from scratch and thank you profusely for sharing this delightful treat.

I originally made these with semi sweet chocolate, but then I tried a version with milk chocolate (really good milk chocolate) and my die hard dark chocolate loving family all preferred the milk chocolate version.  But then…I went really wild and layered them with dark chocolate as the bottom and milk chocolate on top, it’s the best of both worlds and they look like they were purchased from an expensive chocolatier.

It’s important to use Natural Peanut Butter without any added sugar or hydrogenated oils and of course really good quality chocolate.  I like Ghiradelli 60% cocoa for the semi sweet and Lindt milk chocolate, Ghiradelli milk is an acceptable substitute.  Of course, you’ll use what you want, but this is what I suggest.

Makes 24, using mini muffin tins

Ingredients:  

1 cup Semi Sweet Chocolate Chips or 2 Semi Sweet Chocolate Bars (about 7 – 8 ounces)

1 cup Milk Chocolate Chips or 2 Milk Chocolate Bars (about 7 – 8 ounces total)

Or use 2 cups of either Milk or Semi Sweet Chocolate only, if you prefer


½ cup Natural Peanut Butter without any added sugar

2 Tablespoons Honey (I use Raw Honey)

1 Tablespoon Powdered Sugar

½ teaspoon real Vanilla Extract

¼ teaspoon fine grain Sea Salt

Raspberry Jam (I don’t know the exact amount, I spoon it straight from the jar)


Plus extra flaked Sea Salt or Pink Sea Salt for sprinkling on top


Prepare 24 mini muffin cups with paper liners.


Prepare 2 double boilers for melting chocolate.  Add about 1 inch of water to each of two small pots and place on stove over medium to low heat.  Place a bowl on top of each pot, being sure that the bottom of the bowl does not come in contact with the water.  Add Milk Chocolate to one bowl and Dark Chocolate to the other bowl, occasionally stirring with a silicone spatula or other heat proof spoon, until the chocolate has melted.  The Milk Chocolate will take a little longer to melt down completely. 


In another bowl, add the Peanut Butter, Honey, Powdered Sugar, Vanilla Extract and Fine Sea Salt.  Stir to combine. 


Now it’s time to assemble.IMG_2621


Spoon 1 teaspoon of melted Dark Chocolate into the bottom of each paper lined cup.  When all cups are filled, tap and shake the pan a bit to evenly distribute the chocolate.


Next, scoop a rounded/heaping ½ teaspoon of peanut butter and roll it into a ball and place on top of the chocolate in each cup.


Third, Spoon a ¼ teaspoon of Raspberry Preserves into each cup.


Lastly, top each cup with 1 teaspoon of melted Milk Chocolate.  You may need a little more than the 1 teaspoon each to fully cover the Peanut Butter and Jam.  Again, tap and shake the pan to evenly distribute and smooth out the chocolate.


If you like, top each Chocolate PB and Jam cup with a sprinkle of flaked Sea Salt or Pink Salt. 


Place the muffin tins in the refrigerator for about 15 minutes to set up.


One more thing, once the chocolate has set, to give your treats that final gourmet touch, I like to take the tip of a butter knife and dip it into a little of the leftover melted Dark Chocolate and add a little swirl on top of each cup.  Completely unnecessary, but it adds a little something extra special to the final product.  Enjoy!

 IMG_2633_Chocolate Peanut Butter & Jelly Cups


Note: As I stated earlier, these are delicious with or without the jam, I just think the jam takes it to another level, but if jam doesn’t suit you, by all means make them without or make some of each.  Also, we’re definitely partial to Raspberry here and I do think Raspberry and Chocolate is one of the most perfect combinations, but again if Raspberry is not your thing, I don’t doubt that these would be delicious with Strawberry or Apricot or even Blackberry Jam.


To make larger versions, use about 1 ½ times each ingredients, like I did in my Valentine’s Day version featured at the top here.  For these, I used a silicone heart shaped muffin mold.  I didn’t use paper liners or even spray the mold and they came out of the silicone perfectly.

Raspberry Sauce for Pancakes or Waffles

Pancakes and waffles while being served semi frequently in our home are still always a special treat for the family.  All I have to do is merely mention the idea of making either and Evan immediately requests (demands) Raspberry Sauce!  It’s an easy but oh so tasty addition to the weekend brunch and I highly recommend you add it to yours.  Your family will thank you (hopefully with squeals of delight, smiles and great big hugs)!

IMG_2533

Raspberry Sauce for Pancakes and Waffles

Author: Sweet Green Kitchen’s Jen Jones


Ingredients:

1 bag defrosted Frozen Raspberries (about 10 ounces)

1 – 2 Tablespoons Sugar

1 – 2 Tablespoons Raspberry or Blackberry Jam

A little Fresh Squeezed Lemon Juice

A little Water, if needed


Directions:


In a small saucepan, add the raspberries, sugar and jam.  Cook over low to medium heat, occasionally stirring and breaking up the raspberries with the back of the spoon.  Add a little water if the sauce is too thick.  Just before serving add a bit of fresh squeezed lemon juice. 


The sauce comes together rather quickly as it’s merely a matter of heating up the raspberries enough to break them down and warm through.  Start it as you begin cooking your pancakes and waffles and just leave on the stove to stay warm until ready to serve.


Remove from heat and pour sauce into a small pitcher to serve.  Enjoy! IMG_2526

%d bloggers like this: