Category Archives: Other treats

Crispy Chocolate Peanut Butter & Raspberry Bites

Dark chocolate, milk chocolate, peanut butter, raspberry jam and crispy rice!

Dark chocolate, milk chocolate, peanut butter, raspberry jam and crispy rice!

Happy Valentine’s Day!  And here’s a little sweet treat for you and your sweeties.  Crispy, chocolaty, bite size peanut butter and raspberry jam filled bites of blissful sweetness, need I say more? These are like a grown up version of chocolate peanut butter cups, meet crispy rice treats, but even better.   
chocolate, peanut butter and jam, oh my!

chocolate, peanut butter and jam, oh my!

Layers of good quality chocolate like Ghiradelli or Lindt, sandwiched with my favorite French raspberry jam from Bonne Mamman and topped with silky smooth milk chocolate mixed with crispy rice cereal (I actually use sprouted brown rice cereal, just because).  These treats are great for a crowd, loved by little ones and adults alike, but they also keep really well in the fridge, making them a perfect little everyday treat, just for you!

  Continue reading

Pumpkin Oatmeal Mini Muffins

I know, I know, every food blog and website you go to right now has pumpkin recipes and here’s one more! pumpkin oatmeal mini muffinsBut these little muffins are a perfect and healthy treat.  I bring these to my son’s class for Halloween and Thanksgiving parties and the kids devour them without getting  all sugared up.  These are also great for an afternoon snack.  The maple syrup works perfectly with the pumpkin flavor and makes it taste just like autumn in a little bite.  pumpkin oatmeal mini muffins with pecansThese muffins are delicious as is, or if you so desire even better with some chopped pecans. I love making these as mini muffins, but they’re just as yummy as full size muffins if you prefer.pumpkin oatmeal mini muffins with pecans

pumpkin oatmeal mini muffins

Pumpkin Oatmeal Mini Muffins

Author: Sweet Green Kitchen’s Jen Jones

Adapted from Angie Walker’s Pumpkin Banana Oatmeal Muffins


Ingredients:

1 cup all purpose flour

½ cup whole wheat flour

1 cup old fashioned oats

2 teaspoons baking powder

2 teaspoons cinnamon

½ teaspoon baking soda

½ teaspoon salt

1 cup pumpkin puree – I use canned pumpkin

1 large ripe banana – mashed

2 eggs

2 teaspoons vanilla

¼ cup apple juice

½ cup maple syrup

¼ cup canola oil or other oil

Additional – about 2 Tablespoons of oats & a bit of Raw Sugar – to sprinkle on top

Optional: ½ cup chopped nuts, pecans are my preferred – I skip this when making for a school event

Continue reading

Perfect Peanut Butter Cookies with/or/without jam or chocolate

Perfect Peanut Butter Cookie

No butter, no eggs, no guilt, but sinfully delicious! This is Skyler’s all time favorite cookie.  Peanut butter and maple syrup make these soft and tender cookies melt in your mouth, perfection.

Perfect Peanut Butter with Chocolate and Jam Cookies

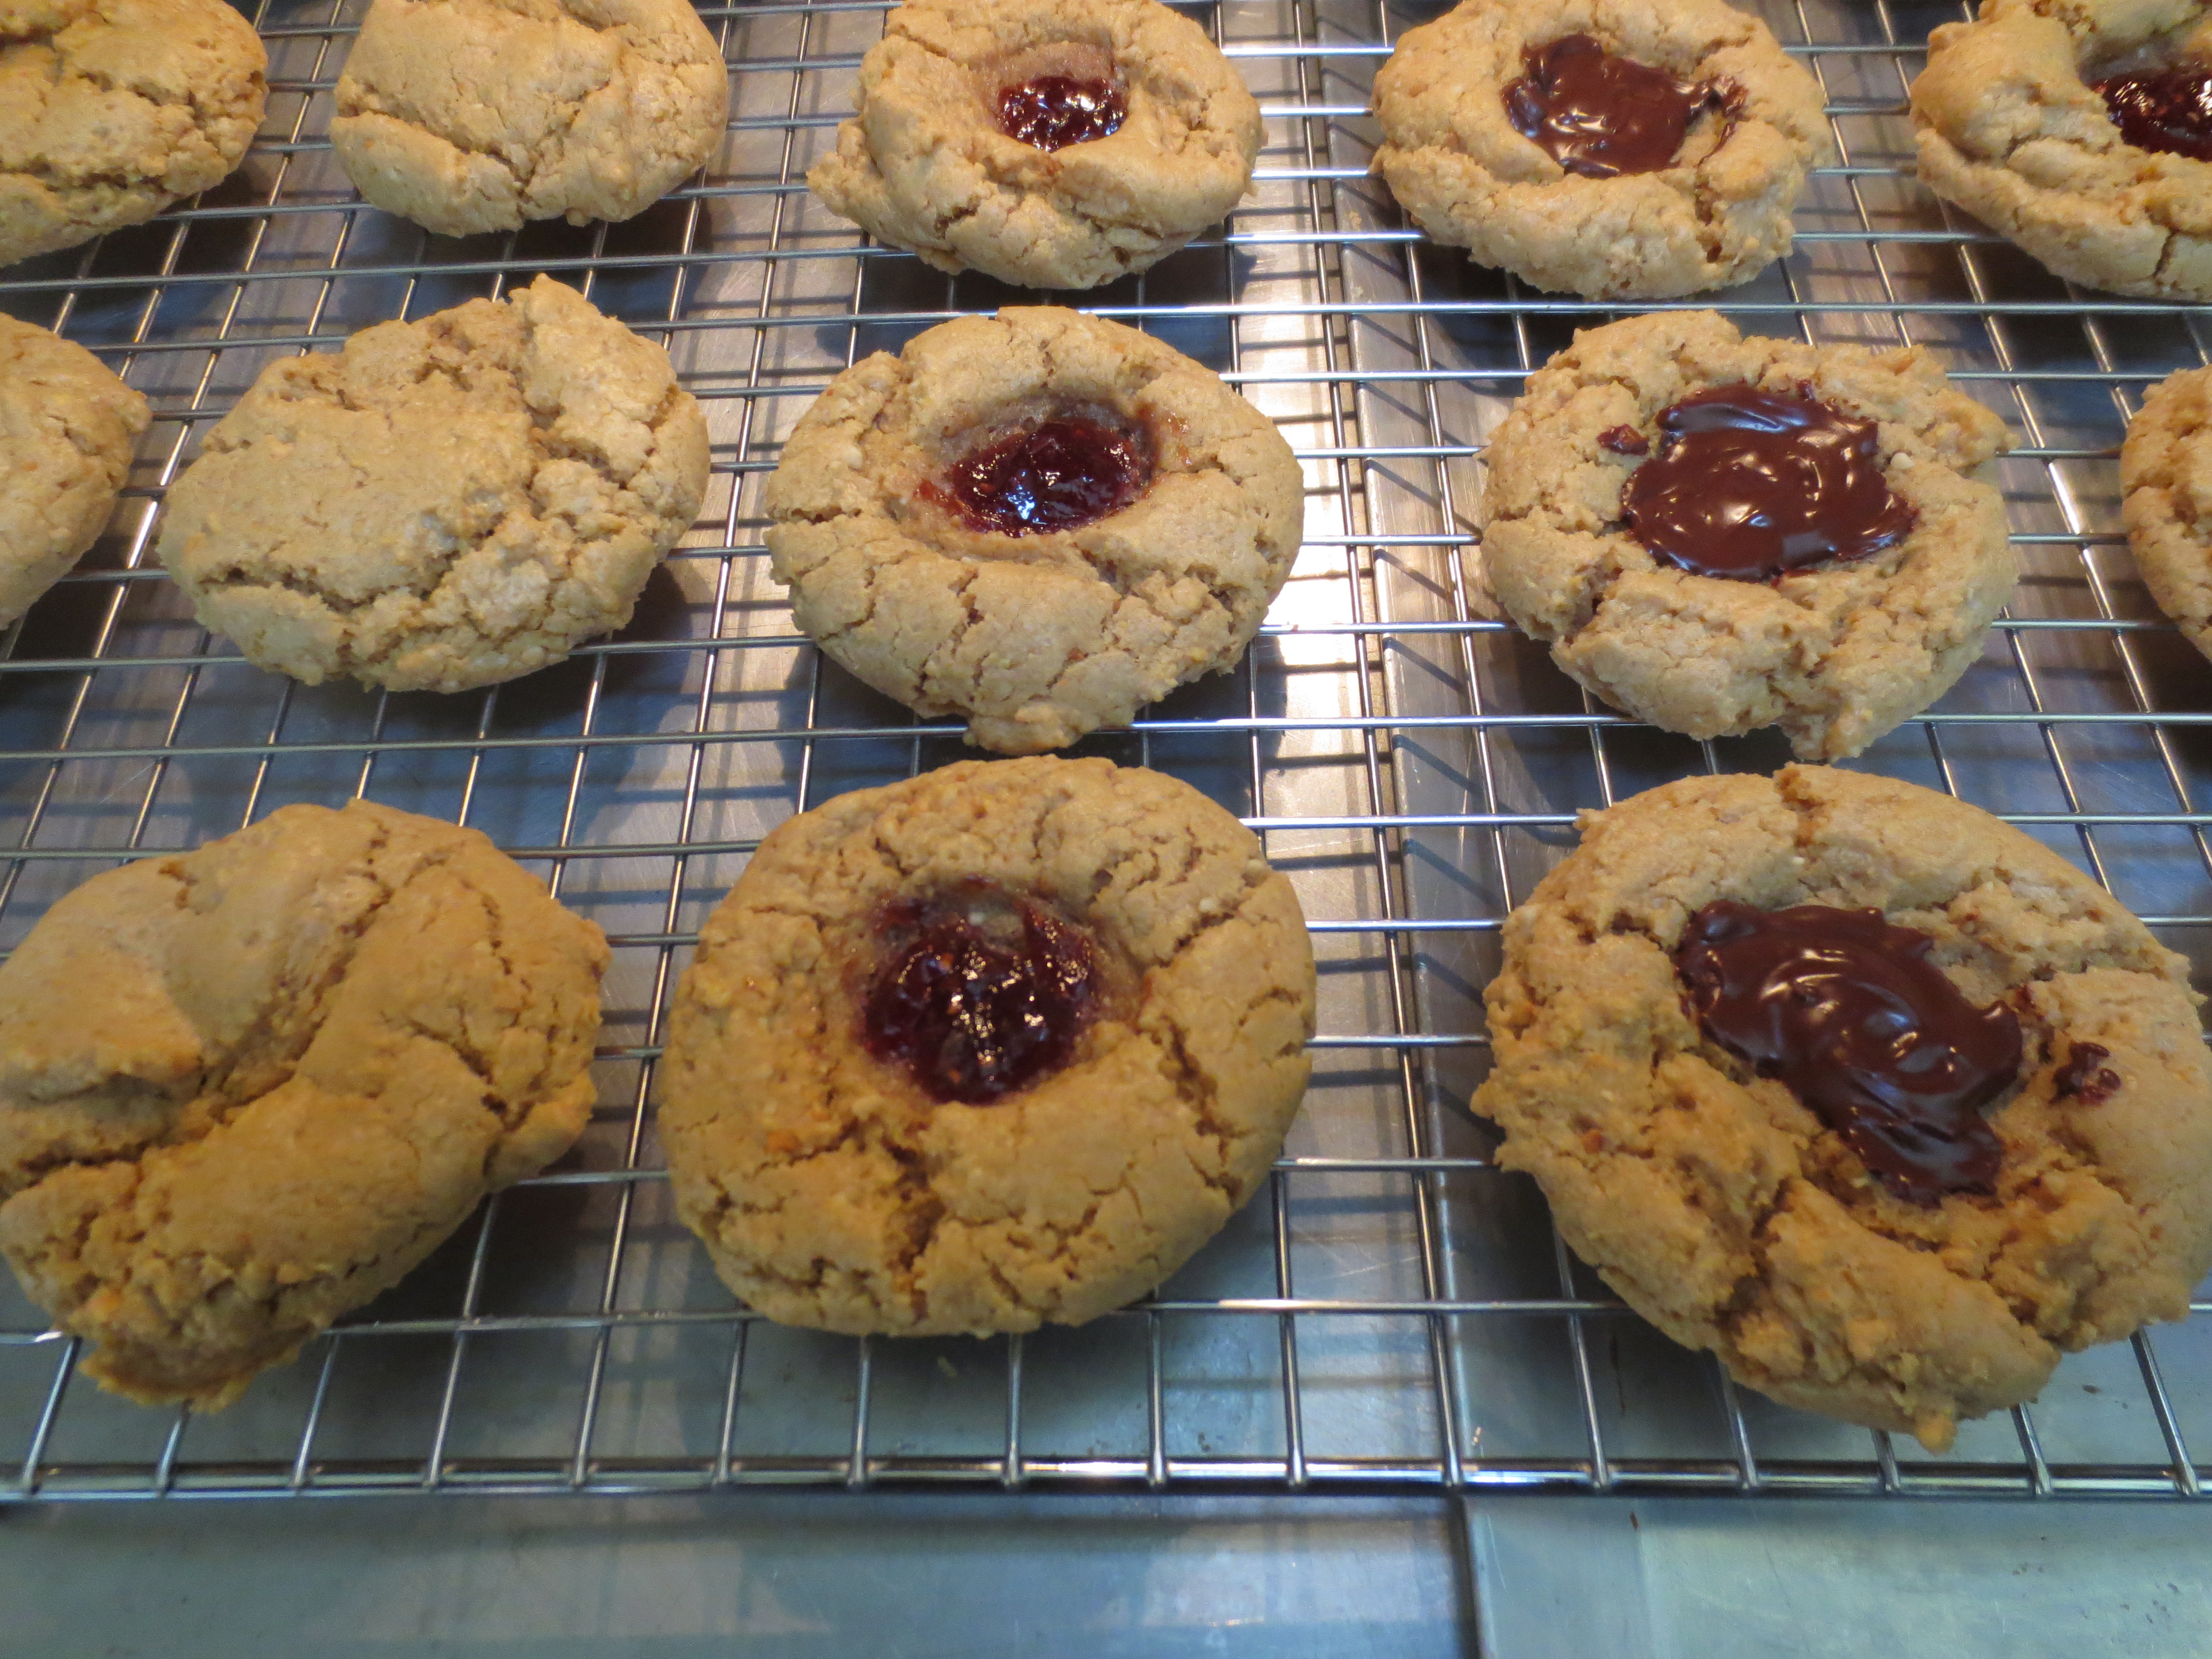
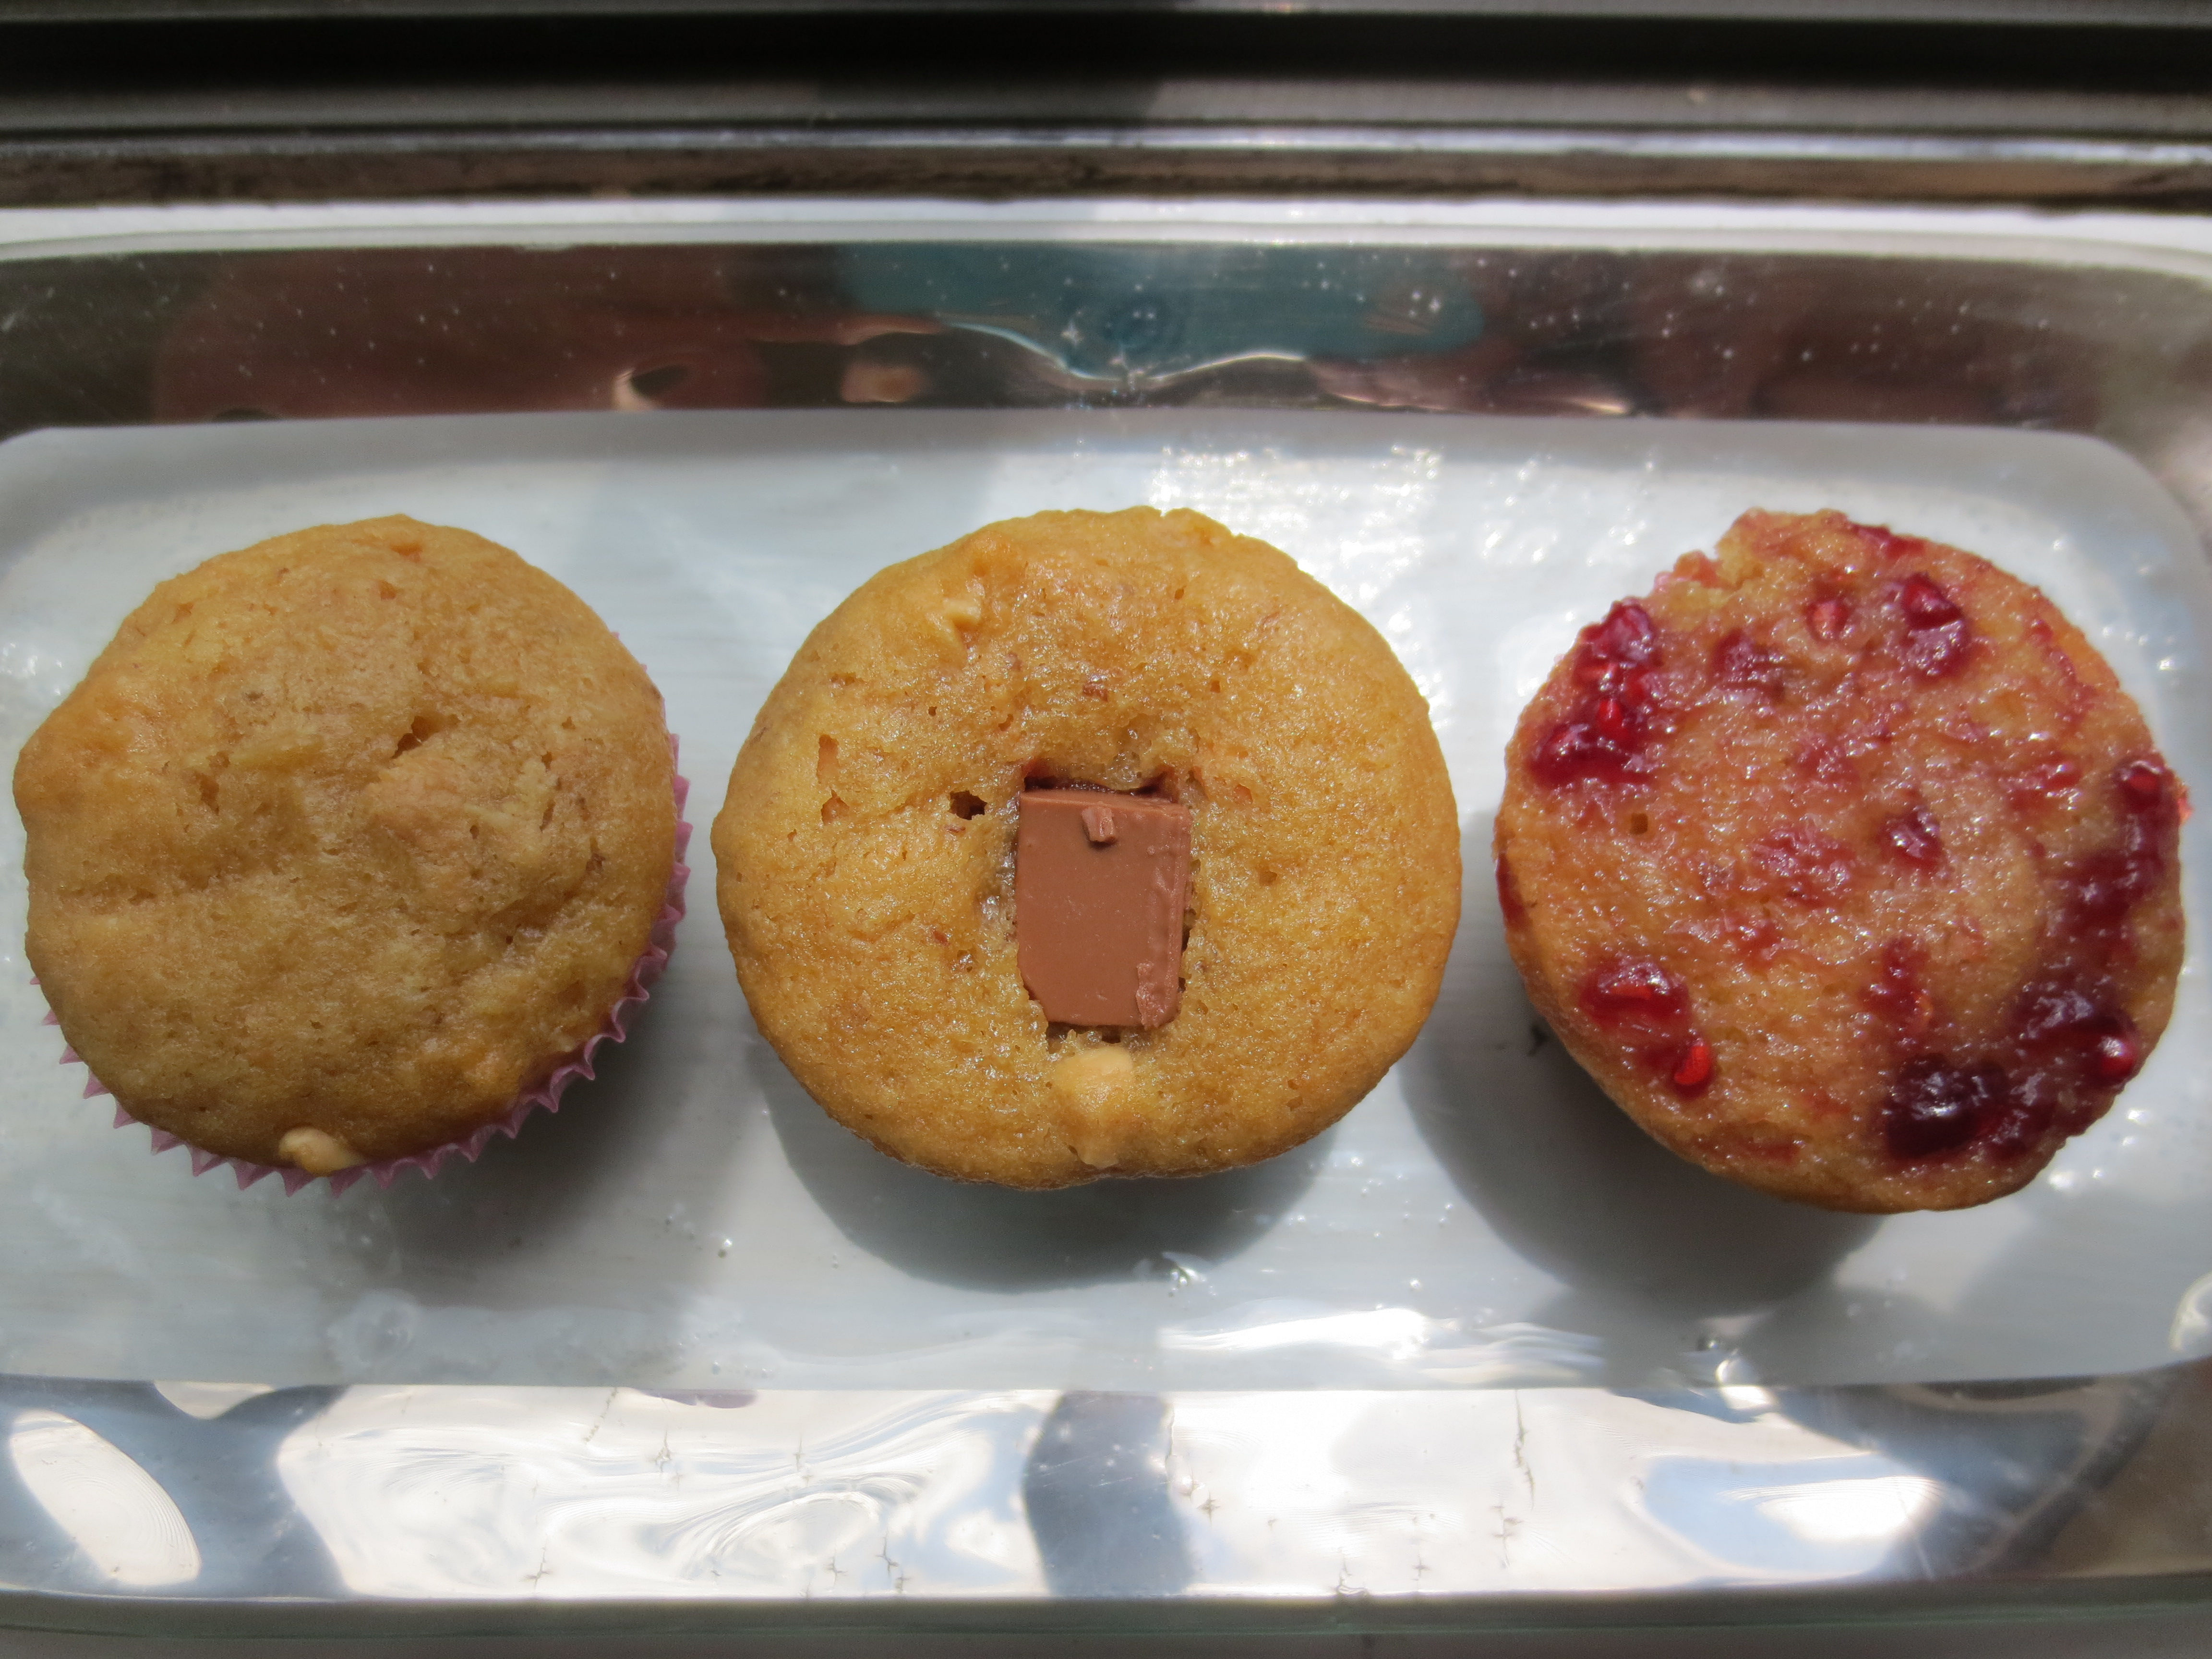
I adapted this recipe from Dreena Burton’s “Vive le Vegan and after years of making Skyler’s Favorite Peanut Butter Cookies, along came 9 years younger brother Evan, who thinks everything in life is better with jelly, including big sister’s favorite cookie recipe! So, as soon as he was old enough to know what was going on, he decided to up the ante and request/demand that his favorite condiment, raspberry jam, be added to the mix and lo and behold the Perfect PB & J Cookie was born. And…since we were already messing with Skyler’s perfect cookie world, why not mess just a little bit more and add in everybody’s favorite cookie condiment…chocolate! Really I don’t know what took me so long to put two and two and another two and two together, maybe it was the fact that Skyler loved the original version so much we were afraid to mess with success, “if it ain’t broke don’t fix it”.  But now, even though the original is still a favorite, we never make peanut butter cookies without adding a little jam and a few chocolate chips to at least a few. PB PBJ and PB Chocolate Cookies

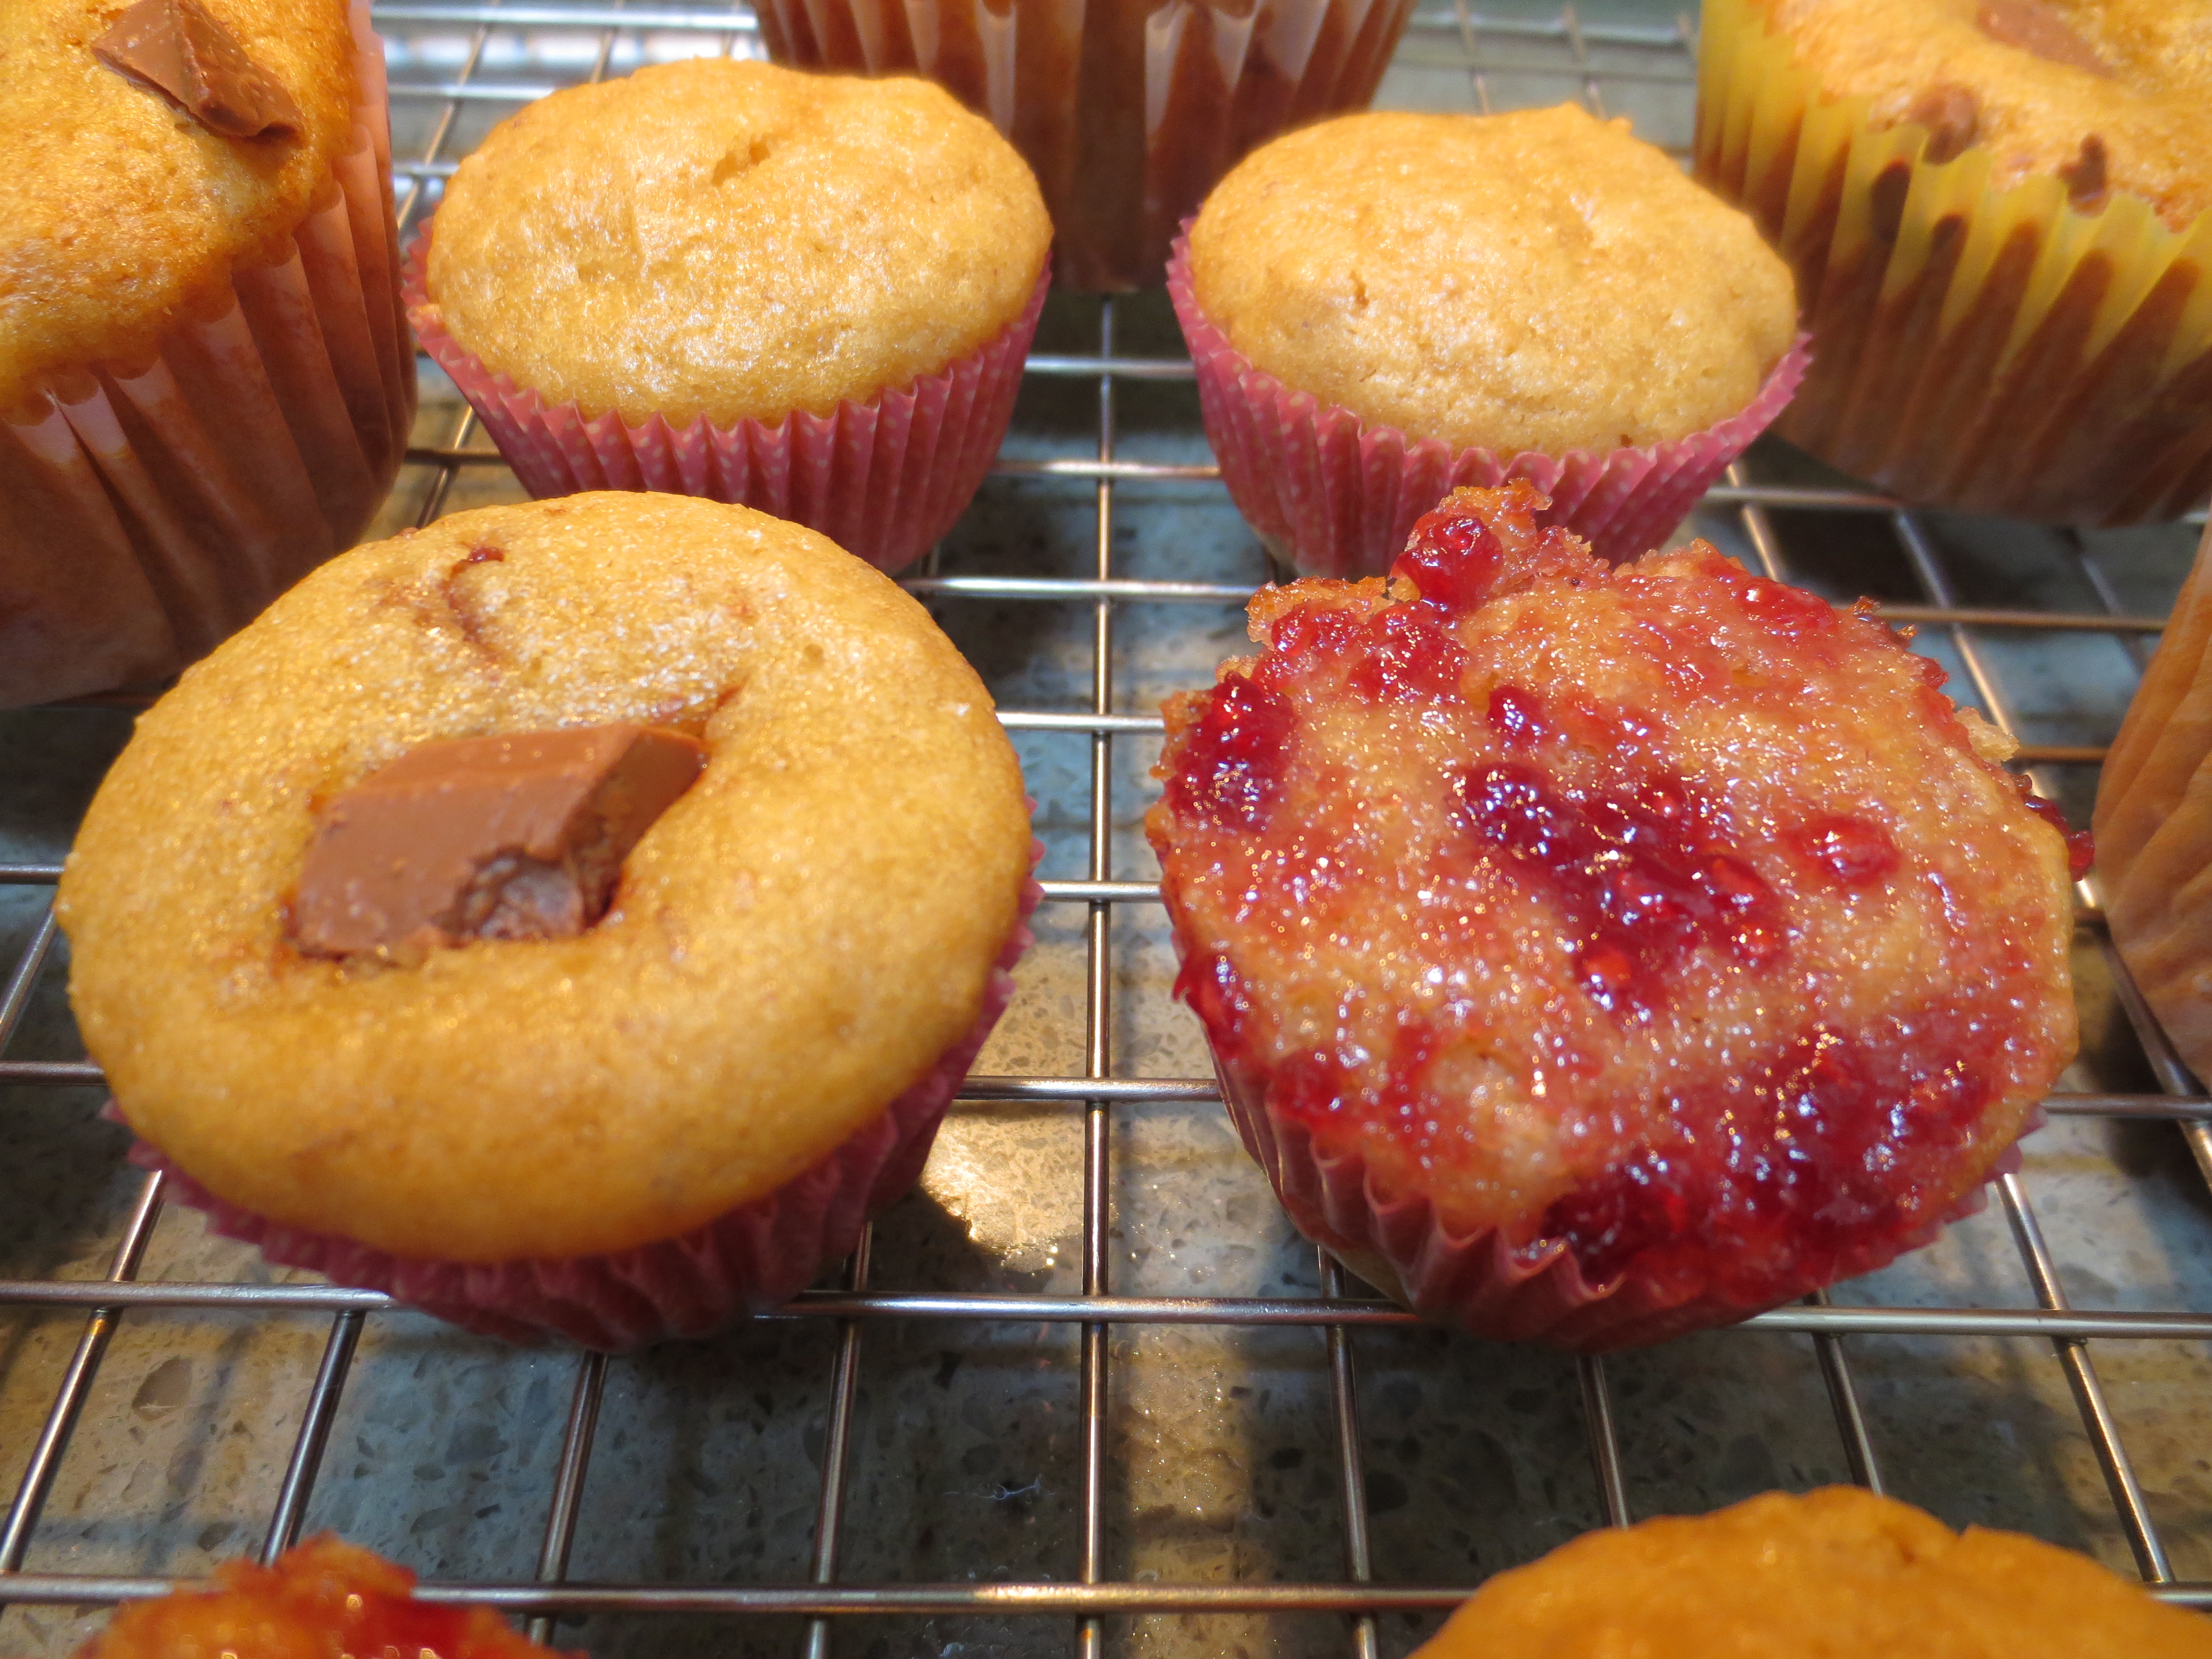
With or without the jelly or chocolate, these cookies are a family favorite and devoured by friends as well. A perfect after school snack for the kids and me! They are soft and a little bit crumbly, perfect for anyone who avoids eggs and dairy and delicious for all.

 Peanut Butter Cookies and PBJ and PB Chocolate

Perfect Peanut Butter OR PB & J OR PB with Chocolate Center Cookies

Author: Sweet Green Kitchen’s Jen Jones

Adapted from Dreena Burton’s “Vive le Vegan


Makes about 24-26 cookies

Ingredients:

¾ cup All Purpose Unbleached Flour

¾ cup Whole Wheat Pastry Flour

1 ½ teaspoon Baking Powder

¾ teaspoon Baking Soda

3 Tablespoon Granulated Sugar (I use organic evaporated cane sugar)

½ teaspoon Sea Salt

½ cup + 2 Tablespoon Natural Unsweetend Peanut Butter (do not substitute)

¾ cup Pure Maple Syrup (the good stuff, no Aunt Jemima or the like)

½ teaspoon Molasses

1 ½ teaspoon Pure Vanilla Extract

4 ½ Tablespoon Canola Oil (or other oil of your choice)

Optional Additions:

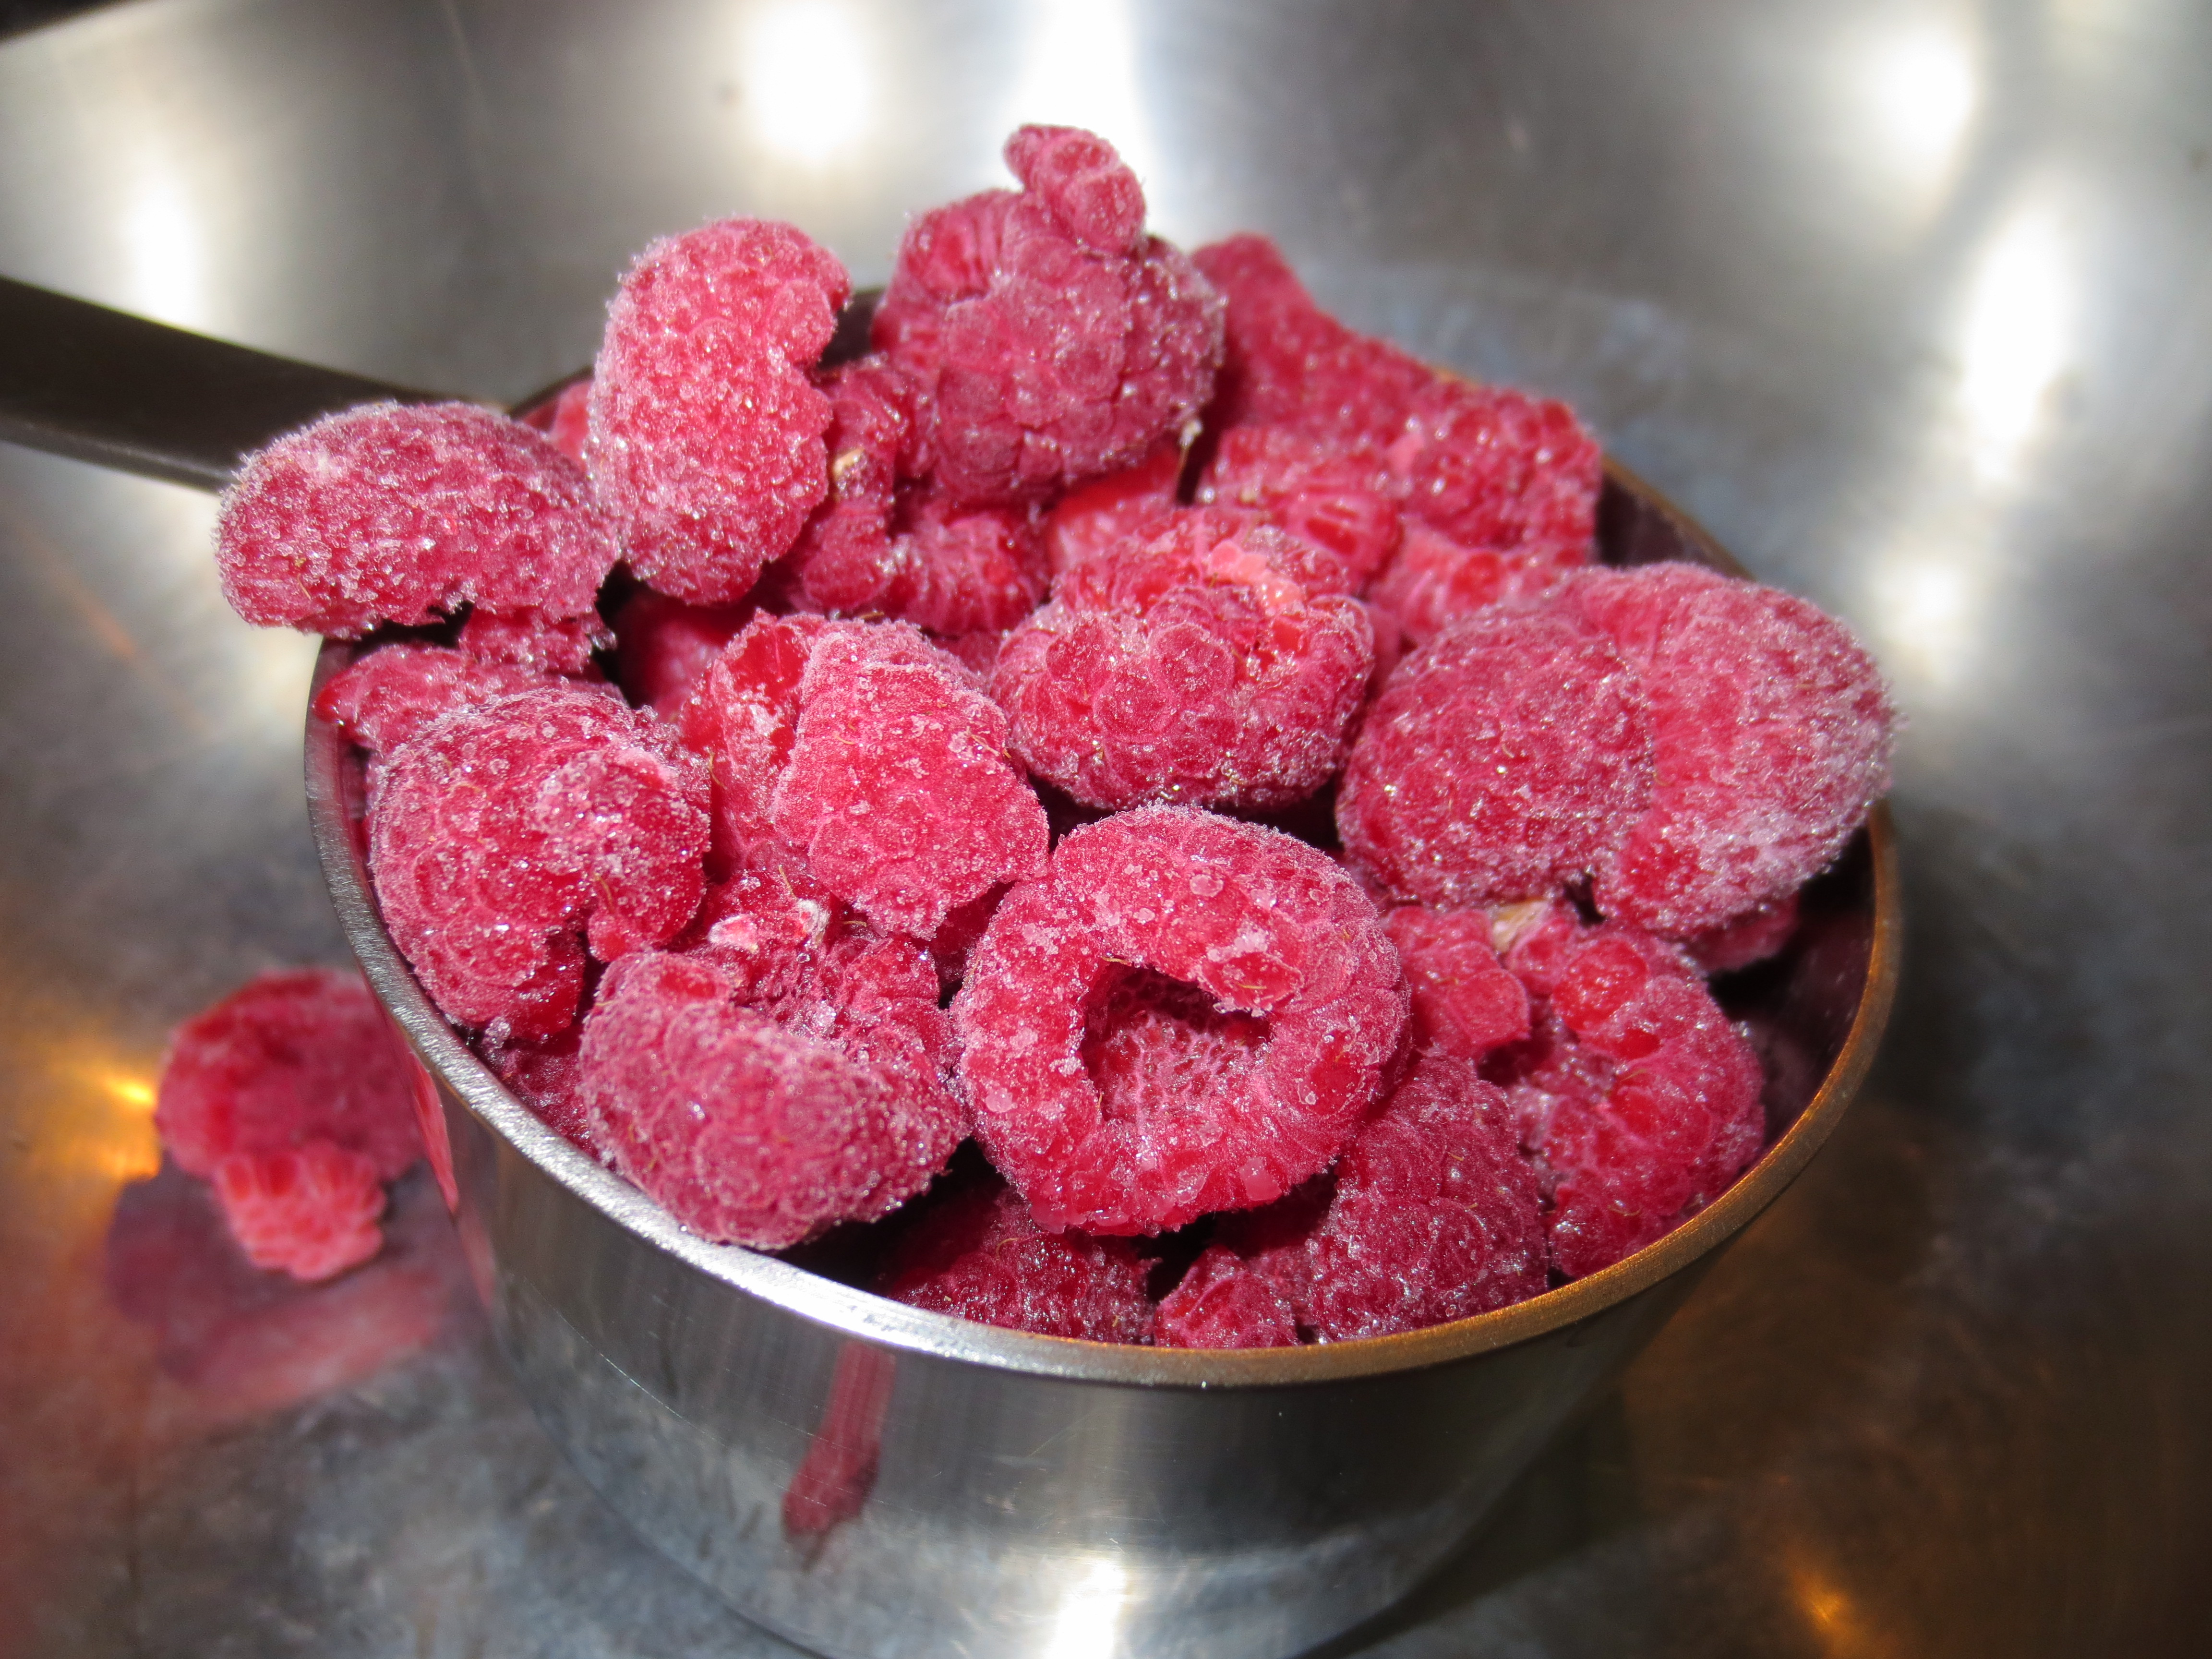
Raspberry Jam – (Strawberry, Apricot, Blackberry, etc, whatever your family prefers)

About ¼ cup Chocolate Chips – I use 60% Cocoa Chips

Directions:

 Preheat oven to 350 F.

 In a medium bowl, add in all dry ingredients and whisk until evenly combined.

 In a liquid measure, pour in the maple syrup, molasses, vanilla extract and oil. Then add in ½ cup of the peanut butter.  Stir thoroughly to combine.

 Add the wet mixture to the dry and stir well. Next add in the remaining 2 Tablespoon of peanut butter, but do not mix completely.  You want ribbons of peanut butter throughout.

Use 2 ungreased cookie sheets. Measure out rounded tablespoons of batter onto the cookie sheet, 12-13 per sheet.  Do not flatten the doughuncooked peanut butter cookie dough

If adding Jam – Using a finger or the back end of a butter knife, make small depressions into the center of each peanut butter dough ball. Add about ¼ teaspoon of Jam into the center well of each cookie.PB cookie dough with center depression

 PB cookie dough with jamPB cookie dough with chocolate

If adding Chocolate – Using a finger or the back end of a butter knife, make small depressions into the center of each peanut butter dough ball. Add about 3-5 chocolate chips into the center well of each cookie.  Note, that the chocolate chips will soften while baking but not completely melt together.  Once baked, while the cookies are cooling, if you like, swirl together the softened chocolate chips in each cookie’s center, using the tip of a butter knife or spoon, until you have one blob of chocolate, instead of separate chips or leave as is if you prefer, great either way.

 Bake for 10-11 minutes. Remove from oven and allow to cool a few minutes on the cookie sheet.  They will fall apart if moved too soon.  After they have cooled slightly, move the cookies with a spatula to a cooling rack and Enjoy!

Peanut Butter and Chocolate Cookie

Recipe Notes: This recipe is Vegan, use Vegan chocolate chips to keep it that way or non Vegan if it’s not necessary for you. Full disclosure, I don’t use Vegan chocolate, my favorite for these and most other recipes involving chocolate, is Ghiradelli 60% Cocoa chips, they are a little bigger than your average chocolate chip and perfectly bittersweet.

A note about the peanut butter, I only use all natural peanut butter with no added sugar or any other ingredients but salt. Sometimes, I’ll make my own at the health food store which works perfectly here as well.

for printable version click here

Chocolate Ganache Raspberry Tart

Chocolate Ganache Raspberry Tart

Growing up, Colin and his sisters created what became their family’s favorite special occasion decadent treat, aptly named “chocolate death cake”.  The creation was a combination of a boxed chocolate cake mix with chocolate pudding mix and extra chocolate chips all mixed together and baked up with raspberry jam spread between the two finished cake layers, topped with (canned) chocolate frosting, not bad actually for kids growing up way back in the 80’s!  If you ask me, chocolate and raspberries are such a perfect combination, even with a highly processed cake mix it’s still pretty damn good, although it is hard for me to get past the canned frosting. So, a few years after we married, I started tinkering with the recipe, one to make it a bit more “homemade” and two to “gourmet it up”.  Over the years, I’ve made many different versions of “chocolate death cake” to celebrate Colin’s birthday, originally sticking a bit more to the traditional idea and then veering off into the flourless cake realm. For this year’s version, I created a decadently delicious chocolate ganache tart with a raspberry cream layer and believe it or not, it’s gluten free, dairy free and vegan!  But, please don’t let that scare you off, even the most diehard chocolate fan won’t notice the difference.

Last Thanksgiving, my sister-in-law Megan requested that I contribute something chocolaty and decadent for dessert, for which I made a slightly adapted version of vegan chocolate truffles from Giada’s latest cookbook “Giada’s Feel Good Food”.  Homemade cashew cream replaced the traditional heavy cream in the truffles and they were a huge hit! So, when I was planning Colin’s birthday treat, I decided to use the same recipe but transform it into a tart.  The cashew cream recipe creates more than is needed for the chocolate ganache, so I decided to mix up some of the extra cream with frozen raspberries and a little raspberry jam to sandwich between two layers of the ganache, the result was good enough to share and then some. Frozen Raspberries

For the crust, I toyed between a few different ideas; graham cracker, chocolate cookie crumb, etc but ultimately decided to make a wheat and butter free crust just to keep with the theme (adapted from Suburban Girl Gone Country’s almond oat crust).  I used ground oats which I’m happy to eat in most anything and ground almonds which I think go particularly well with raspberries.  I added a little maple syrup for sweetness and moisture, plus coconut oil.  The crust looks beautiful and elegant and has a nice slightly crumbly texture.  There is a subtle flavor of coconut, as Skyler (hater of all things coconut) immediately pointed out.  So if you’re also not a fan, I think any flavorless oil would be okay to sub, or butter if you don’t need to keep it dairy free. 

The end result of this beautiful tart is not only perfect for the chocolate lover in your life (especially if that person is you!), good enough to serve to company or for any special occasion, but you can also feel good knowing you’re eating a treat that won’t send you into cardiac arrest. It might even be a little bit good for you too, the cashew cream provides healthy fats, protein and fiber, dark chocolate is high in antioxidants, oats and almonds are heart healthy and even the coconut oil is good for you! So go on and indulge and feel free to keep the healthy secrets to yourself, no one needs to know the decadent dessert you’re serving is actually good for them.

Colin’s Birthday Chocolate Ganache Raspberry Tart

Author: Sweet Green Kitchen’s Jen Jones

Chocolate Ganache Raspberry Tart back view

Ingredients:

Tart Crust adapted from the blog the suburban girl gone country

1 cup Almond Meal

1 cup Oat Flour

¼ teaspoon Sea Salt

3 Tablespoons Coconut Oil

2 Tablespoons Maple Syrup

1 Tablespoon Water

½ teaspoon pure Vanilla Extract

Chocolate Ganache Fillingadapted from Giada’s Feel Good Food – vegan chocolate truffles

2/3 cup Cashew Cream – recipe follows

2 cups semi sweet or bittersweet chocolate – chips or chopped from bars (full disclosure, I use my favorite 60% cocoa chips from Ghiradelli, which are not dairy free, but if needed use your favorite dairy free chocolate)

1 teaspoon pure Vanilla Extract

1 Tablespoon Maple Syrup

Raspberry Cream Filling

1 cup fresh or frozen Raspberries

2 Tablespoons Raspberry Jam (seedless if you prefer)

1/3 cup Cashew Cream

Directions:

For the crust:

Preheat oven to 350 F.

In a medium bowl combine, Almond Meal, ½ cup of the Oat Flour and salt.  Next add in Coconut Oil, Maple Syrup and Vanilla.  Mix completely with a fork, then add in the remaining half cup of Oat Flour and the water.  Continue to mix with a fork until the mixture resembles wet sand. IMG_5943

Lightly coat a tart shell (I use a 10 inch one with a removable bottom) with a little extra coconut oil and then pour in the crust mixture.  With clean hands (you could also use a piece of wax paper or parchment), press the crust into the shell, pushing up the sides until it is even all around the sides and bottom.

Bake in preheated oven for 15 minutes.  Note: if you wish to use the crust for a tart with a baked filling, only bake the tart for 8-10 minutes before filling and baking again.  Either way, allow the tart shell to completely cool before filling.

For the Cashew Cream:

Cashew CreamSoak 1 cup Raw Unsalted Cashews in 1 cup water for at least two hours or overnight.  In a high powered blender, blend soaked Cashews and Water about 1 minute until creamy.

For the Chocolate Ganache:

In a bowl over a small pot with slightly simmering water, add Chocolate and 2/3 cup of the Cashew Cream, stir occasionally until the chocolate is completely melted and combined with the cashew cream.  Once the chocolate is melted and thoroughly mixed with the cream, remove from the heat and add in Vanilla and Maple Syrup.  Allow to cool.

For the Raspberry Cream:

In a medium saucepan over low to medium heat, add in Raspberries, Jam and 1/3 cup Cashew Cream.  Stir and gently press the raspberries to break them up until everything is melted together.  If you don’t like the texture of the raspberry seeds (which I don’t mind at all), strain cooled raspberry cream through a small strainer, otherwise use the cream as is.

Finally to assemble the tart: (really the recipe comes together pretty quickly)Chocolate Ganache first layer

Raspberry Cream middle layer

Chocolate Ganache Top Layer

Pour about half of the cooled chocolate ganache into the cooled tart crust.  Carefully spread the ganache to completely cover the crust.  Chill for about 15 minutes in the fridge.

After 15 minutes, spread all of the raspberry cream over the ganache.  Place in the fridge to chill again.

After another 15 minutes, spread the remaining chocolate ganache over the chilled tart.  I leave about ½ inch of the raspberry cream around the edges exposed without covering in ganache.

Chill again in the refrigerator, this time for at least an hour to allow the ganache to fully firm up.Chocolate Ganache Raspberry Tart with whipped cream

Serve the tart with fresh raspberries and cream.  If you don’t need to keep your dessert vegan or dairy free, lightly sweetened fresh whipped cream is a perfect accompaniment.  Otherwise, whip up the remaining cashew cream (you should still have about 1/3 to ½ cup left) with a bit of maple syrup and serve that alongside the finished tart OR double the raspberry cashew cream recipe and use the leftover as a topping.  Raspberry sorbet would also be really good. Chocolate Ganache Raspberry Tart with fresh raspberries

Recipe Notes:

If you don’t have almond or oat flour, each can easily be made using whole or slivered almonds or whole oats ground in a high powered blender or food processor.  I also like using organic baby oatmeal cereal in place of oat flour.

Click here for printable version

Peanut Butter Cupcakes – Three Ways

IMG_5305 IMG_5316

Peanut Butter Cupcakes

3 ways – Naked, Chocolate Chunk & Raspberry Jam

Author: Sweet Green Kitchen’s Jen Jones

A birthday blog for Skyler, my extraordinary daughter, who on the day she was born, forever transformed my life in the most amazing way.  These cupcakes are most especially for YOU…..HAPPY BIRTHDAY…..and Enjoy – xo –

IMG_5339

Strangely enough, I adapted this recipe from “Vegan Cupcakes Take Over the World” and made them most decidedly NOT vegan.  They are oh so delicious, moist and peanut buttery and of course I make them three ways to satisfy all tastes and demands.  With that said they are perfect just as they are, naked if you will or adorned with just a light drizzle of melted chocolate or topped with a dollop of fresh barely sweetened whipped cream or the frosting of your choice.  BUT, if you’d like to take them to the next level, I like to top each individually (rather than mixed throughout the batter) with a few broken pieces or just one big chunk of the best milk chocolate I can find.  Or for the jam lovers in your life (hello Evan!), a swirl of your favorite jam or preserve mixed into the batter of each individual cupcake just before baking, yum, yum, yum…. IMG_5374


Makes about 15 cupcakes (is it just me, or is it impossible to create a recipe that actually makes exactly 12 cupcakes?) OR 12 regular size cupcakes plus about 6 minis.

Ingredients:

3/4 cup Buttermilk

1/2 cup Natural Unsweetened Chunky Peanut Butter

2-3 extra Tablespoons Natural Unsweetened Chunky Peanut Butter

1/3 cup Canola Oil

2/3 cup granulated Natural Cane Sugar

2 Tablespoons Maple Syrup

1 teaspoon Vanilla Extract

1 Egg

1 cup All Purpose Flour

1 teaspoon Baking Powder

1/2 teaspoon Baking Soda

1/4 teaspoon Salt

Optional:

A few ounces milk chocolate chunks (I use Lindt)

 and/or

A few Tablespoons Jam of your choice (I prefer Raspberry)

Directions:

Preheat oven to 325 degrees F.  Line muffin tin with paper liners.

In a large mixing bowl, cream together the 1/2 cup of Peanut Butter, Oil, Sugar, Maple Syrup and Egg until well combined.  Add the Buttermilk and stir until fully incorporated.

IMG_5368Sift in the Flour, Baking Powder, Baking Soda and Salt.  Stir to combine. Then drop in the remaining 2-3 Tablespoons of Peanut Butter a little bit at a time to gently swirl through the batter.

Fill the cupcake liners about two thirds full.

Now if you like your peanut butter cupcakes straight up and simple, pop them in the oven and bake for about 22-25 minutes, until a toothpick inserted comes out clean.IMG_5404

OR, if you’d like to have a little fun, break up a few ounces of chocolate, leaving big pieces and then drop a piece on top of each muffin cup filled with batter.  Bake as above.IMG_5287

OR, swirl a small spoonful of jam (about 1/4-1/2 teaspoon) into the top of each cupcake. Note, the jam topped cupcakes may take a touch longer to bake.

Allow cupcakes to cool a bit on a rack before removing them from the pan.  Cool completely before topping with anything.  Enjoy! IMG_5396

Click here for printable version

%d bloggers like this: