Tag Archives: Lemon Zest

Lemon Chia Tea Cake


Lemon Chia Tea Cake

Testing this recipe has been like the story of Goldilocks and the Three Bears in trying to determine the perfect amount of lemon to use.  The household tasters just could not come to agreement. The first few times I made this with the juice and zest of just one lemon and it was really tasty with a very nice mellow lemon flavor.  BUT, I decided we just had to try upping the ante of lemon just to see…So the next time I decided to really go for it “go BIG or go home” and added in 2 whole lemons worth of juice and zest.  I didn’t change anything else in the recipe, even though the extra lemon added in another ¼ cup of liquid.  The result was intensely lemony, but not excessive and the extra juice made for a really moist cake, whereas one lemon made for a drier crumb but easier to get a nice clean slice out of, which is a plus for presentation.  Now at this point we came to some disagreement, my husband loved the extra zing of lemon, but my daughter (who still happily ate several slices) said it was just too much.  In fact Skyler described the taste as “violently lemony”, which sounded pretty bad to me, but to her teen age self that wasn’t a bad description at all.  To me the taste of the extra lemony tea cake was more like a big smacking kiss of lemon, the way may 5 year old plants a BIG kiss on my face.

Lemon Chia Tea Cake

So on to round 3, which was really more like round 5 or 6, but who’s counting, we’re just eating…Now it was time to split the difference and try it with the juice and zest of 1 ½ lemons, which required another trip to the grocery and me being late to pick up Skyler from swim team practice which ended 30 minutes early that day without my knowing, but hey she got some cake out of it even if she had to sit out in the rain a little extra time. I wonder does making lots of yummy food cancel out numerous late pick ups in mommy universe?  So Saturday morning, one more tea cake was made and this time I used 1 ½ lemons.  One taste and finally we felt this version was just right, nice and moist with a pronounced but not over powering flavor of lemon.  But, I will leave it up to you to decide what is the ideal amount of tart for You.  Lemon Chia Tea Cake

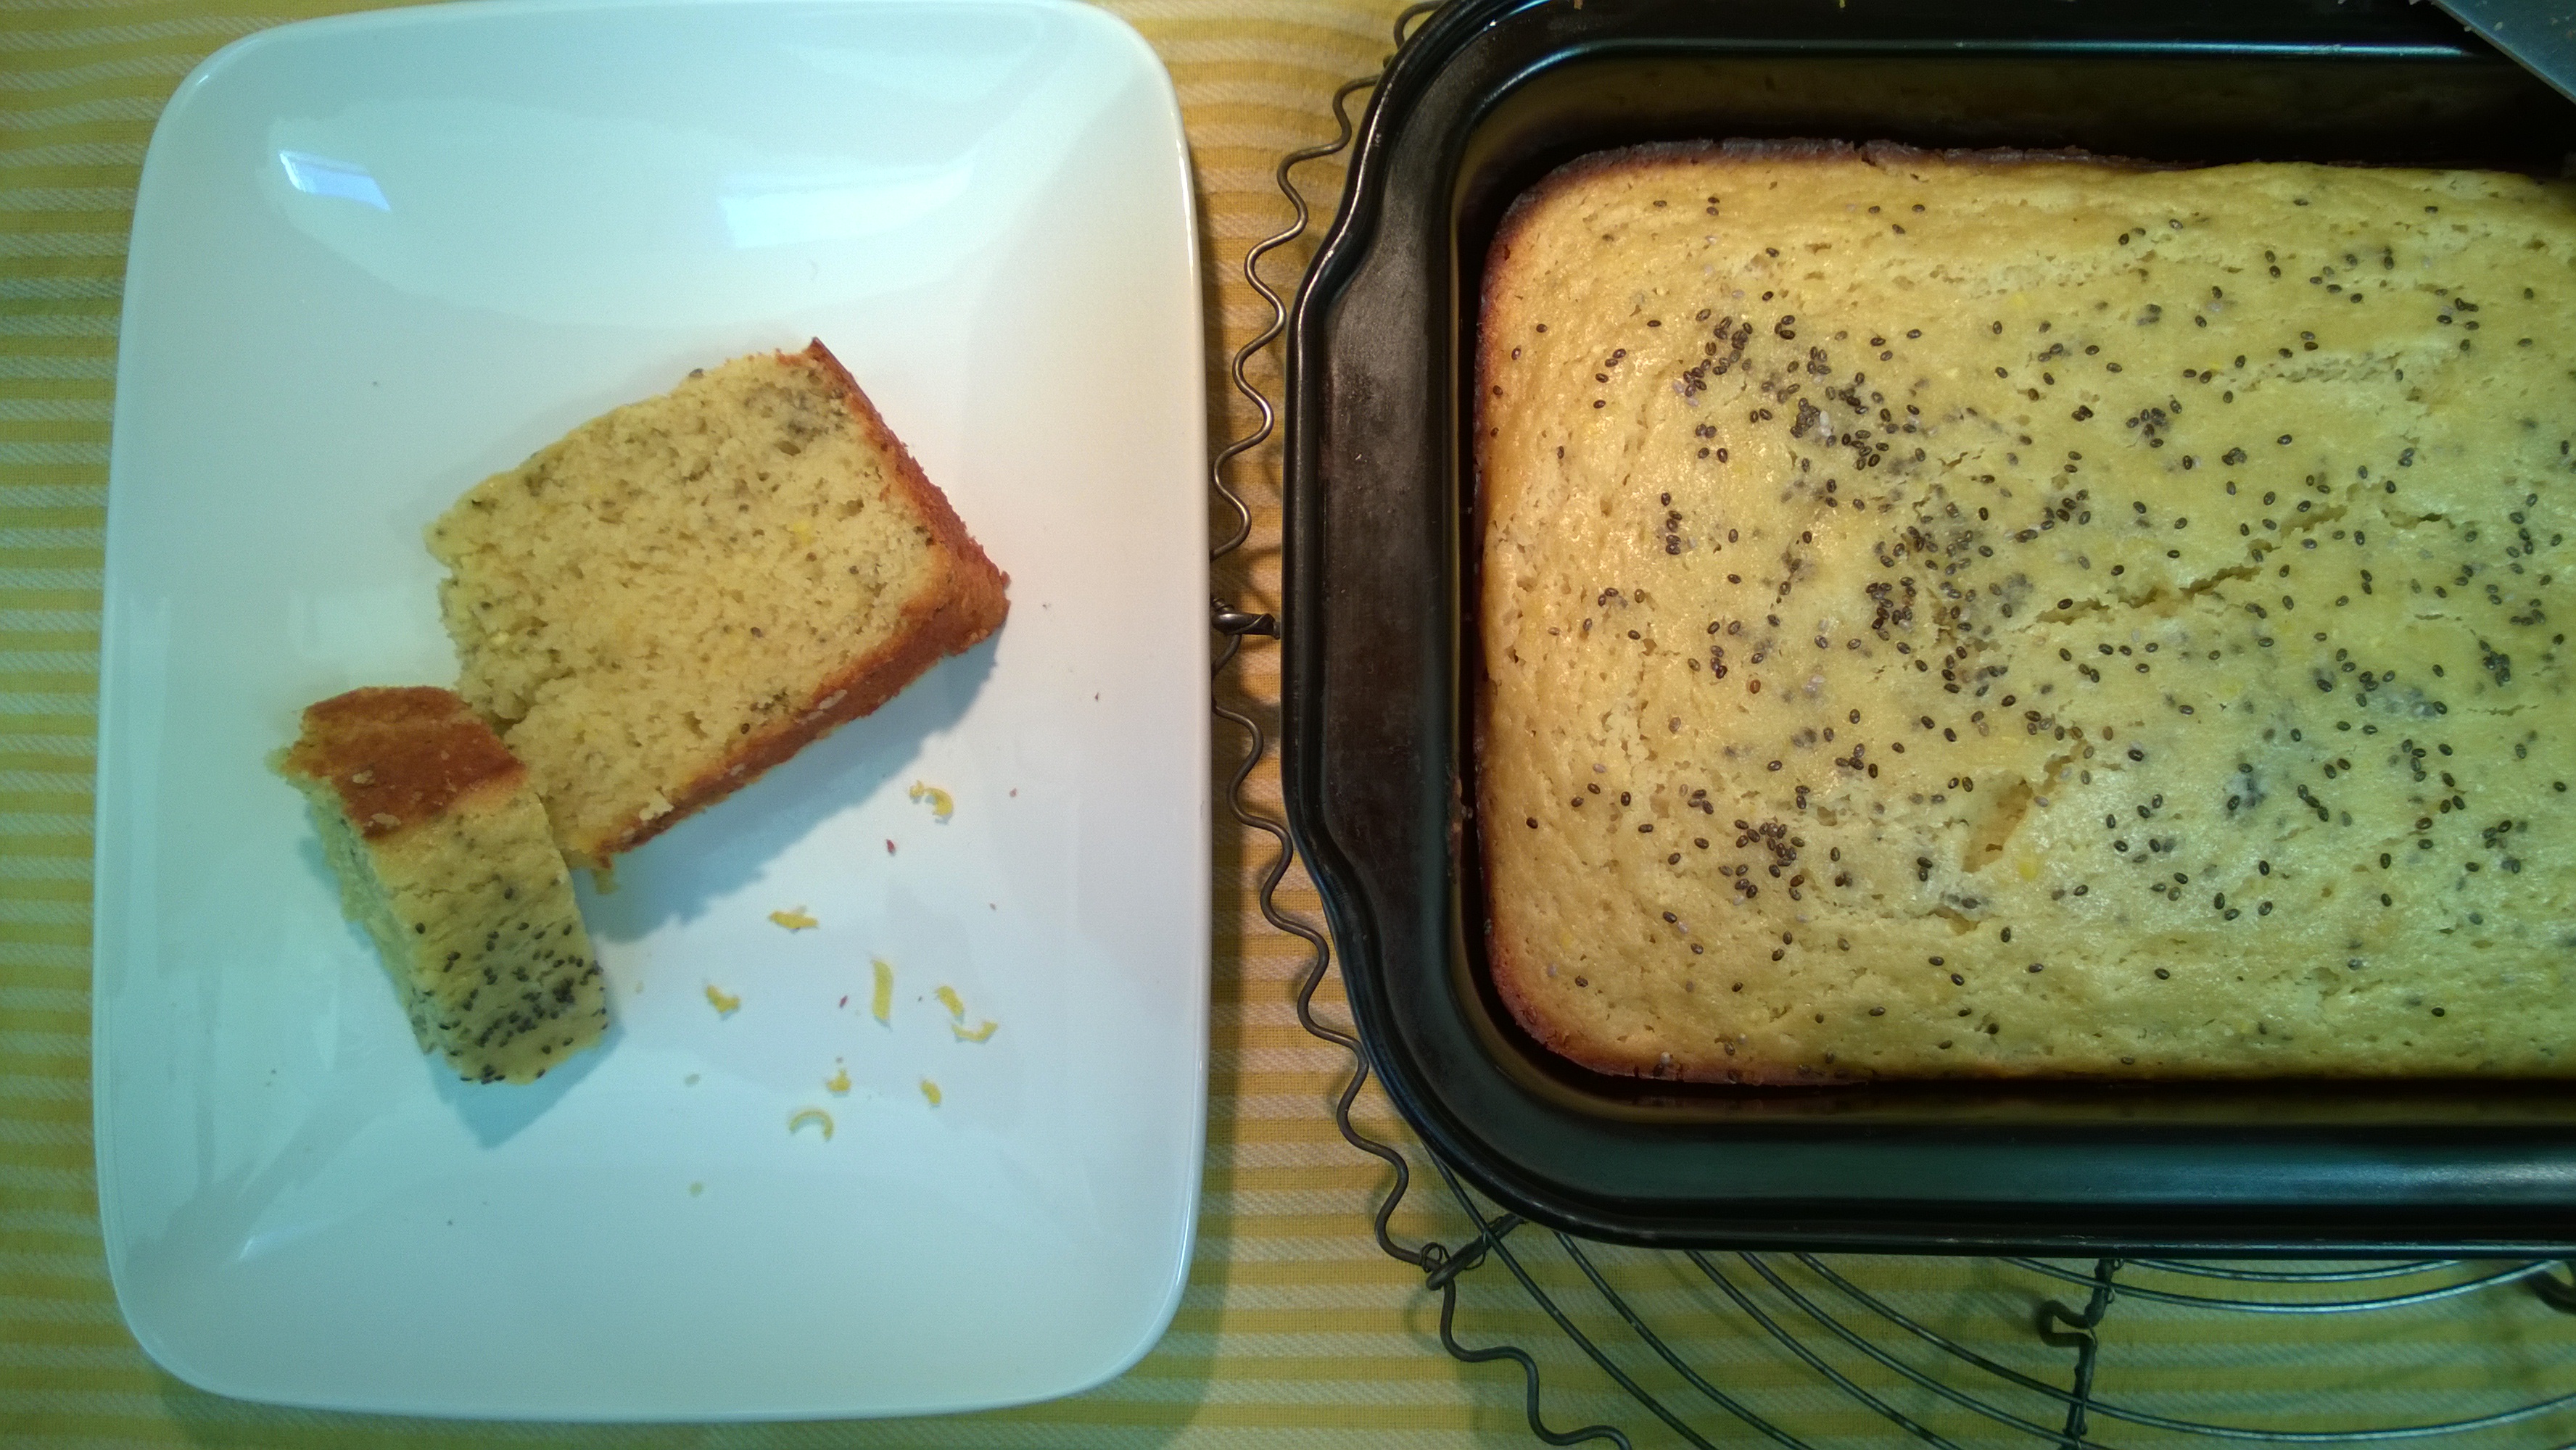
With all that said, I really do love lemon in SO many ways, however I’m not usually a fan of lemon in sweets preferring more of a savory twist on my lemon, but Skyler has been begging for months for me to make lemon poppy seed muffins and then I came across the Clever Carrot’s recipe for Lemon Poppy seed Cornmeal Muffins and since I love corn muffins and lemon I was sold!  As usual, I added a bit of my own twist to it with a little whole wheat flour, some extra cornmeal for added crunch and some coconut oil.  But then when it came time to add the poppy seeds, which I had every intention of using, I found that my ancient jar of poppy seeds had gone rancid, so rather than run out to the store in the middle of baking I tried to figure out a substitute and lo and behold, chia seeds came to the rescue!  Just make sure you add in the  seeds at the very last minute, otherwise they may start absorbing liquid and gel up, which is not what you want.Lemon Chia Tea Cake Batter

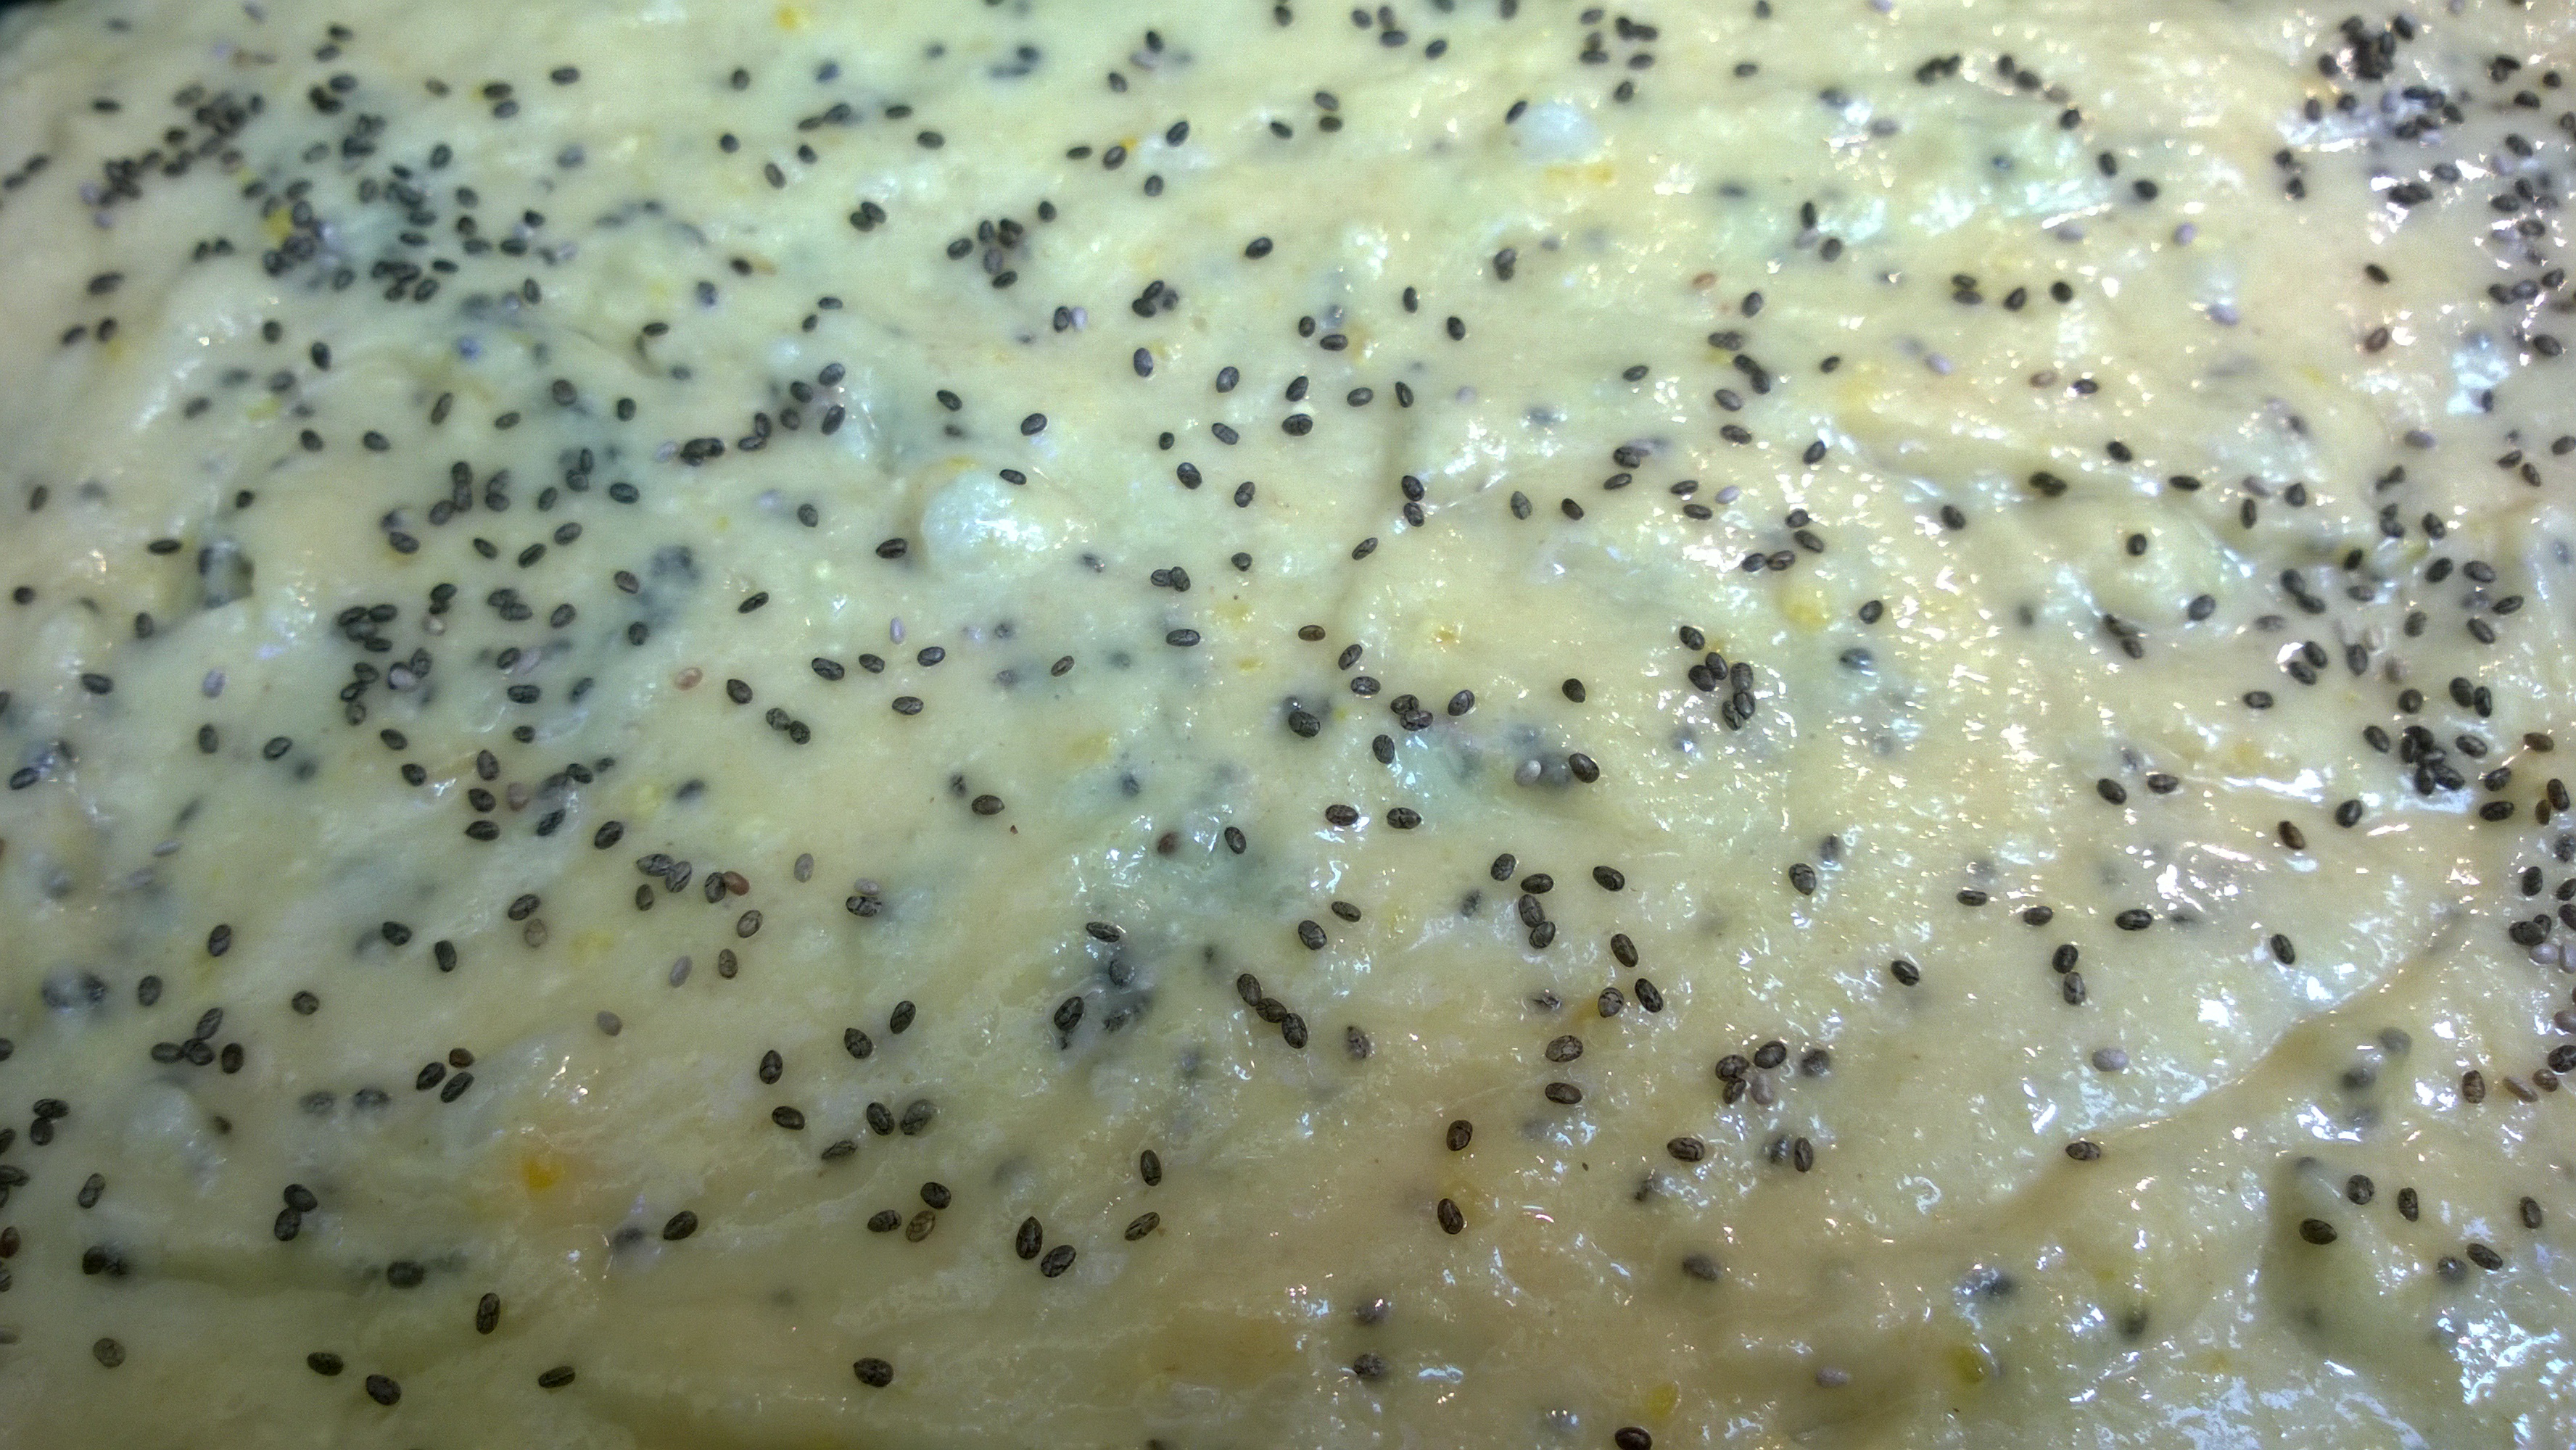
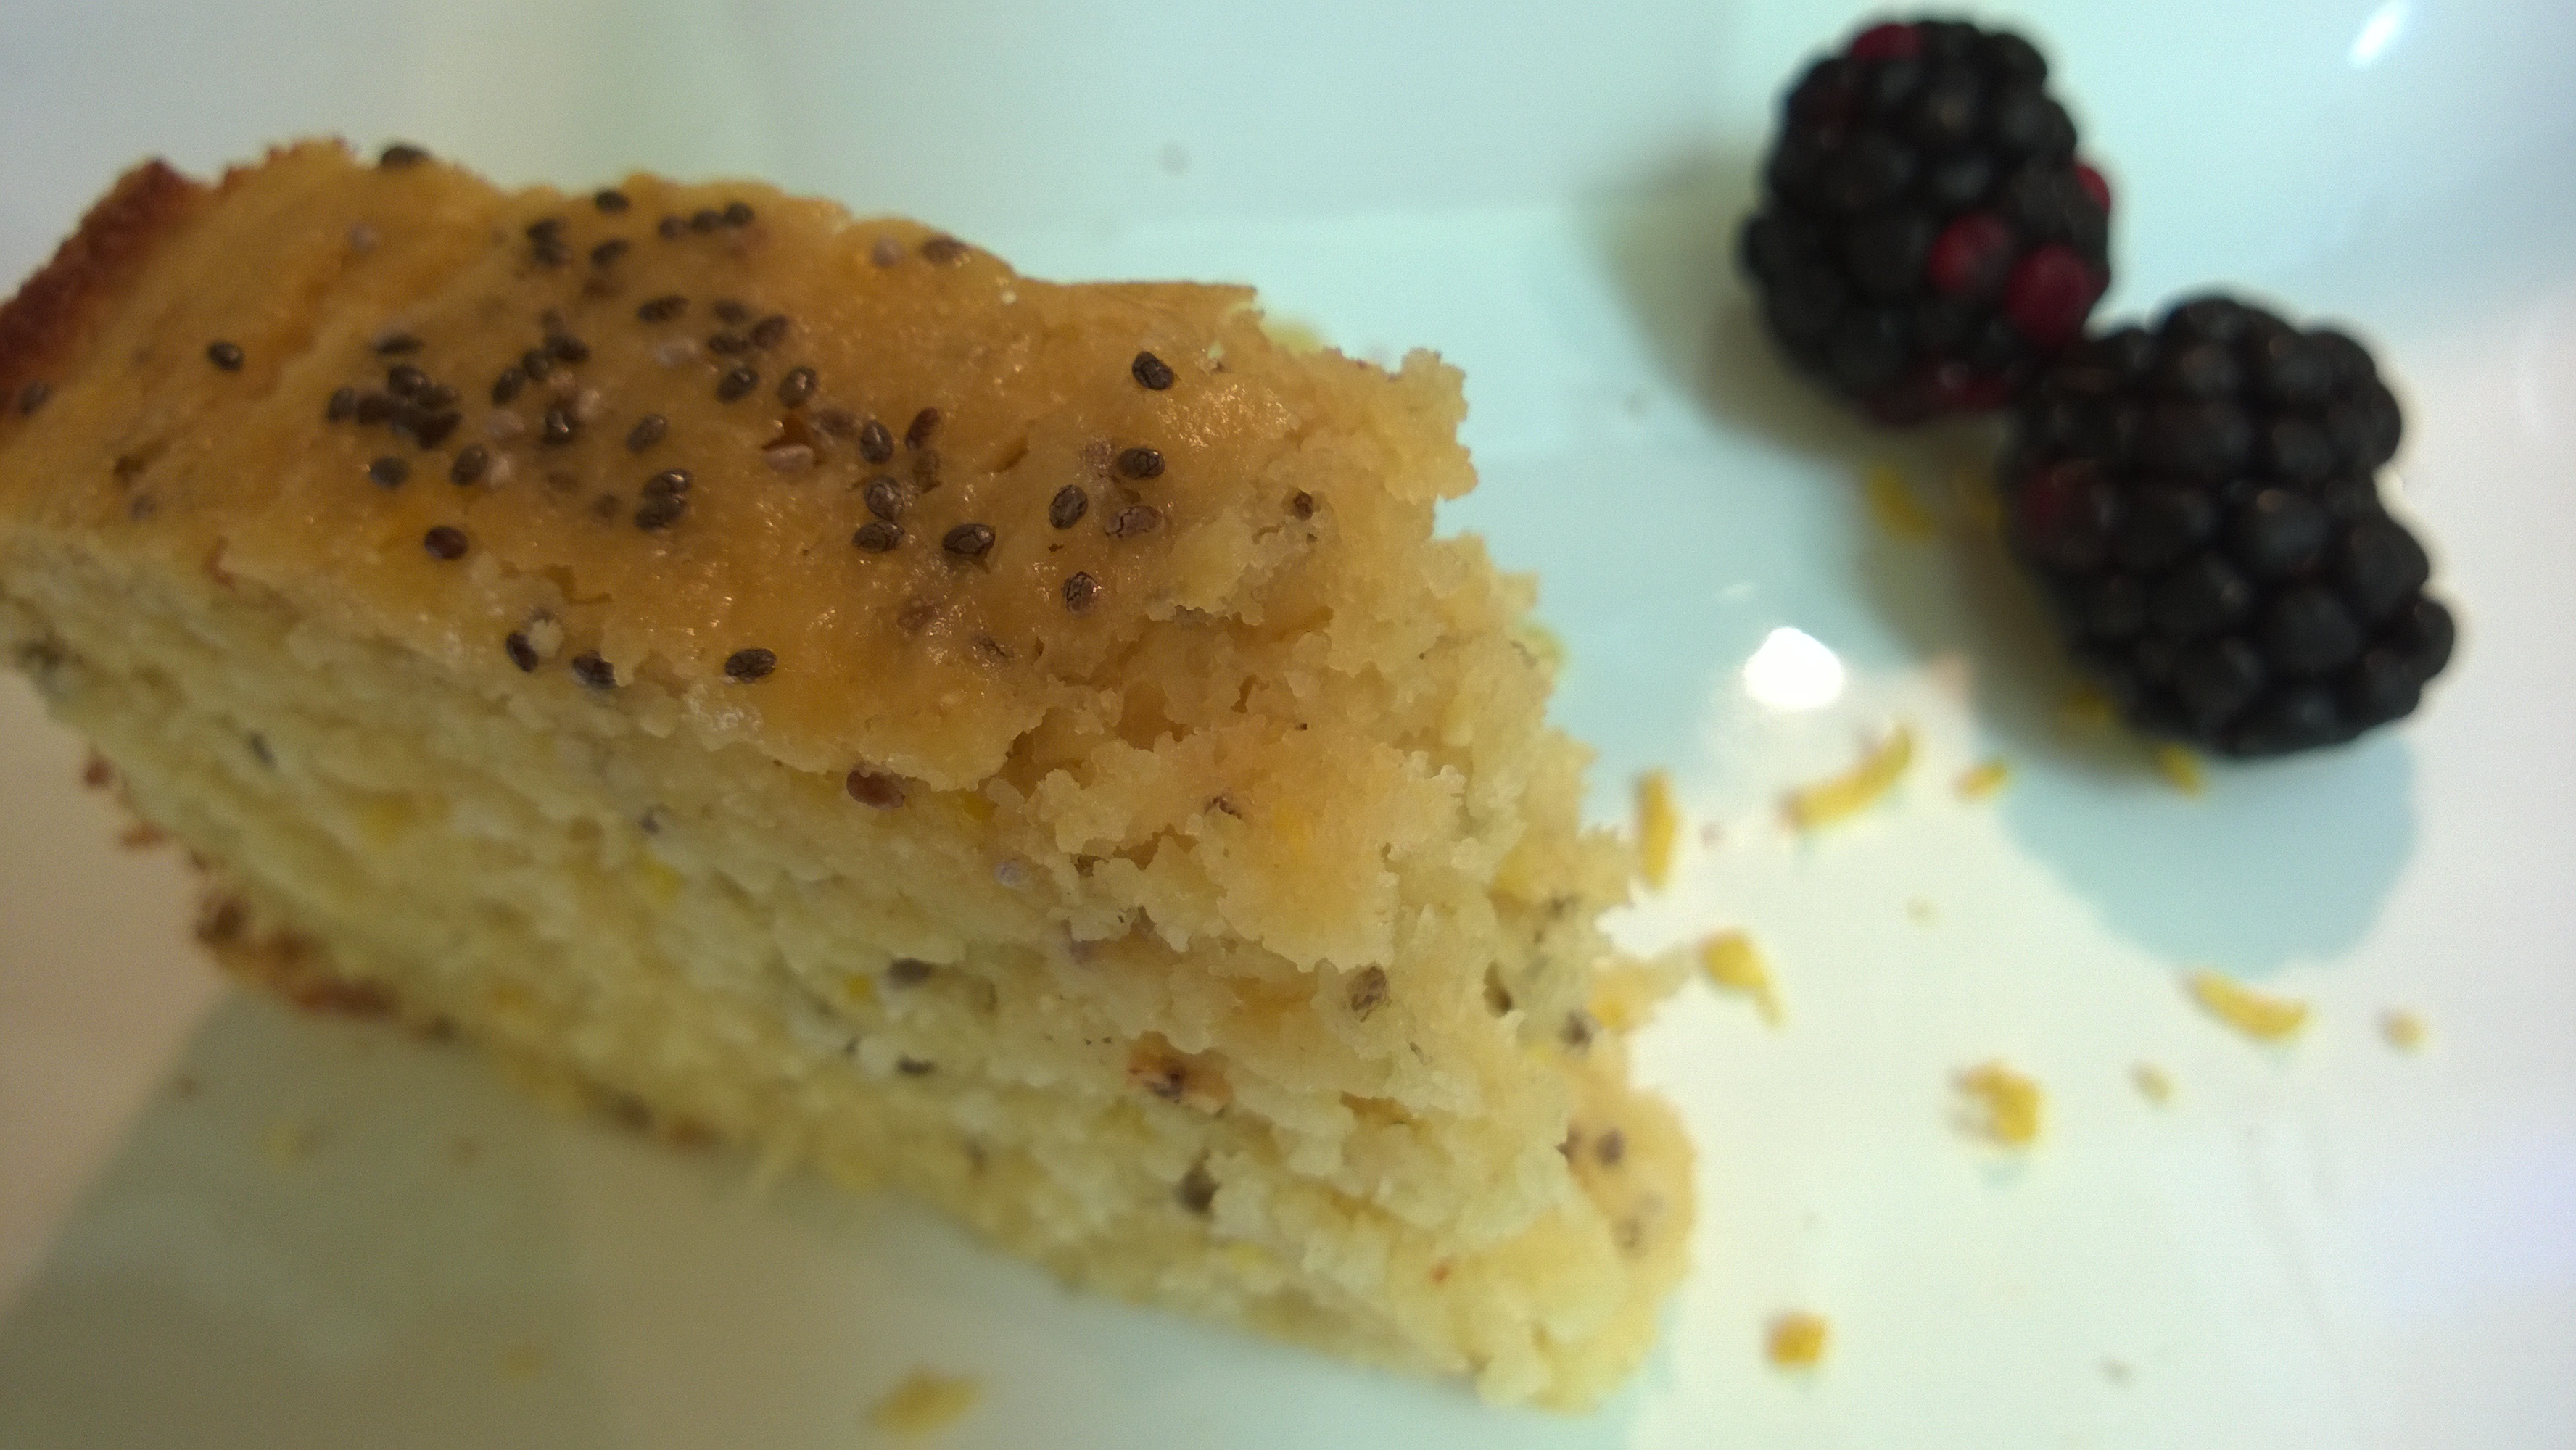
The first time around I did make these as muffins but then I decided to try it in a loaf pan and liked it even better (that much the whole family could agree on).  However you slice it, this is a very tasty treat, perfect for an afternoon with tea, served at brunch, as a late night snack or even for breakfast with a side of yogurt and berries.

Lemon Chia Tea Cake

Lemon Chia Tea Cake

Author: Sweet Green Kitchen’s Jen Jones

Adapted from The Clever Carrot’s Lemon Poppy seed Cornmeal Muffins

Ingredients:

1 cup all purpose flour

½ cup whole wheat flour (I use whole wheat pastry flour)

½ cup corn flour

2 Tablespoons corn meal (adds a nice little crunch)

1 ½ teaspoons baking powder

½ teaspoon baking soda

½ teaspoon salt


2 extra large eggs

2/3 cup natural cane sugar

¼ cup coconut oil – either softened or liquid

1 cup buttermilk

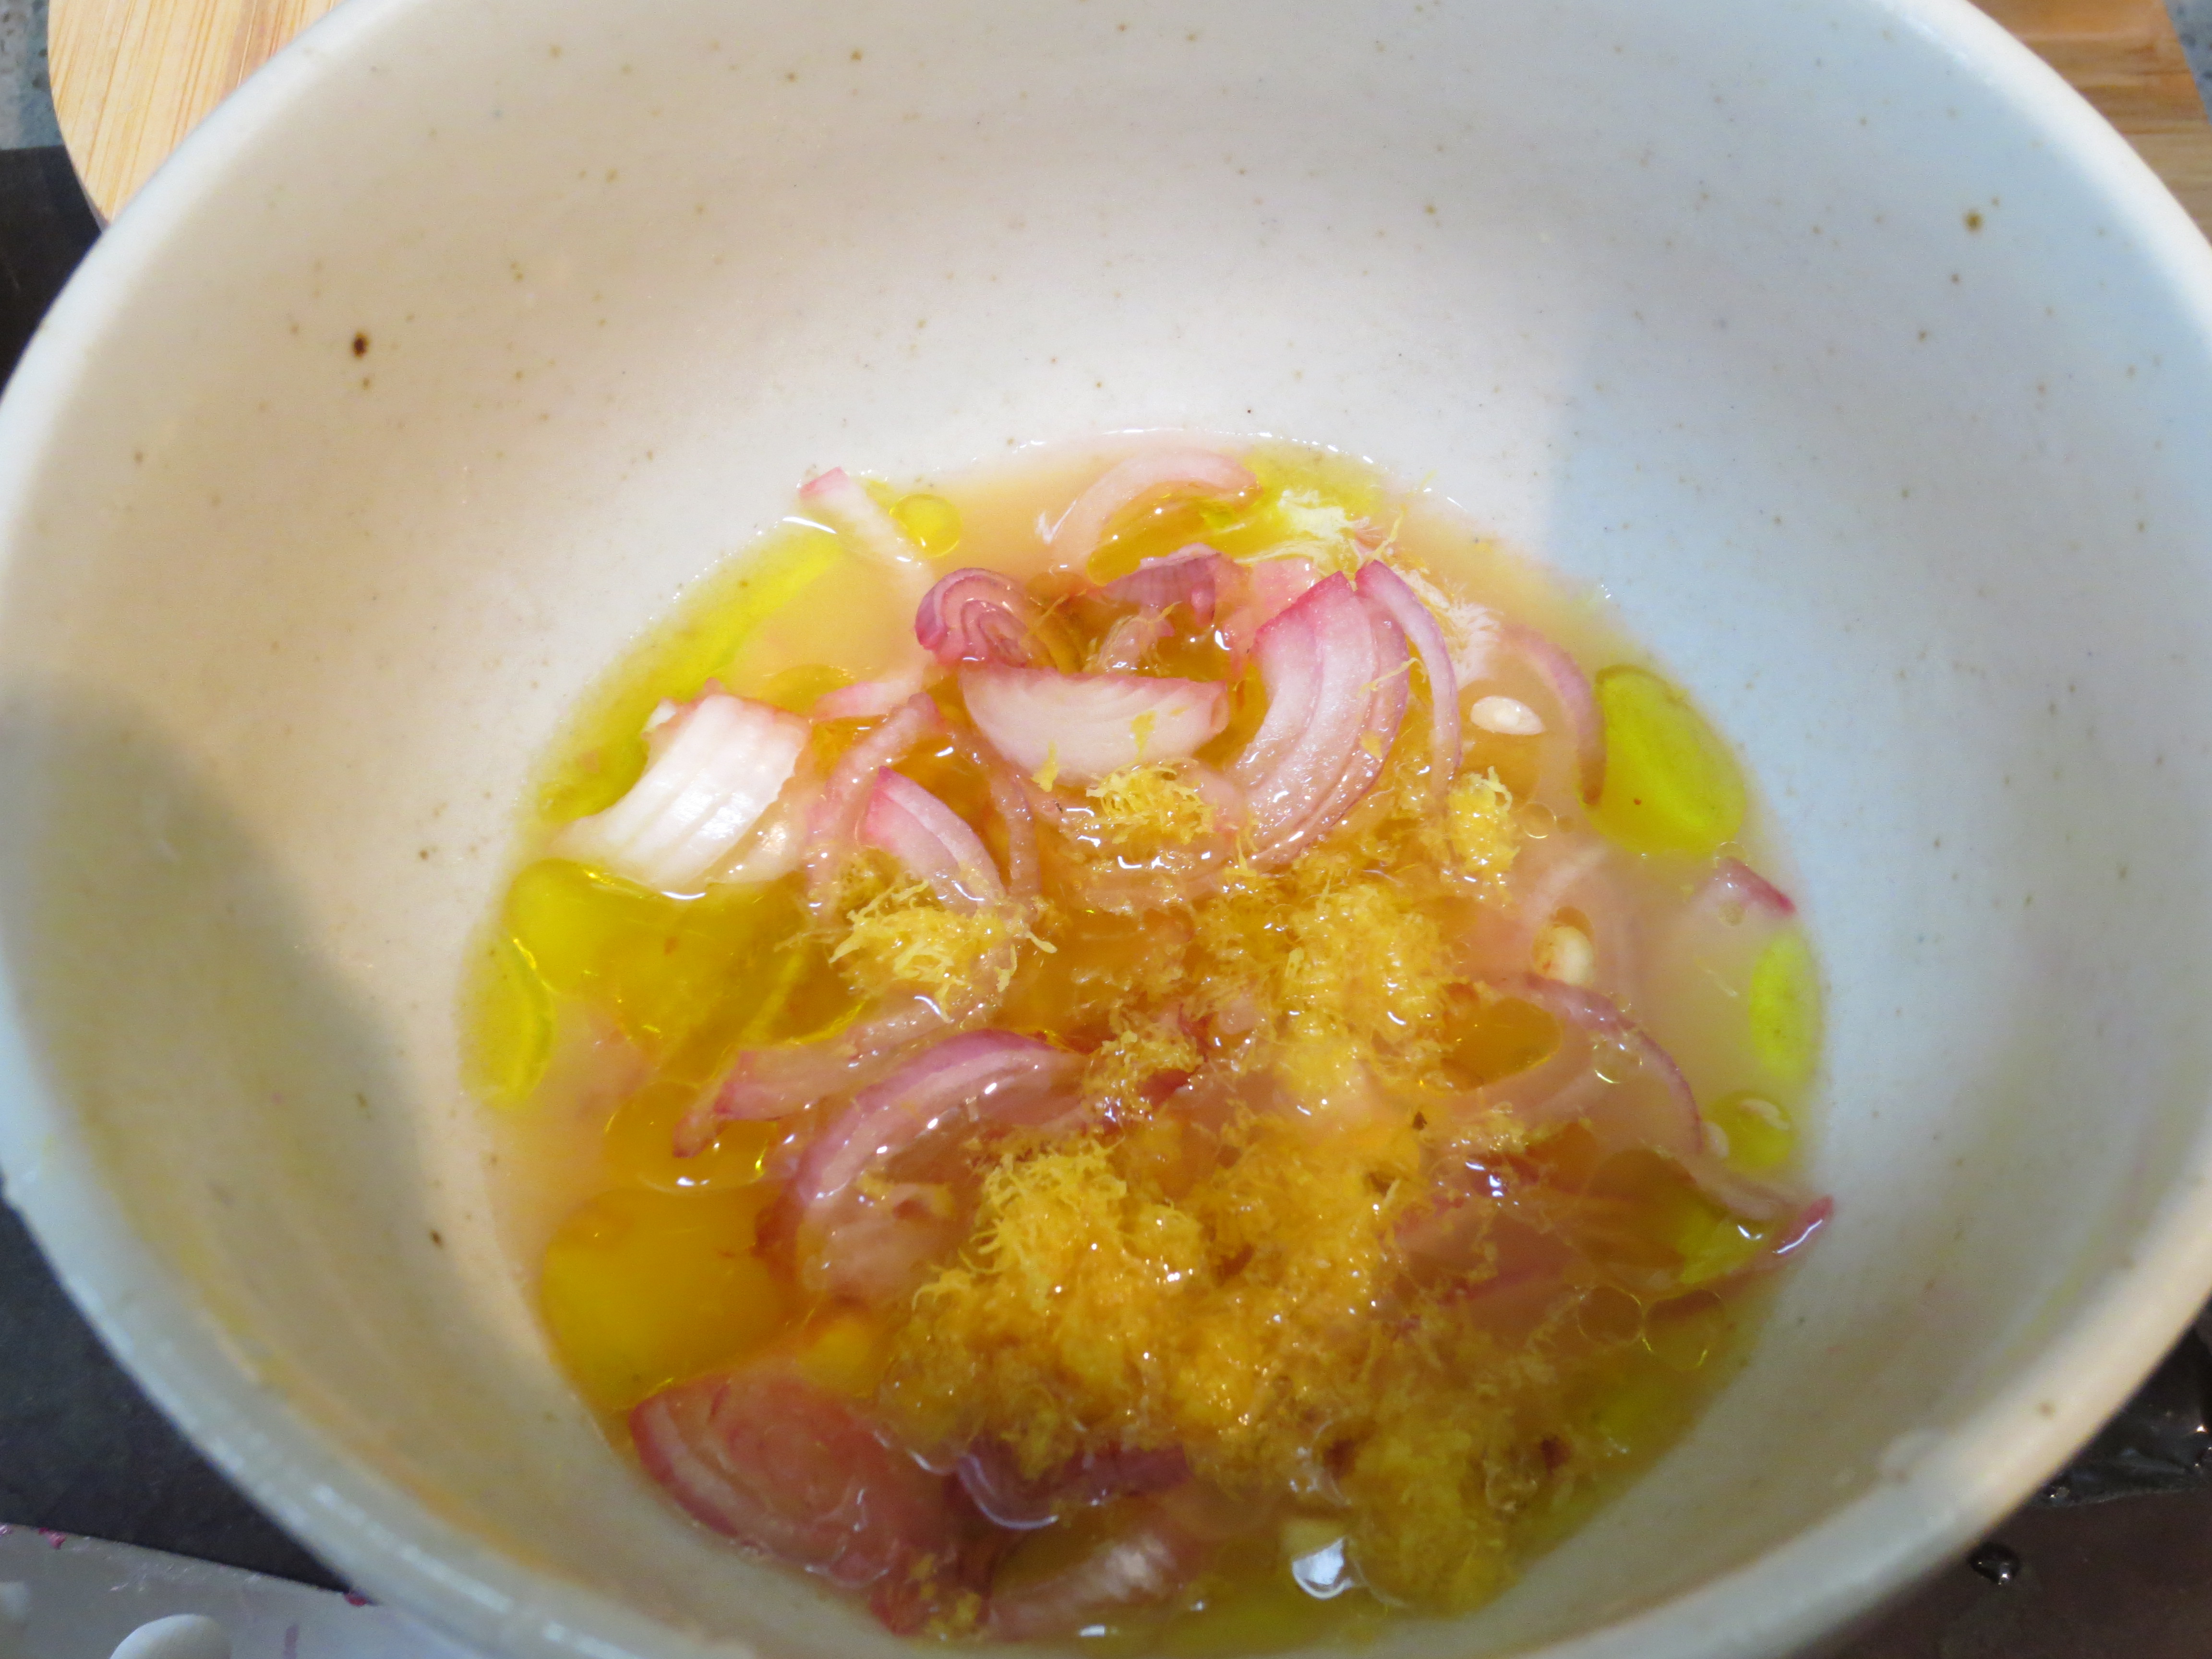
Juice & zest of 1 1/2  lemons (or just 1 or up 2, whatever you prefer)

1 teaspoon vanilla extract

1 Tablespoon chia seeds, plus a little extra for sprinkling on top


Directions:

Preheat oven to 350 F.  Oil a loaf pan.

In a medium bowl, mix together all the dry ingredients (flour through salt), plus the lemon zest.

In a separate bowl, whisk together the eggs, sugar and oil.  Next add in the buttermilk, lemon juice and vanilla. Whisk it all together.

Add the liquids to the dry ingredients and mix until fully combined.  Lastly add in 1 Tablespoon of chia seeds.  Pour it all into your oiled loaf pan and sprinkle the top with a few more chia seeds.

Bake at 350 F for about 40-45 minutes.  When a toothpick inserted in the center comes out clean, remove from the oven and let cool in the pan, slice it up and Enjoy!

If you prefer muffins – bake regular size muffins for about 17 minutes and mini muffins for 10.  Makes about 15 regular or 26-30 minis.  Just make sure to oil your muffin tin well and skip the paper liners as I find the muffin sticks a lot more to the paper than they do to the pan.

Lemon Chia Muffin

Fusilli con Broccoli with Creamy Ricotta Sauce

Fusilli Con Broccoli with Creamy Ricotta Sauce

When I was young, my Italian Nana would often make a recipe for me that I loved.  Long strands of twisted fusilli pasta with broccoli cooked in the same pot until it was so soft it nearly fell apart when I ate it.  The salted water with the broccoli and pasta would develop a lovely brothy flavor which would be ladled into the bowl with the rest and then topped with some grated Romano cheese.  It was delicious and to this day I still dream of it.  Here I’ve cooked the fusilli and broccoli a bit more al dente, although the broccoli still is quite tender, and I added a creamy light ricotta “sauce”.  Eating this now reminds me of my Nana.  As the say in Italy, Buon Appetito!  Pasta with Ricotta Sauce

 IMG_5123

Fusilli con Broccoli with Creamy Ricotta Sauce

Author: Sweet Green Kitchen’s Jen Jones

Ingredients:

1 pound pasta – fusilli or other shape, orecchiettie is also good

1 cup Ricotta cheese

Handful of chopped Parsley or Basil

Grated Romano cheese

Grated Ricotta Salata cheese

Zest of ½ Lemon

3 cloves Garlic – chopped

Olive oil

Salt

Hot Red Pepper Flakes or Black Pepper

1 bunch of Broccoli florets, cut to bite size pieces

Directions:

Cook pasta until al dente in salted water, making sure to reserve some of the cooking liquid for the sauce.  During the last 2 minutes, add the chopped Broccoli to the pot and stir around.   IMG_5099


While the pasta cooks, in a small saucepan add the chopped garlic, a pinch of salt and olive oil to cover.  Warm over low heat, to infuse the oil with garlic flavor and gently cook the garlic.  – this step is optional and can be skipped if you’re not a huge fan of garlic, but I think it adds a great extra layer of flavor to the finished dish.

Also, while the pasta cooks, to a large serving bowl add Ricotta, Parsley or Basil, grated cheeses and Lemon Zest.  Mix together. Ricotta Sauce

Add the cooked Pasta and Broccoli to the Ricotta mixture adding in some reserved pasta liquid a little bit at a time, until the sauce is the consistency you like.  Pour the infused Olive Oil and Garlic over the Pasta and top with a bit of Red Pepper flakes or ground Black Pepper, whichever you prefer.  Finish with a little extra grated Cheese if you like.  Serve warm and Enjoy!

IMG_4682Pasta with Broccoli and Creamy Ricotta Sauce

Recipe Notes:  I love the lemon zest in this sauce but if you’re not a fan, feel free to skip it.  In it’s absence I would add a little nutmeg. 

Click here for printable version


Rainbow Chard with Melty Fresh Mozzarella and Fusilli Pasta

IMG_4218

I found a gorgeous bunch of  rainbow chard at the market the other day, with bright yellow, orange and pinkish red stems and veins of color running through the green leaves, after all the darkness and cold of winter it just felt like a lovely bunch of spring had walked into my day.  The whole drive home I thought and thought about what to make with my beautiful rainbow greens and then I came up with this recipe and I’m so happy I did.  A simple but perfect combination of sautéed greens, a little garlic, a little zest, fresh mozzarella warmed through with a little hit of saltiness from the sun dried tomatoes and grated pecorino.  This comes together in the time it takes to boil the water and cook the pasta.  I paired this with short, twisty fusilli cooked to al dente perfection, the greens and cheese twirl around the fusilli to create a deliciously complete bite with every forkful.

Rainbow Chard with Melty Fresh Mozzarella & Fusilli Pasta

Author: Sweet Green Kitchen’s Jen JonesIMG_4260


Ingredients:

1 pound Fusilli Pasta

1 large bunch Rainbow Chard or 2 small bunches (at least 12 large leaves)

2-3 large cloves Garlic

5-6 Sundried Tomatoes

4 ounces Fresh Mozzarella

Grated Pecorino Romano Cheese

Zest of ½ – 1 whole Lemon

Olive Oil

Red Pepper Flakes – just a pinch or more to taste

Sea Salt

Directions:

Cook Pasta in salted water until al dente. BEFORE draining the cooked pasta, reserve about 1 cup of the pasta cooking water to add to the sauce.

Chop Garlic and Sundried Tomatoes. Wash Rainbow Chard and then cut into ribbons. I do this by stacking all the leaves and then folding them over lengthwise, then slicing across (a sharp knife should cut through the stack pretty easily). Cut Mozzarella into small cubes. IMG_4231IMG_4236

IMG_4234While the pasta is cooking, heat a large skillet (deep enough to hold the veges and pasta), add a good drizzle of Olive Oil and then toss in the chopped Garlic and season with a pinch of salt. Cook until the Garlic is just beginning to get a little color and then add in the chopped Sundried Tomatoes. Stir the Garlic and Tomatoes as they cook another minute or so.

IMG_4235To the Garlic and Sundried Tomatoes, add in about a third of the chopped Rainbow Chard, starting with the chopped stems and some leaves, after a minute or two once the Chard has wilted down a bit, add in another third and stir, adding in the remaining Chard once the last bit has wilted some. Season with a little more salt. Cook the Chard for a few minutes, stirring as you go, until it has wilted but still has it’s vibrant color.IMG_4237

Stir in about 2 – 3 Tablespoons of Grated Romano cheese and then the Lemon Zest and Red Pepper Flakes. At this point you can pour in some of the reserved pasta cooking liquid to start creating a bit of a sauce (note, you may not need to use all the reserved liquid, add a little at a time and more as needed).IMG_4249

Next pour in the cooked Pasta and then the chopped Mozzarella, plus another drizzle of Olive Oil, stir to combine and until the Mozzarella begins to melt into the chard and pasta. Add more liquid if necessary and top with a little more grated Romano if you like.IMG_4256

IMG_4253Serve with extra grated cheese at the table. Enjoy!IMG_4259


Recipe Notes: If you can’t find Rainbow Chard, substitute with Swiss Chard or Beet Greens. Spinach would also be fine, except you’ll need a lot more as it wilts down quite a bit more than chard does.

Click here for printable version

Roasted Beets with Citrus Marinade

I love beets. They are delicious and nutritious, although not everyone agrees with the delicious part. I still can’t get any member of my household to consume them, but I still love making them this way and make them often. The dressing gets absorbed into the warm beets and adds a light citrus flavor. They can be kept for days in the fridge and I can enjoy them mixed with my daily salad. If I’ll be seeing my mother anytime after making these, I always share a bit, since she is the one family member who does share my love of this fantastic root. If you’re lucky enough to find beets with the greens attached, consider it a bonus. The greens are even more nutritious then the roots. They taste similar to Swiss chard and can be used in any recipe where chard would be used (sautéed with leeks, in soup or a frittata, etc). You can also eat the greens raw in a salad, the stems are tender and edible too. Beware, though the stems and roots will bleed and cover your cutting board and any dish a beautiful pinkish purple hue (don’t worry it will wash off most surfaces). Also, it’s important to note, when you get home from the store you will want to cut the greens from the roots, leaving about an inch of the stem attached to the root. Bag the roots and greens separately and keep in the refrigerator until you’re ready to use them.

IMG_3205

 Roasted Beets with Citrus Marinade

Author: Sweet Green Kitchen’s Jen Jones

Ingredients:

1 bunch of Beets (approximately 3)

1 shallot – thinly sliced

1 Tablespoon Olive Oil, plus a little extra for drizzling

1 Tablespoon Lemon Juice – freshly squeezed from about ¼-1/2 lemon

1 Tablespoon Orange Juice

Lemon Zest – from about ½ – 1 whole lemon

Salt & Pepper to taste

Small handful Parsley – chopped

Directions:

Preheat Oven to 400

Prepare Beets – Wash, peel, trim and cut into bite size pieces.                              IMG_4174Place beets in a small casserole dish and drizzle lightly with Olive Oil. Cover with foil. Roast in a 400 F degree oven for about 45 minutes to 1 hour, until cooked through. You’ll know the beets are cooked when you can easily pierce them with a fork.


Meanwhile, prepare the dressing. In a small bowl add the thinly sliced shallot and the remaining dressing ingredients, except the parsley. Stir to combine. Allow the dressing to sit for a bit to allow the shallots to pickle slightly.IMG_4183IMG_4187

When the beets have cooled, but are still a bit warm, pour the dressing over and toss to coat all the beets. The warm beets will absorb the dressing nicely. When they have cooled a bit more, sprinkle with the chopped parsley and stir to combine. Allow the beets to cool completely before serving.

Roasted Beets with Citrus Dressing

Leftover beets are fantastic when stored in the refrigerator. They will keep for several days.

Enjoy  marinated beets as a side dish or tossed with a salad of baby spinach and crumbled goat cheese or any salad of your choice.

IMG_3207


 Click here for printable version


Cilantro Pesto

IMG_3663

Cilantro Pesto

Author: Sweet Green Kitchen’s Jen Jones


I figured out a few years ago that I could get a lot more green veges (equal lots more vitamins and minerals) into my daughter (and the rest of the family for that matter), if I blended them into a pesto to top pasta or spread on a sandwich, stir into a soup, etc., and that’s when I started experimenting beyond the typical basil pesto.  Pesto adds so much flavor to any number of dishes and can be made from so many different vegetables and herbs to accompany all styles of cuisines. 
 
Cilantro, oftentimes regarded as just a garnish, contains numerous antioxidants and is also known to be a good digestive aid as well as helping to detoxify the body, so it benefits not just your taste buds, but also your health to get a bit more of this lovely herb into your diet.  But, most people are not going to sit down to a big plate of fresh herbs, but when blended into a pesto you have whole other story. Cilantro pesto adds a punch of extra flavor to all kinds of Mexican inspired recipes.  I always make this pesto when I’m serving Tostados (corn tortillas topped with beans, usually refried, plus chopped peppers and scallions and some grated Jack cheese, all warmed in the oven) or Huevos Rancheros (basically a tostado topped with an egg).  It’s also delicious served aside Rice & Beans or with Shrimp Tacos and numerous other dishes.  

Ingredients:

1 large bunch Cilantro – about 2 cups

Small handful of Parsley – about ½ cup – optional

1-2 Garlic Cloves (see note below)

3 Tablespoons Green Pumpkin Seeds/Pepitas

Zest of 1 Lemon

1-2 Tablespoons Lemon Juice

3 Tablespoons Olive Oil

Salt and Black Pepper to taste

 IMG_3659 Cilantro

Directions:

Roughly chop the garlic and pulse in a food processor.  Roughly chop the Cilantro and Parsley, if using and add to the food processor, pulse.  Next add in the Pumpkin seeds, pulse again.  Lastly add in the Lemon Zest and Juice, Olive Oil and Salt & Pepper.  Pulse again until fully pureed.  The consistency should be that of a thick paste. 

Taste and add additional lemon juice, salt and pepper if needed.  IF you like your pesto a bit thinner, add a little more olive oil.

A Note about Garlic – If the flavor of raw garlic is too intense for you, instead of adding it raw, place 2 peeled whole garlic cloves with 3 Tablespoons Olive Oil in a small pot over low heat.  Gently cook the Garlic and Oil over low heat for 5-10 minutes, watching carefully to insure that the garlic does not brown at all.  You are creating a garlic infused oil, which will give you all the flavor of garlic without any of the harshness of raw garlic, a nice mellow garlic taste.  Allow the garlic and oil to cool and then add both to the food processor along with the Cilantro and other ingredients. 

Makes about 1 cup.

Serve with Tostadas, Quesadillas, Huevos Rancheros, Pinto or Black Beans & Rice.  Also good in shrimp or fish tacos, a Hummus wrap, sandwich spread or stirred into a vinaigrette for salad.  Enjoy!