Category Archives: Veggies

Lemon Dijon Asparagus

IMG_5155

Lemon Dijon Asparagus

Author: Sweet Green Kitchen’s Jen Jones

I found the most beautiful fresh asparagus at the Croton-on-Hudson farmer’s market the last two Sundays.  It was sold loose and I was able to pick through and choose each individual spear, they ranged from super skinny and spindly to medium and large, and oh so very tender.  I decided they were too lovely to roast or steam and they were absolutely delicious raw, so I chose to delicately bathe them in a light and lemony Dijon vinaigrette, so so good.

IMG_5355 Lemon Dijon Asparagus

Ingredients:

Asparagus – about 20 spears, roughly 1/2 pound

Dressing:

2 teaspoons Olive Oil

1 teaspoon Dijon mustard

Zest of 1/2 Lemon

1 teaspoon Lemon Juice

Flaked Sea Salt – to taste

3-4 sprigs of Thyme IMG_5343 Lemon Dijon Asparagus

IMG_5344 Lemon Dijon Vinagrette

Directions:

Snap or cut off the ends of each Asparagus stalk.  IF your Asparagus is not quite as fresh, you may also wish to peel off a little of the stalk’s skin at the bottom.   Place in a shallow dish.

Mix together the dressing ingredients and pour over the Asparagus.  Mix around so each spear is equally covered in the dressing.

Serve cold or at room temperature, whatever you prefer.  Enjoy!                                

Click here for printable version

IMG_5162

Spanikopasorta

IMG_4434 Spanikopa Sorta

Spanikopasorta

Author: Sweet Green Kitchen’s Jen Jones

I adapted this from the Barefoot Contessa’s recipe for Spanikopita, I made quite a lot of changes; adding ricotta cheese, changing the herbs, swapping her scallions for leeks, eliminating bread crumbs and of course using a LOT less butter and olive oil, until it no longer seemed as much a spanikopita as it seemed sort of spanikopita, sort of not, so it became Spanikopasorta.  Unlike a traditional spanikopita which is layered and baked as more of a casserole, this is rolled up roulade or struedel style.

I like this served with either a green salad or tomato salad, either way great for lunch or dinner served hot or at room temperature.  This would also make a great party appetizer or hors d’oeuvres.

Makes 2-3 roulades/struedels

Ingredients:

2 Leeks – washed and sliced – white and tender green

2 Garlic Cloves – chopped

1-2 teaspoons Olive Oil

1-2 teaspoons Butter

1 10-ounce package Frozen Spinach – defrosted

1 cup Ricotta cheese (whole or part skim) – half of a 16 ounce container

¼ cup Parsley – flat leaf – chopped

2 Extra Large Eggs

6 ounces Feta cheese – chopped and crumbled (do not use pre-crumbled)

¼ – ½ teaspoon ground Nutmeg

Fresh Thyme – a few sprigs

Salt & Pepper

Phyllo Dough – about 20 sheets, more or less

Melted Butter – about 3 Tablespoons

Directions:

Preheat oven to 400 F

Heat Olive Oil and Butter in a large non stick sauté pan.  Add the chopped Leeks, cook for a few minutes and then add in the chopped Garlic.  Continue cooking until the Leeks are softened and browned a bit on the edges, but not completely.IMG_4384 Chopped Leeks for Spanikopa SortaIMG_4386 Sauteed Leeks and Garlic

Meanwhile, squeeze out the water from the Spinach.  Turn off the heat and add the Spinach to the pan with the Leeks and Garlic and toss around a bit.IMG_4797

In a medium to large bowl, add the Ricotta, chopped Parsley, Eggs, crumbled Feta cheese, Nutmeg, Thyme leaves, Salt and Pepper.  Stir to combine and then add in the slightly cooled Spinach, Leeks and Garlic, stir again. IMG_4390 Chopped Parsley for Spanikopa SortaIMG_4804IMG_4808

Lay out 2 sheets of Phyllo and brush all over with a little bit of melted Butter, then continue layering 2 sheets at a time with butter brushed in between until you have used 10 sheets.IMG_4811

To make Struedel style – Spoon either 1/3 or 1/2 of the Spinach & Cheese mixture down the center of the Phyllo stack, leaving about 1 inch at each short end without filling. Fold over the two sides and then wrap one long end over the filling and finish by folding the last end over the top and brush with a little more butter to seal.  Carefully move struedel to a baking sheet. IMG_4813

To make Roulade style – Spoon either 1/3 or 1/2 of the Spinach & Cheese mixture to cover the whole sheet of Phyllo, leaving a border about 1 inch around.  Next fold over the short ends and then begin rolling the Phyllo over the filling, finishing with a little brush of melted Butter.  Carefully move to a baking sheet.

Repeat with remaining Phyllo and filling until you have 2 or 3 roulades or struedels.  Whether you end up with 2 or 3 is merely a matter of personal preference, depending on your preferred ratio of filling to pastry.

Bake at 400 degrees F for about 20 minutes.   Divide each struedel into slices 1-2 inches thick or larger pieces if you prefer.  Serve hot or at room temperature.  Enjoy!   IMG_4439 Spanikopa Sorta


Recipe Notes:

Leeks – most recipes instruct to use just the white and light green parts of the leek, but I really prefer to use almost the whole leek including the darker green.  I slice through most of the leek and as I get toward the dark green less tender end, I peel away the outer layers and then continue to slice through the more tender inner layers.

Phyllo dough is sold frozen, not be confused with puff pastry.  Phyllo is thin and papery.  It tends to dry out quickly, so I just unroll as many sheets as I need for the moment, leaving the rest wrapped until needed.   

Click here for printable version 


Perfectly Roasted Cauliflower

Roasted Cauliflower

Perfectly Roasted Cauliflower with Chick Peas

Author: Sweet Green Kitchen’s Jen Jones

I love roasting vegetables and do so regularly.  It’s amazing what a little olive oil, salt & heat can do to elevate a simple vegetable to something complex and sweet. 

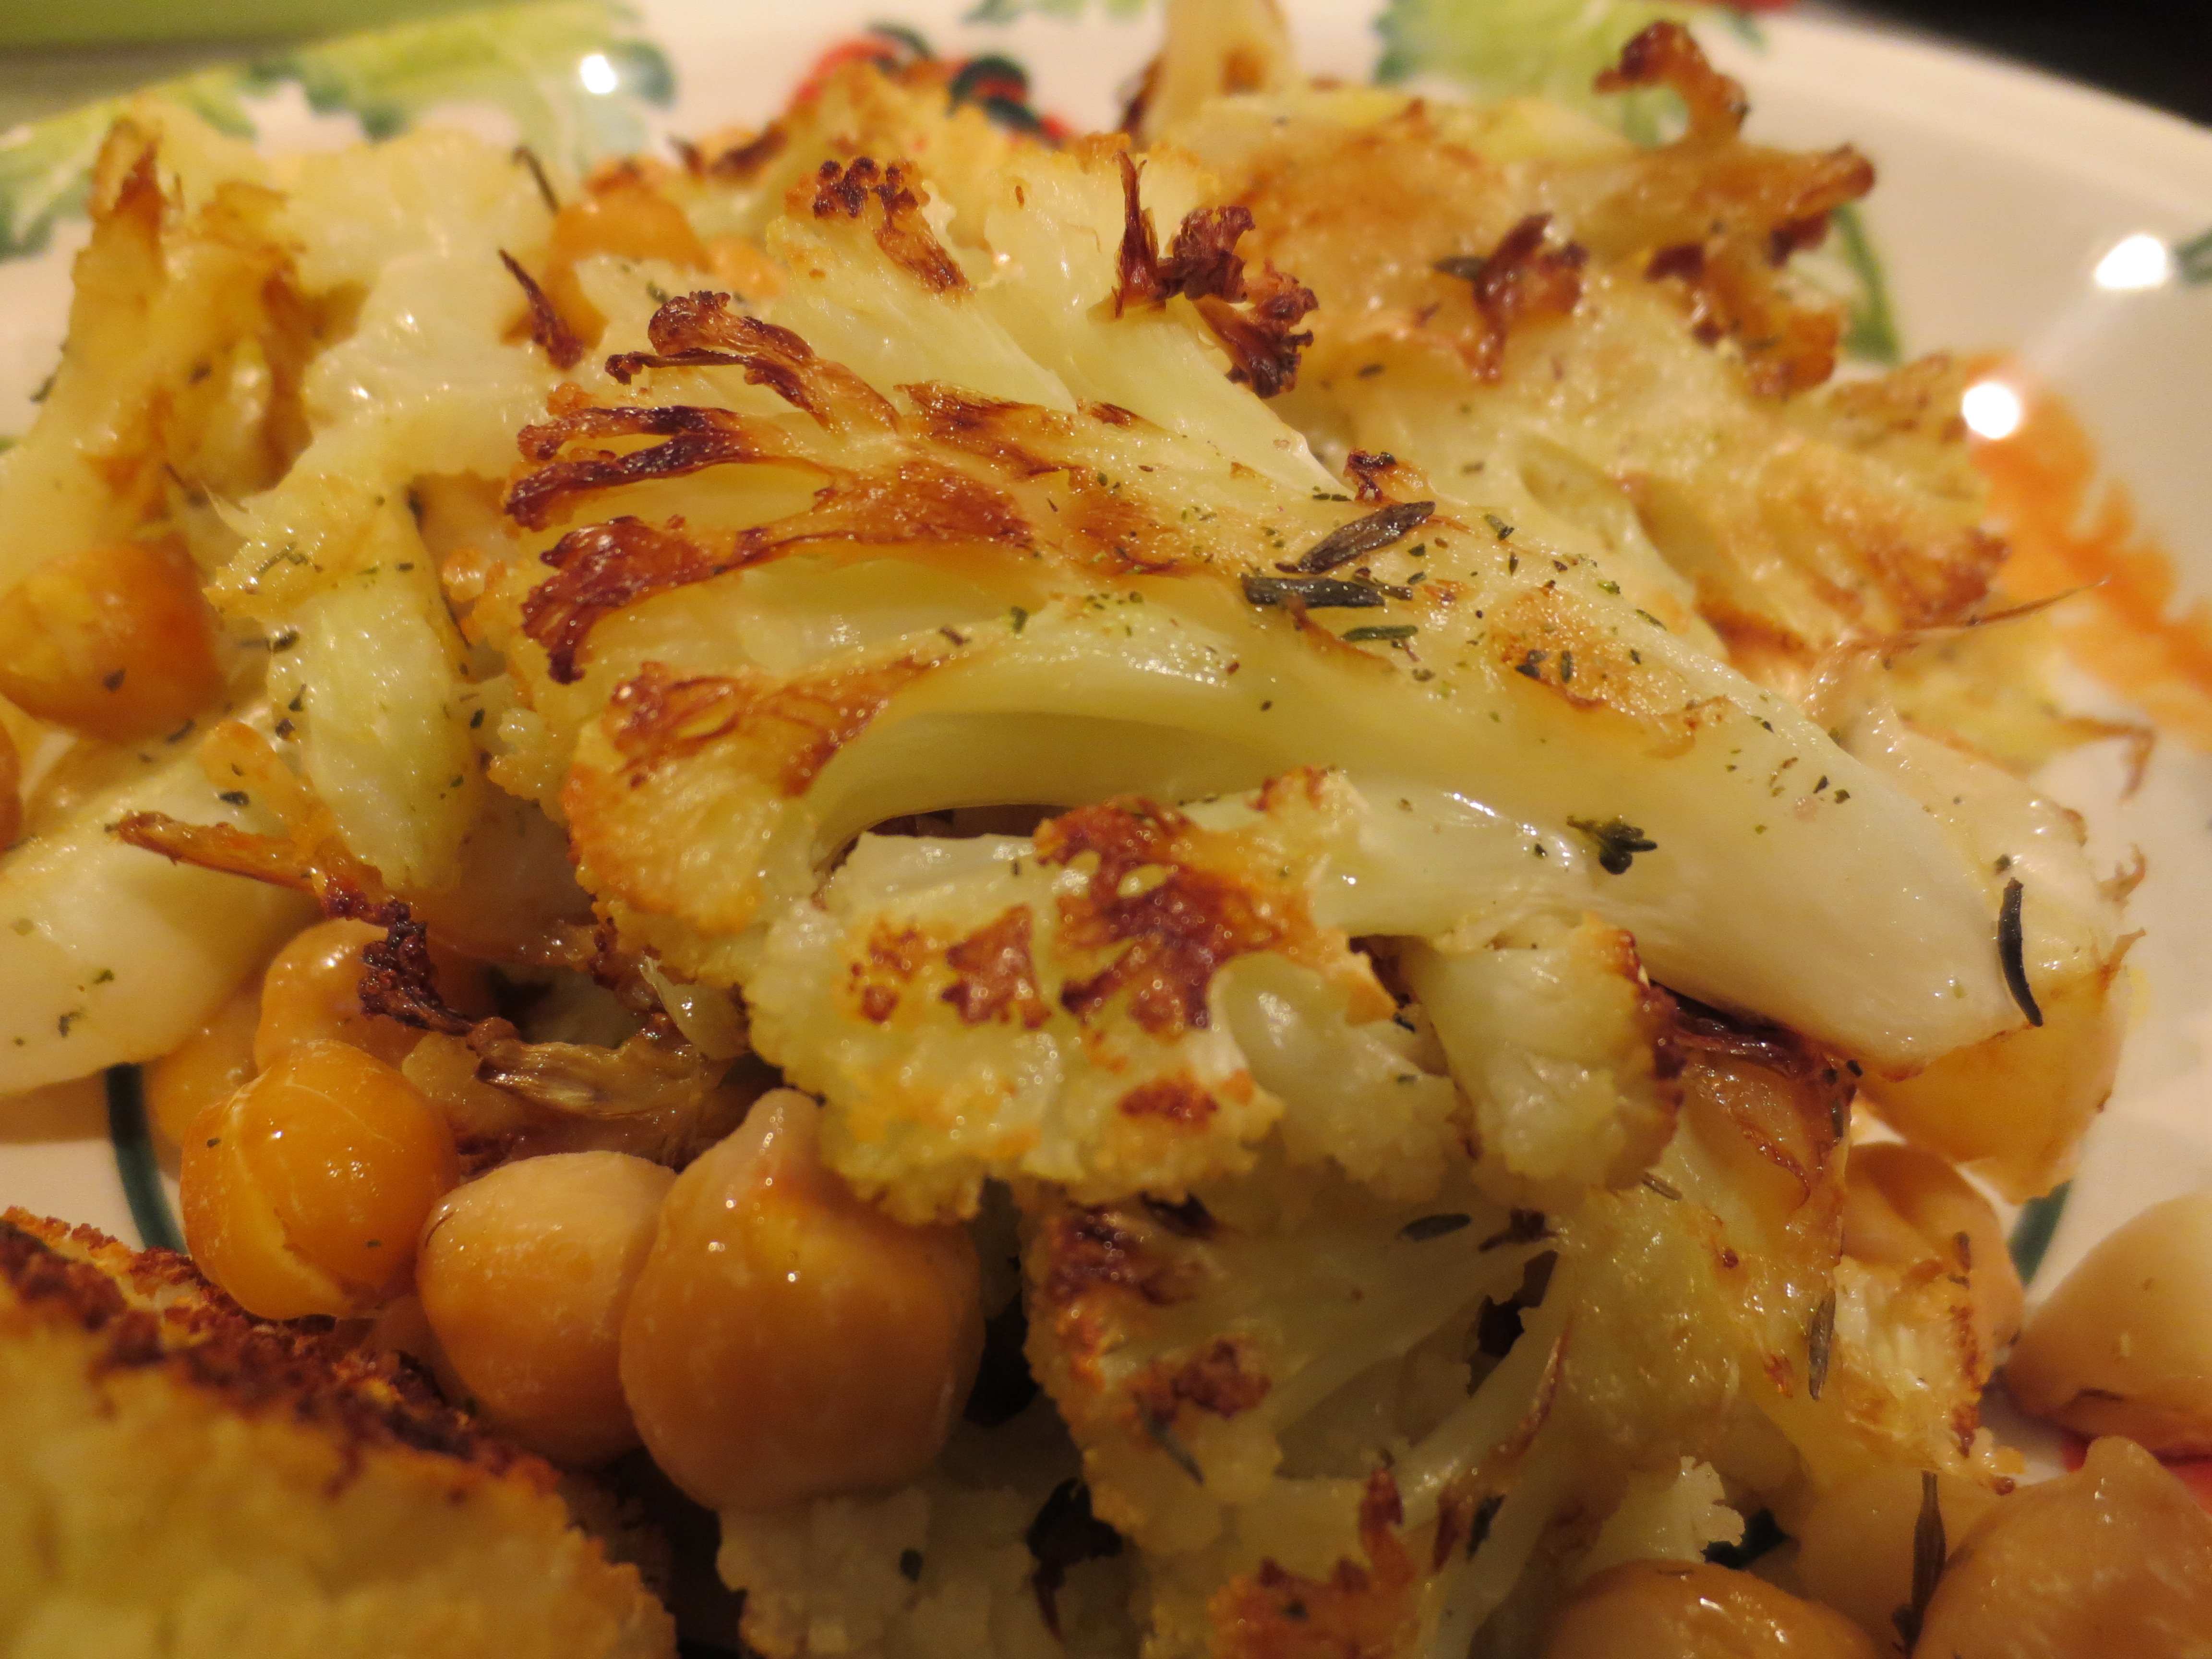
I’ve been roasting cauliflower for years and loving it.  But I recently starting doing it just a little differently and I’m forever changed.  The secret is to cut the whole head into slices rather than breaking it up into florets.  Slicing the cauliflower allows more of the surface to come in contact with the roasting pan and leads to perfectly roasted carmelization.  The chick peas complete the dish, elevating it beyond a simple plate of vegetables.  When roasted the chick peas develop a beautifully crisp exterior while maintaining their creamy interior.  It’s so simple, yet so delicious. 

I also prefer roasting my vegetables at a slightly lower temperature than what you may be accustomed to.  Roasting at 375 F, rather than the more standard 400 – 450 eliminates the possibility of burning while still allowing a lovely carmelization, and let’s face it anyone with kids underfoot or any other life distraction has probably burned a few vegetables, or maybe that’s just me…

 Roasted Cauliflower and Chick Peas


Ingredients:

1 head of Cauliflower    

2 -3 Garlic cloves

Olive Oil

Salt

Thyme

1 15 ounce can Chick Peas – drained


Directions:

Preheat Oven to 375 F.

Prepare 1 or 2 large rimmed sheet pans by drizzling them with Olive Oil.

Wash the Cauliflower and remove any leaves.  On a large cutting board, first cut the Cauliflower in half and then cut each half into approximately half inch slices.  You can leave the slices large or break them up into bite size pieces if you prefer. 

Lay each slice of Cauliflower on the rimmed baking sheets and turn them over in the olive oil.   

Chop the Garlic in large pieces, about 4-6 pieces per clove depending on the size of your cloves.   

Top the Cauliflower with the chopped Garlic.  Sprinkle with Salt and Thyme.  Drizzle with a little more Olive Oil.  At this point you can either add the drained Chick Peas to the pan with the Cauliflower or if you prefer hold off and add the Chick Peas at the half way point. 

Note: Cooking the Chick Peas for the entire time will yield a crunchier but also slightly drier result.  If you choose to add the Chick Peas at the half way point, they won’t be quite as crisp, but still absolutely delicious. 

Position pans in the lower third of the oven and bake for about 20-25 minutes, then flip the Cauliflower and Chick Peas over or add the Chick Peas to the pan at this point if you didn’t already.  Bake another 15 minutes more on the second side.  If using 2 pans rotate their positions in the oven when you flip the Cauliflower.  The pan towards the center of the oven may take a little bit longer to cook than the pan in the lower part.  The Cauliflower should develop a beautiful golden carmelized color. 

Remove from pan with a spatula (or eat right off the pan as we often do in our house) and Enjoy! IMG_4663 Roasted Cauliflower and Chickpeas

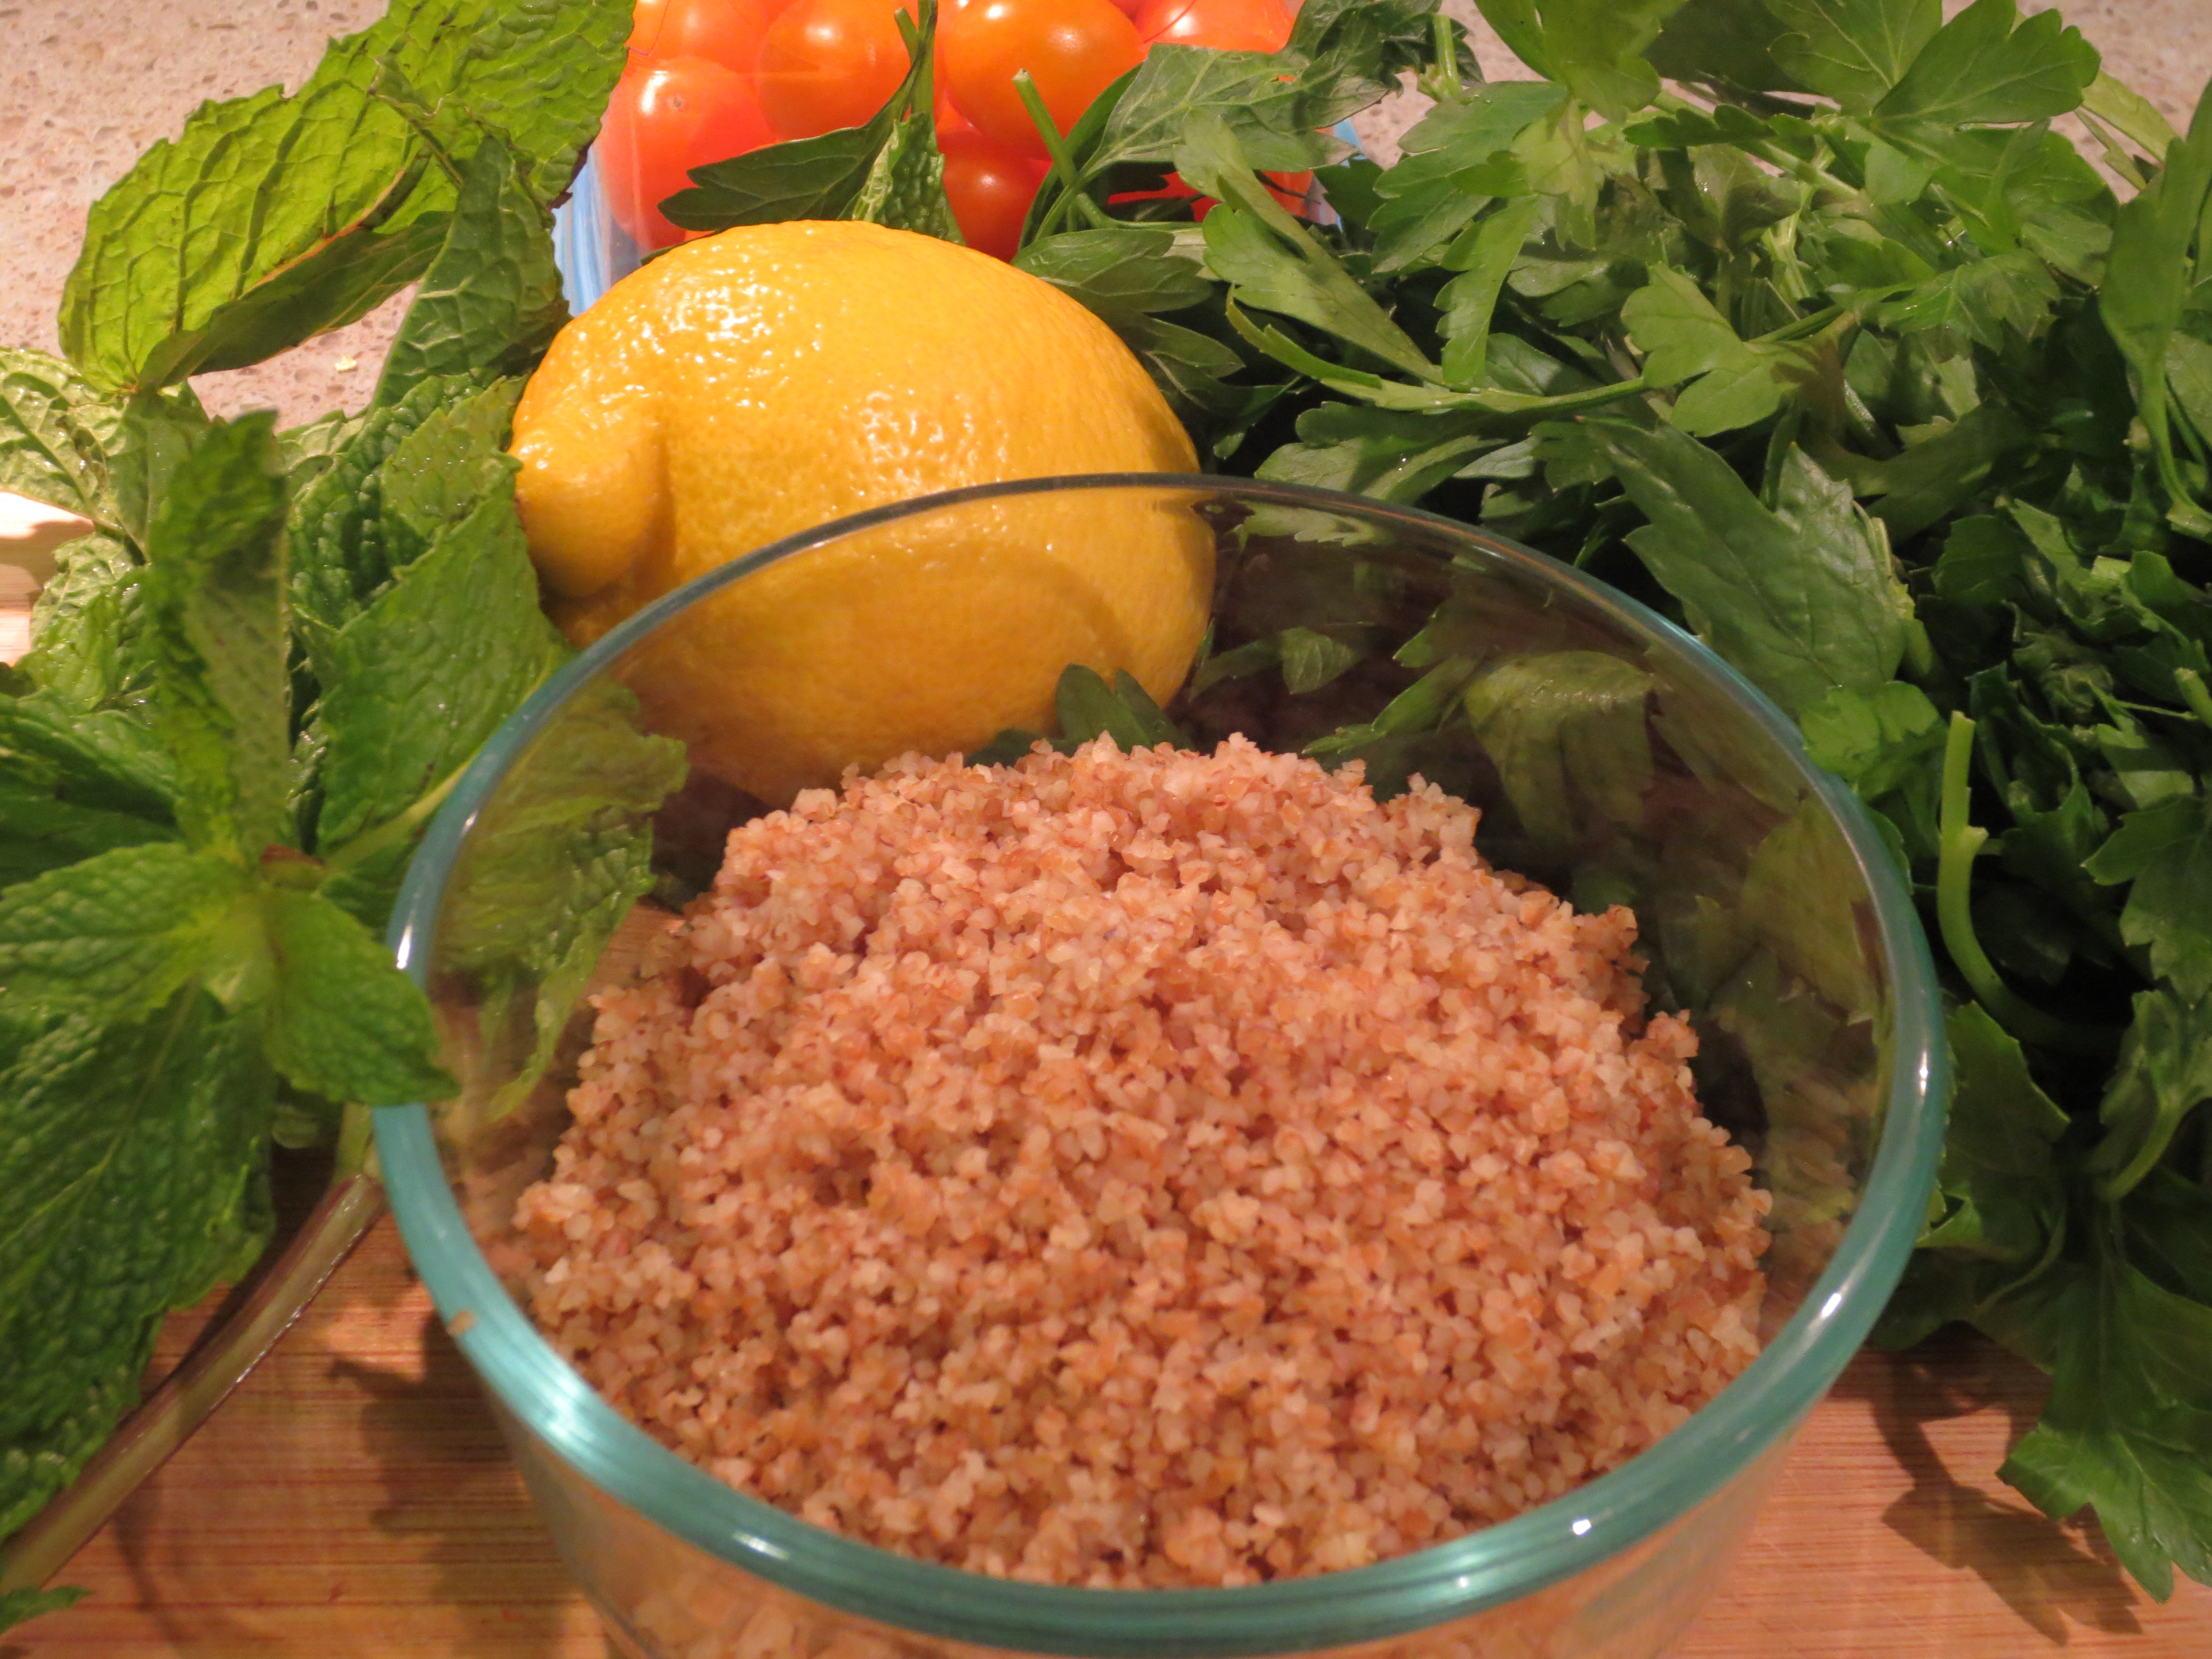
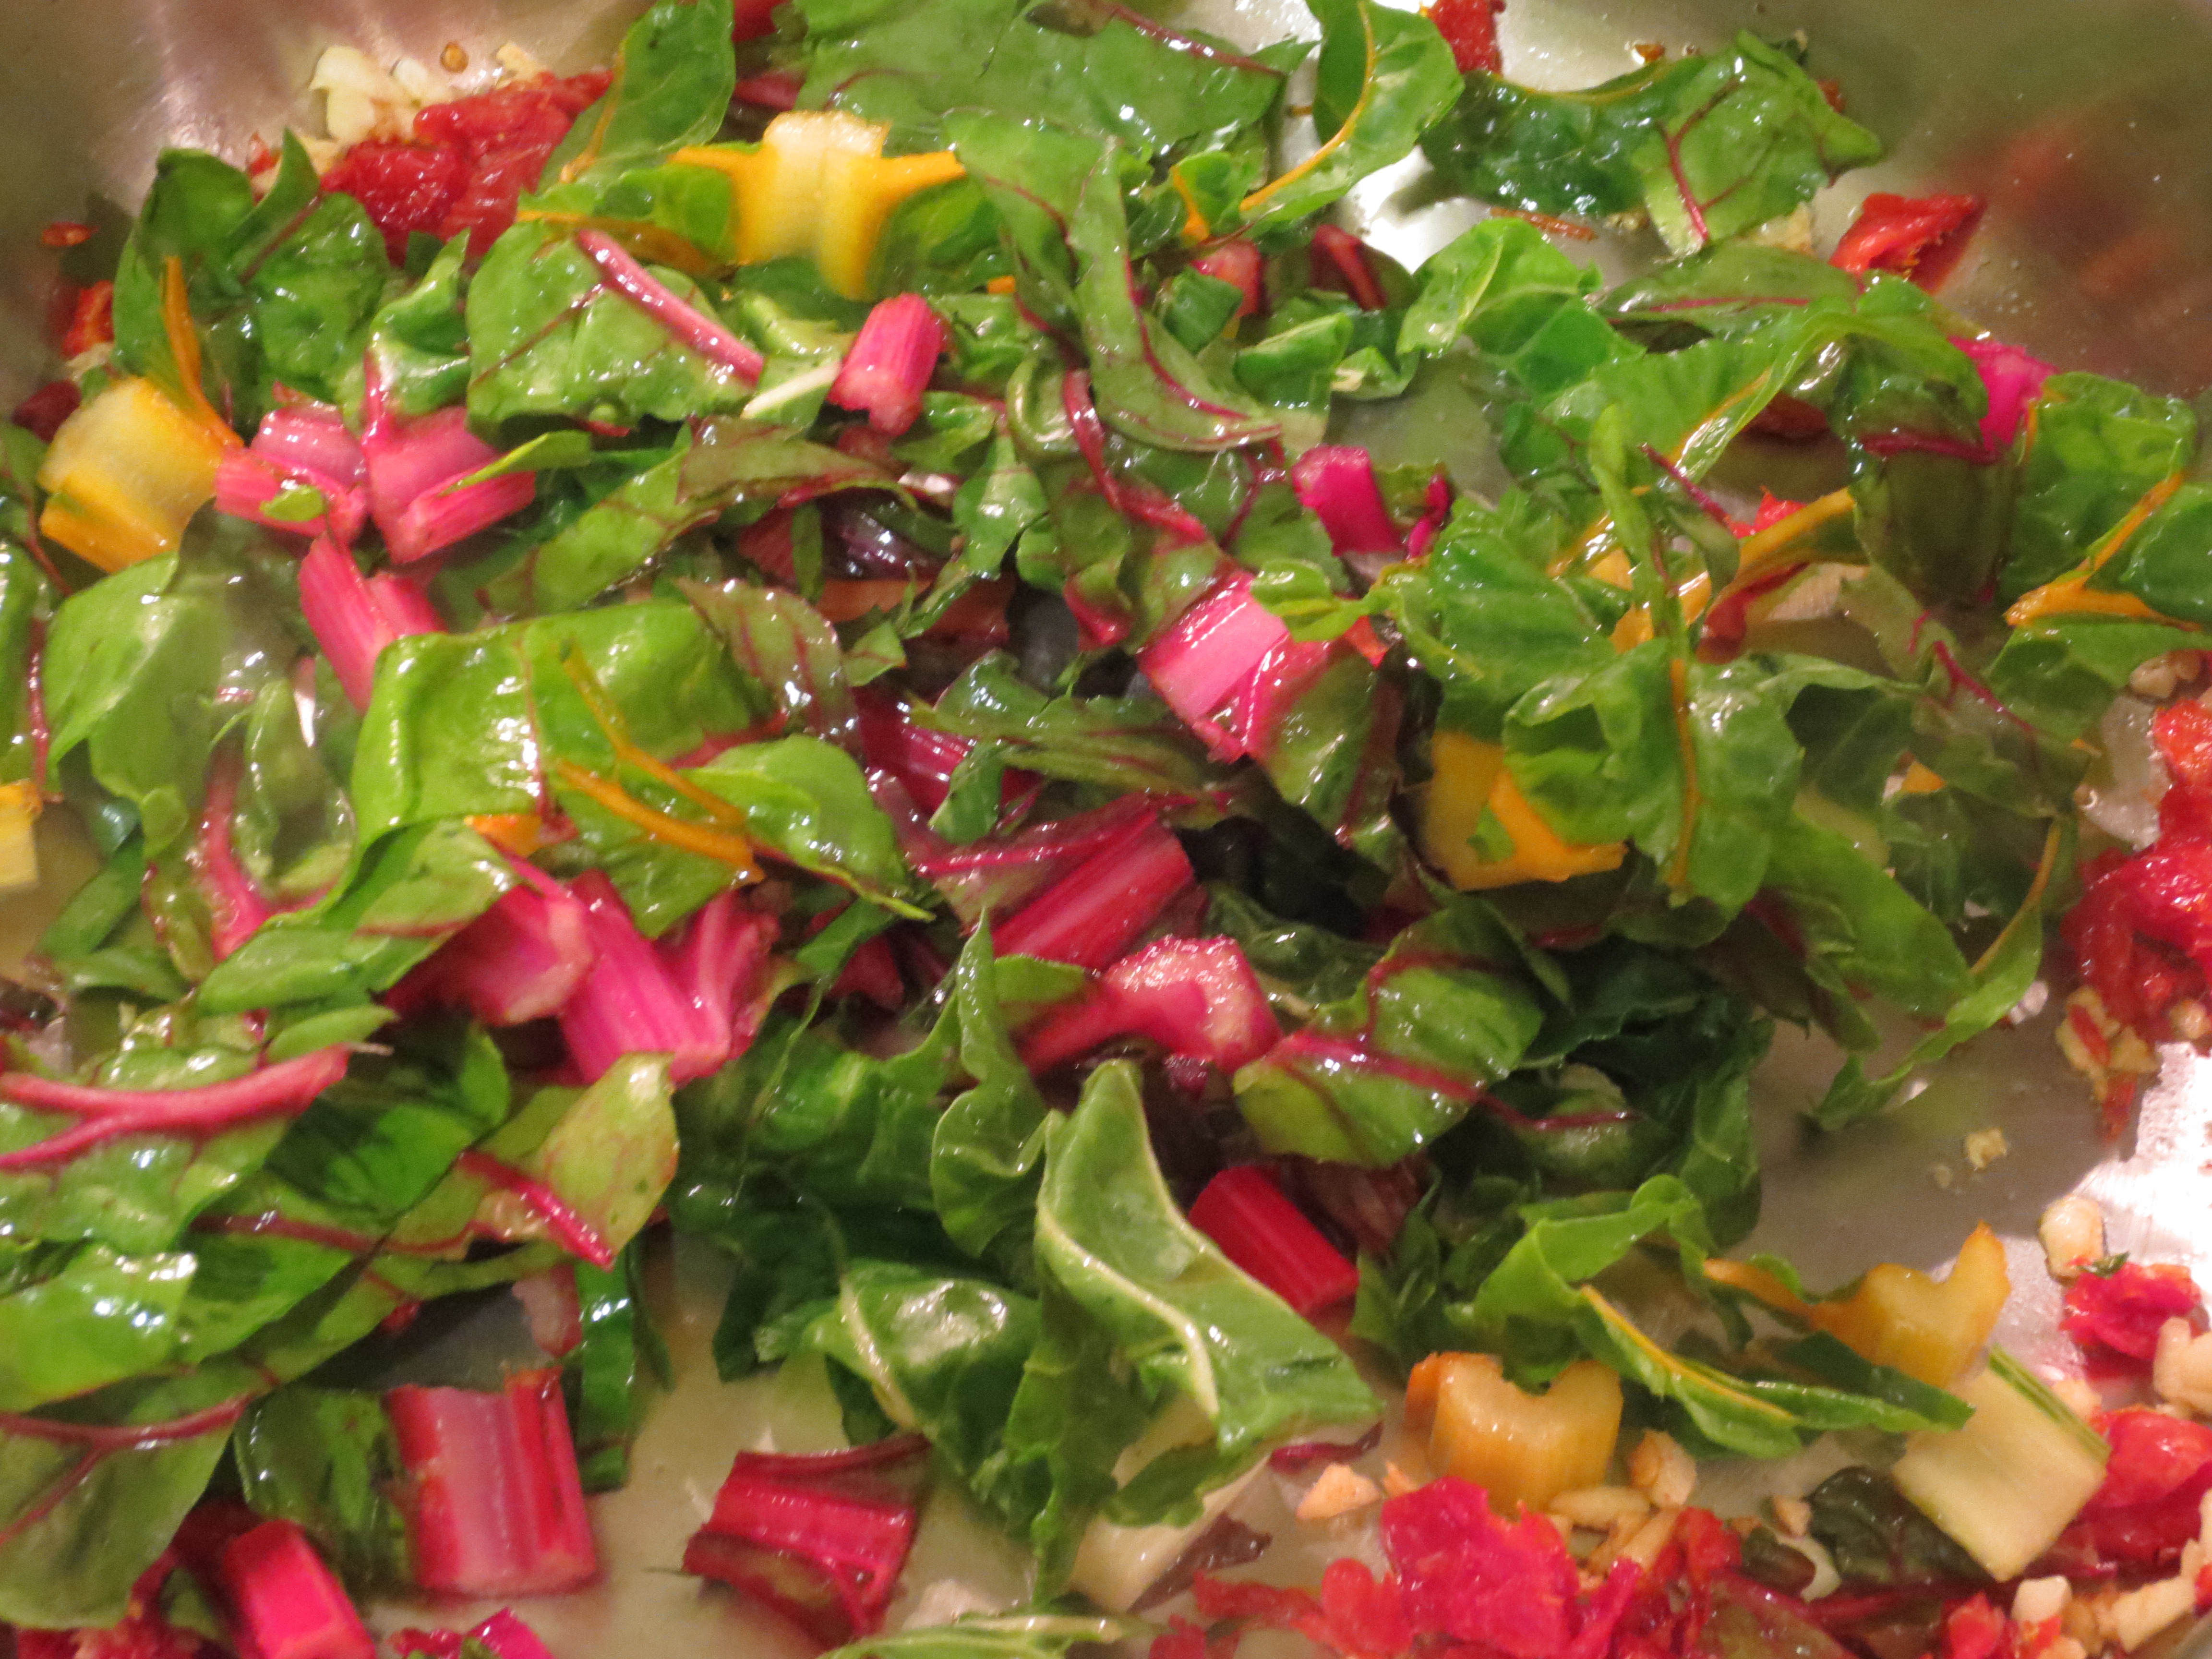
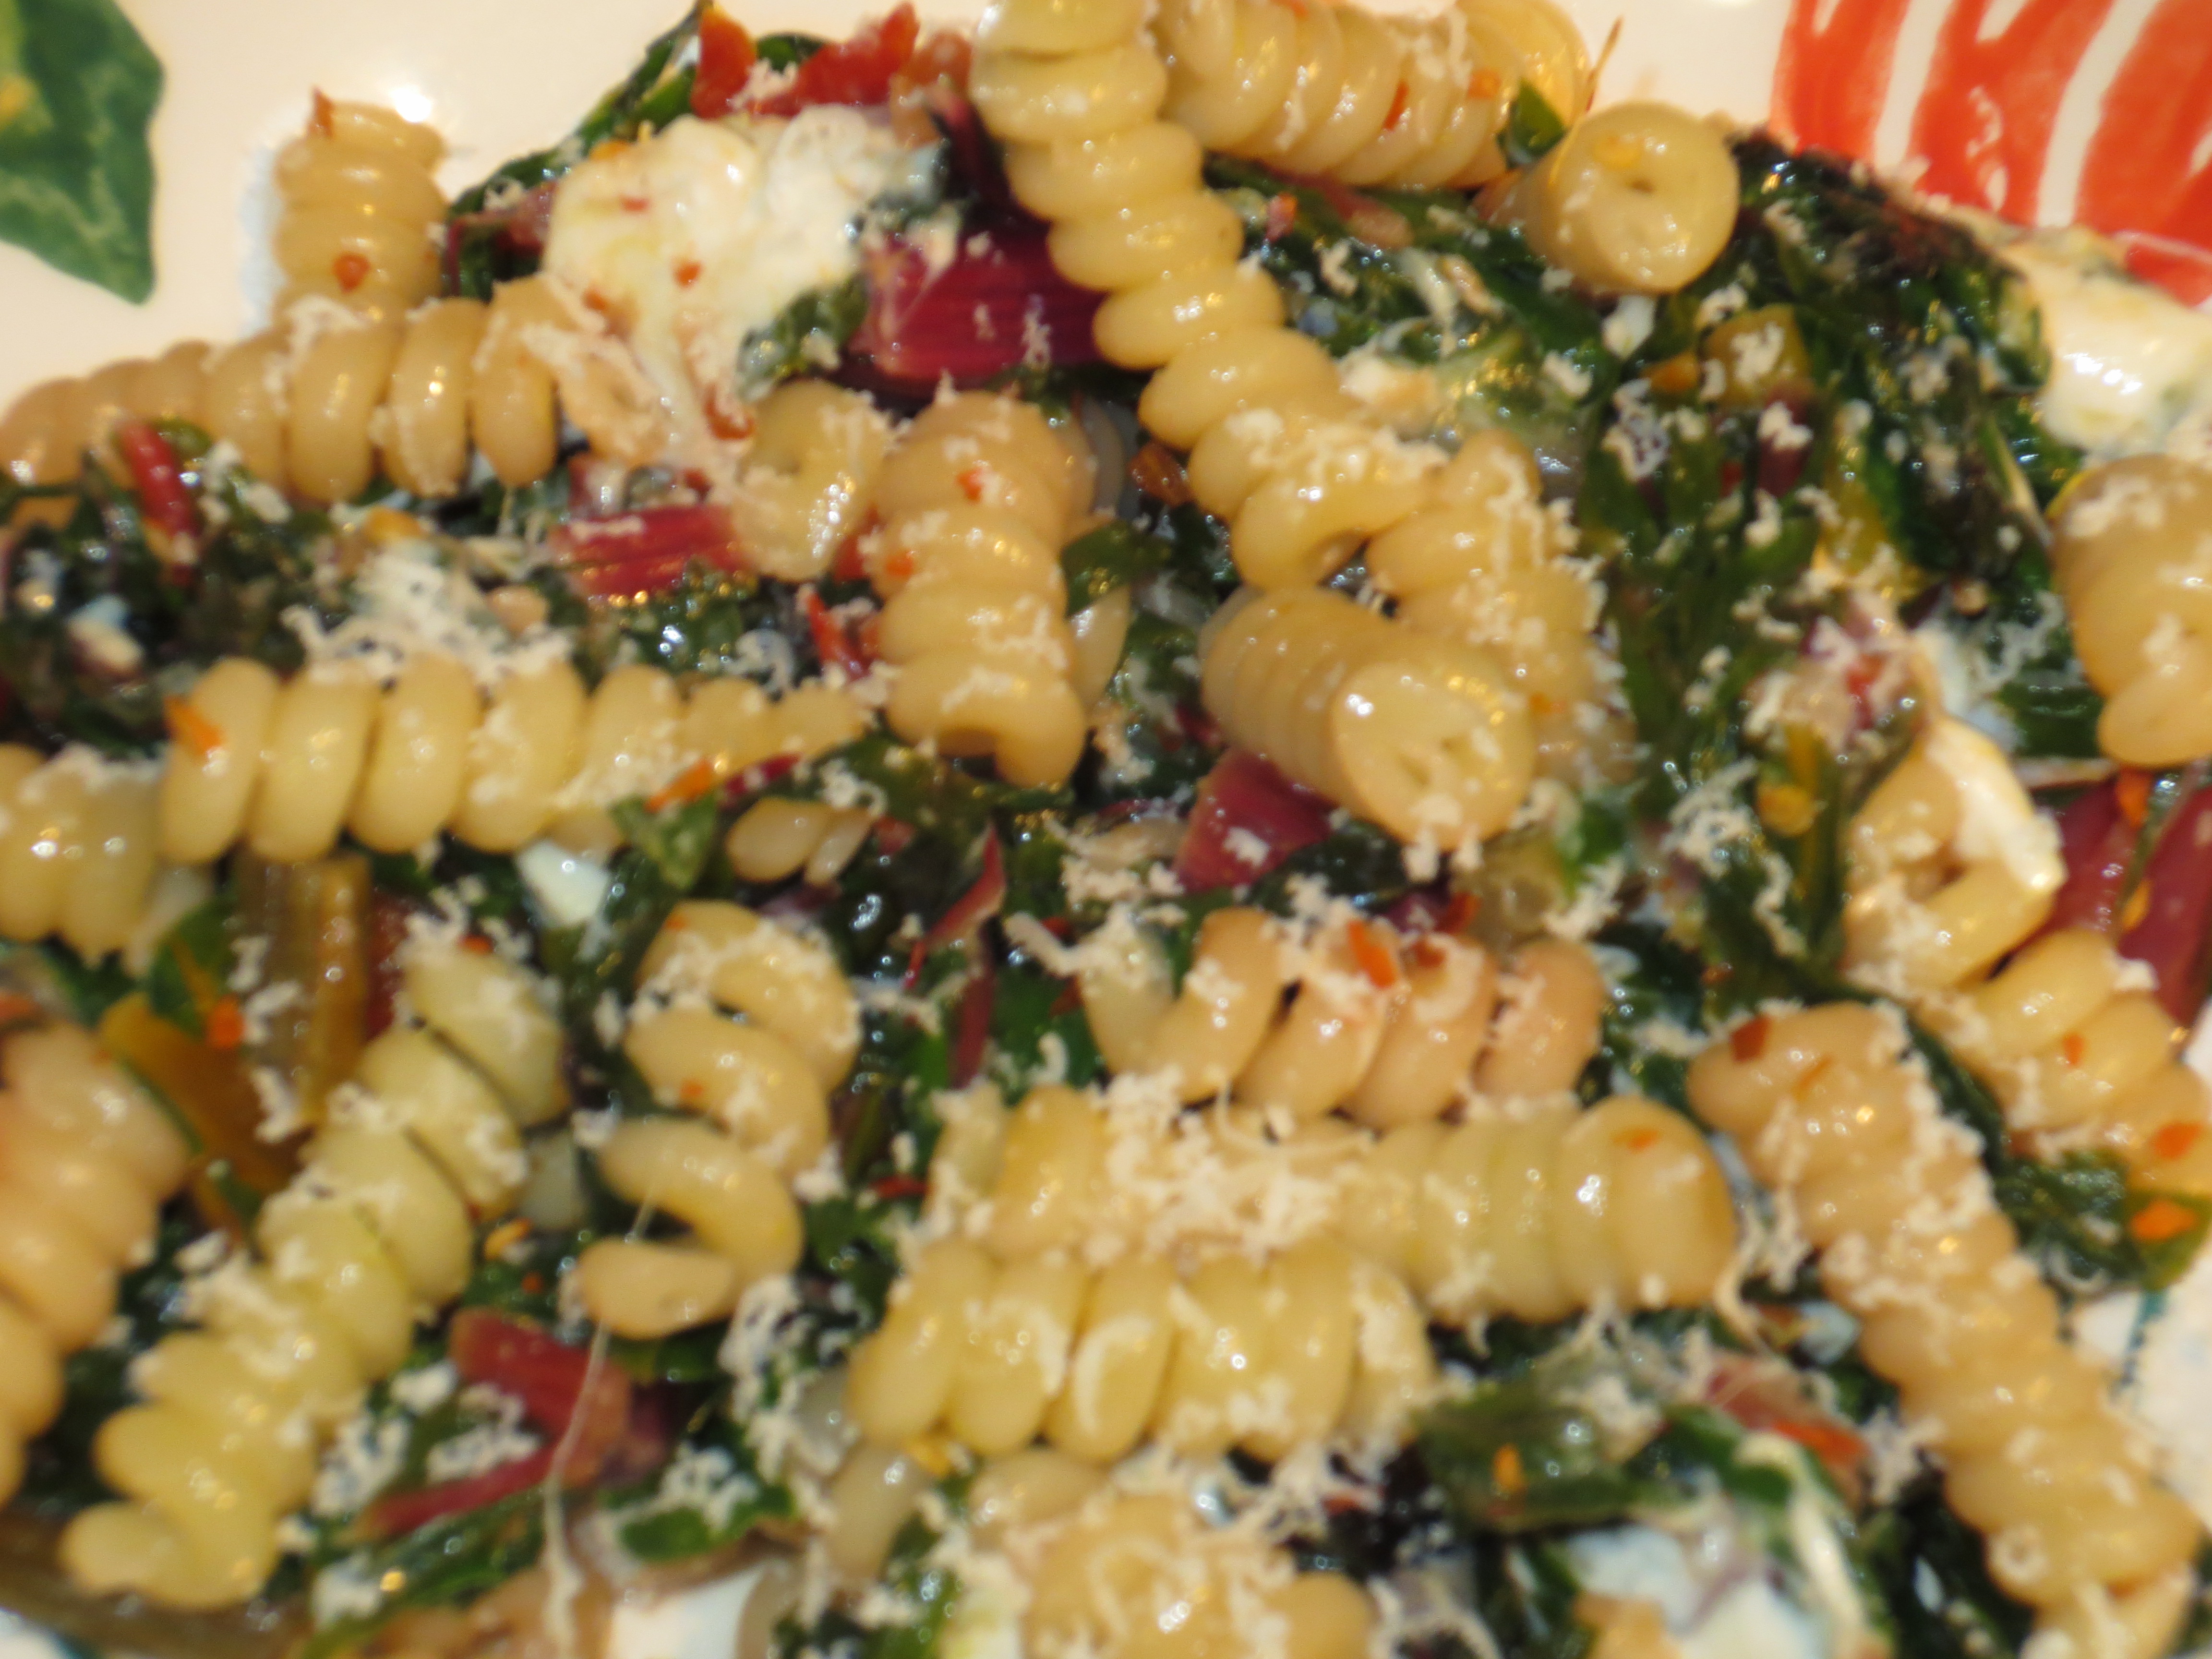
Recipe Notes: Roasted Chick Peas and Cauliflower are a great accompaniment to any main dish.  We like them tossed with pasta or as a side with Quinoa Fritters or even with Tabbouleh  


 Click here for printable version


Lemony Tabbouleh

Lemony Tabbouleh

Author: Sweet Green Kitchen’s Jen Jones

vegan

IMG_4487

To so many, parsley is thought of as just a garnish, but not I.  To me, parsley is an ingredient to be celebrated as much as other favorite herbs like basil or salad greens such as arugula, field greens and others.  It shows up regularly, pretty much daily in my meals, sprinkled atop sliced eggs on toast or over pasta or mixed into any number of recipes, it adds a freshness like no other to just about any savory dish.  But here, parsley becomes the star, no longer a mere garnish, parsley is the main ingredient in this simple lovely salad.  This truly is traditionally a parsley salad with bulgur, mint and tomatoes playing the supporting roles.  I like my tabbouleh with extra lemon, so feel free to add less if that’s not to your liking.  Either way, this is a quick, simple, yet wonderfully delicious dish that itself could be the star of the meal. 

Ingredients:IMG_4451

2/3 cup fine Bulgur wheat (medium or coarse grain can be substituted) *see notes – or Quinoa for a gluten free option

Zest of 1 Lemon

About 4 Tablespoons fresh Lemon Juice, from about 1- 2 lemons (less if you prefer)

About 4 -6 Tablespoons Olive Oil

1 large bunch (about 3-4 cups) Flat Leaf Italian Parsley (so much more flavorful than curly parsley)

1 small bunch Mint (about ½ – 1 cup)

About ½ – 1 whole pint of small Tomatoes, such as grape or cherry

Optional: 2-3 chopped Scallions

Sea Salt and Black Pepper to taste


IMG_4456

Directions:

Rinse bulgur in a tight mesh strainer under cold water and then drain thoroughly.  Pour into a medium bowl.  *See notes below if you wish to use Quinoa. Zest your lemon (before juicing).  Add lemon juice and olive oil to the bulgur, add less to start with as you can always add more lemon juice after tasting, but you can’t take it out.  Allow to sit for a few minutes to absorb the dressing.  If using medium or coarse grain bulgur, you’ll need to add a little hot water to soften the grain, before adding the dressing.

Meanwhile, wash and dry parsley and mint leaves and chop.  Add to the bulgur along with the lemon zest, salt and pepper and scallions if using.  Stir to combine.

Cut the tomatoes in half or quarters, depending upon the size and what you like.  Add the tomatoes to the salad and gently stir.

Taste, adding more lemon juice or salt and pepper as you like.

Can be served chilled or at room temperature.  Enjoy! IMG_4476IMG_4482

Recipe Notes:  

It’s best to let the salad sit for a bit of time before eating to allow the grain to soften and fully absorb all the flavors of the dressing, herbs and tomatoes.  If I have time and actually think ahead, I mix the bulgur with the olive oil and lemon juice and leave in the fridge overnight, before adding the remaining ingredients, but this is not necessary.

 Tabbouleh can be served in so many wonderful ways.  I like it simply in Romaine lettuce cups or added to a hummus wrap or falafel sandwich or atop a larger green salad or served alongside your favorite fish. It was also my contribution to the family Easter brunch, served along side my dad’s amazing quiche and goat cheese tart.  

Ingredient Notes: 

Parsley has numerous health benefits.  It is an excellent source of Vitamins K (one half cup serving provides over 500% of your daily value!) and C and also a very good source of Vitamin A, folic acid and iron. It is high in numerous healthy flavonoids.  All of which means parsley is good for your heart, joints, digestion and more.   

Bulgur wheat also goes by the name cracked wheat, it is high in protein and fiber and low in fat and calories, an excellent substitution for other grains such as brown rice or oats. 

*BUT, if you can’t find bulgur or wish to make this wheat/gluten free, I find Quinoa makes a perfect substitute for the bulgur.  If you do use Quinoa, you’ll have to pre cook it, I would probably use about 1/3 cup uncooked to 2/3 cup water, brought to a boil and then covered on a low simmer for 15-20 minutes.  Quinoa increases in volume by a lot, so don’t be concerned by the small amount at the start.   

Click here for Printable Version


Rainbow Chard with Melty Fresh Mozzarella and Fusilli Pasta

IMG_4218

I found a gorgeous bunch of  rainbow chard at the market the other day, with bright yellow, orange and pinkish red stems and veins of color running through the green leaves, after all the darkness and cold of winter it just felt like a lovely bunch of spring had walked into my day.  The whole drive home I thought and thought about what to make with my beautiful rainbow greens and then I came up with this recipe and I’m so happy I did.  A simple but perfect combination of sautéed greens, a little garlic, a little zest, fresh mozzarella warmed through with a little hit of saltiness from the sun dried tomatoes and grated pecorino.  This comes together in the time it takes to boil the water and cook the pasta.  I paired this with short, twisty fusilli cooked to al dente perfection, the greens and cheese twirl around the fusilli to create a deliciously complete bite with every forkful.

Rainbow Chard with Melty Fresh Mozzarella & Fusilli Pasta

Author: Sweet Green Kitchen’s Jen JonesIMG_4260


Ingredients:

1 pound Fusilli Pasta

1 large bunch Rainbow Chard or 2 small bunches (at least 12 large leaves)

2-3 large cloves Garlic

5-6 Sundried Tomatoes

4 ounces Fresh Mozzarella

Grated Pecorino Romano Cheese

Zest of ½ – 1 whole Lemon

Olive Oil

Red Pepper Flakes – just a pinch or more to taste

Sea Salt

Directions:

Cook Pasta in salted water until al dente. BEFORE draining the cooked pasta, reserve about 1 cup of the pasta cooking water to add to the sauce.

Chop Garlic and Sundried Tomatoes. Wash Rainbow Chard and then cut into ribbons. I do this by stacking all the leaves and then folding them over lengthwise, then slicing across (a sharp knife should cut through the stack pretty easily). Cut Mozzarella into small cubes. IMG_4231IMG_4236

IMG_4234While the pasta is cooking, heat a large skillet (deep enough to hold the veges and pasta), add a good drizzle of Olive Oil and then toss in the chopped Garlic and season with a pinch of salt. Cook until the Garlic is just beginning to get a little color and then add in the chopped Sundried Tomatoes. Stir the Garlic and Tomatoes as they cook another minute or so.

IMG_4235To the Garlic and Sundried Tomatoes, add in about a third of the chopped Rainbow Chard, starting with the chopped stems and some leaves, after a minute or two once the Chard has wilted down a bit, add in another third and stir, adding in the remaining Chard once the last bit has wilted some. Season with a little more salt. Cook the Chard for a few minutes, stirring as you go, until it has wilted but still has it’s vibrant color.IMG_4237

Stir in about 2 – 3 Tablespoons of Grated Romano cheese and then the Lemon Zest and Red Pepper Flakes. At this point you can pour in some of the reserved pasta cooking liquid to start creating a bit of a sauce (note, you may not need to use all the reserved liquid, add a little at a time and more as needed).IMG_4249

Next pour in the cooked Pasta and then the chopped Mozzarella, plus another drizzle of Olive Oil, stir to combine and until the Mozzarella begins to melt into the chard and pasta. Add more liquid if necessary and top with a little more grated Romano if you like.IMG_4256

IMG_4253Serve with extra grated cheese at the table. Enjoy!IMG_4259


Recipe Notes: If you can’t find Rainbow Chard, substitute with Swiss Chard or Beet Greens. Spinach would also be fine, except you’ll need a lot more as it wilts down quite a bit more than chard does.

Click here for printable version