
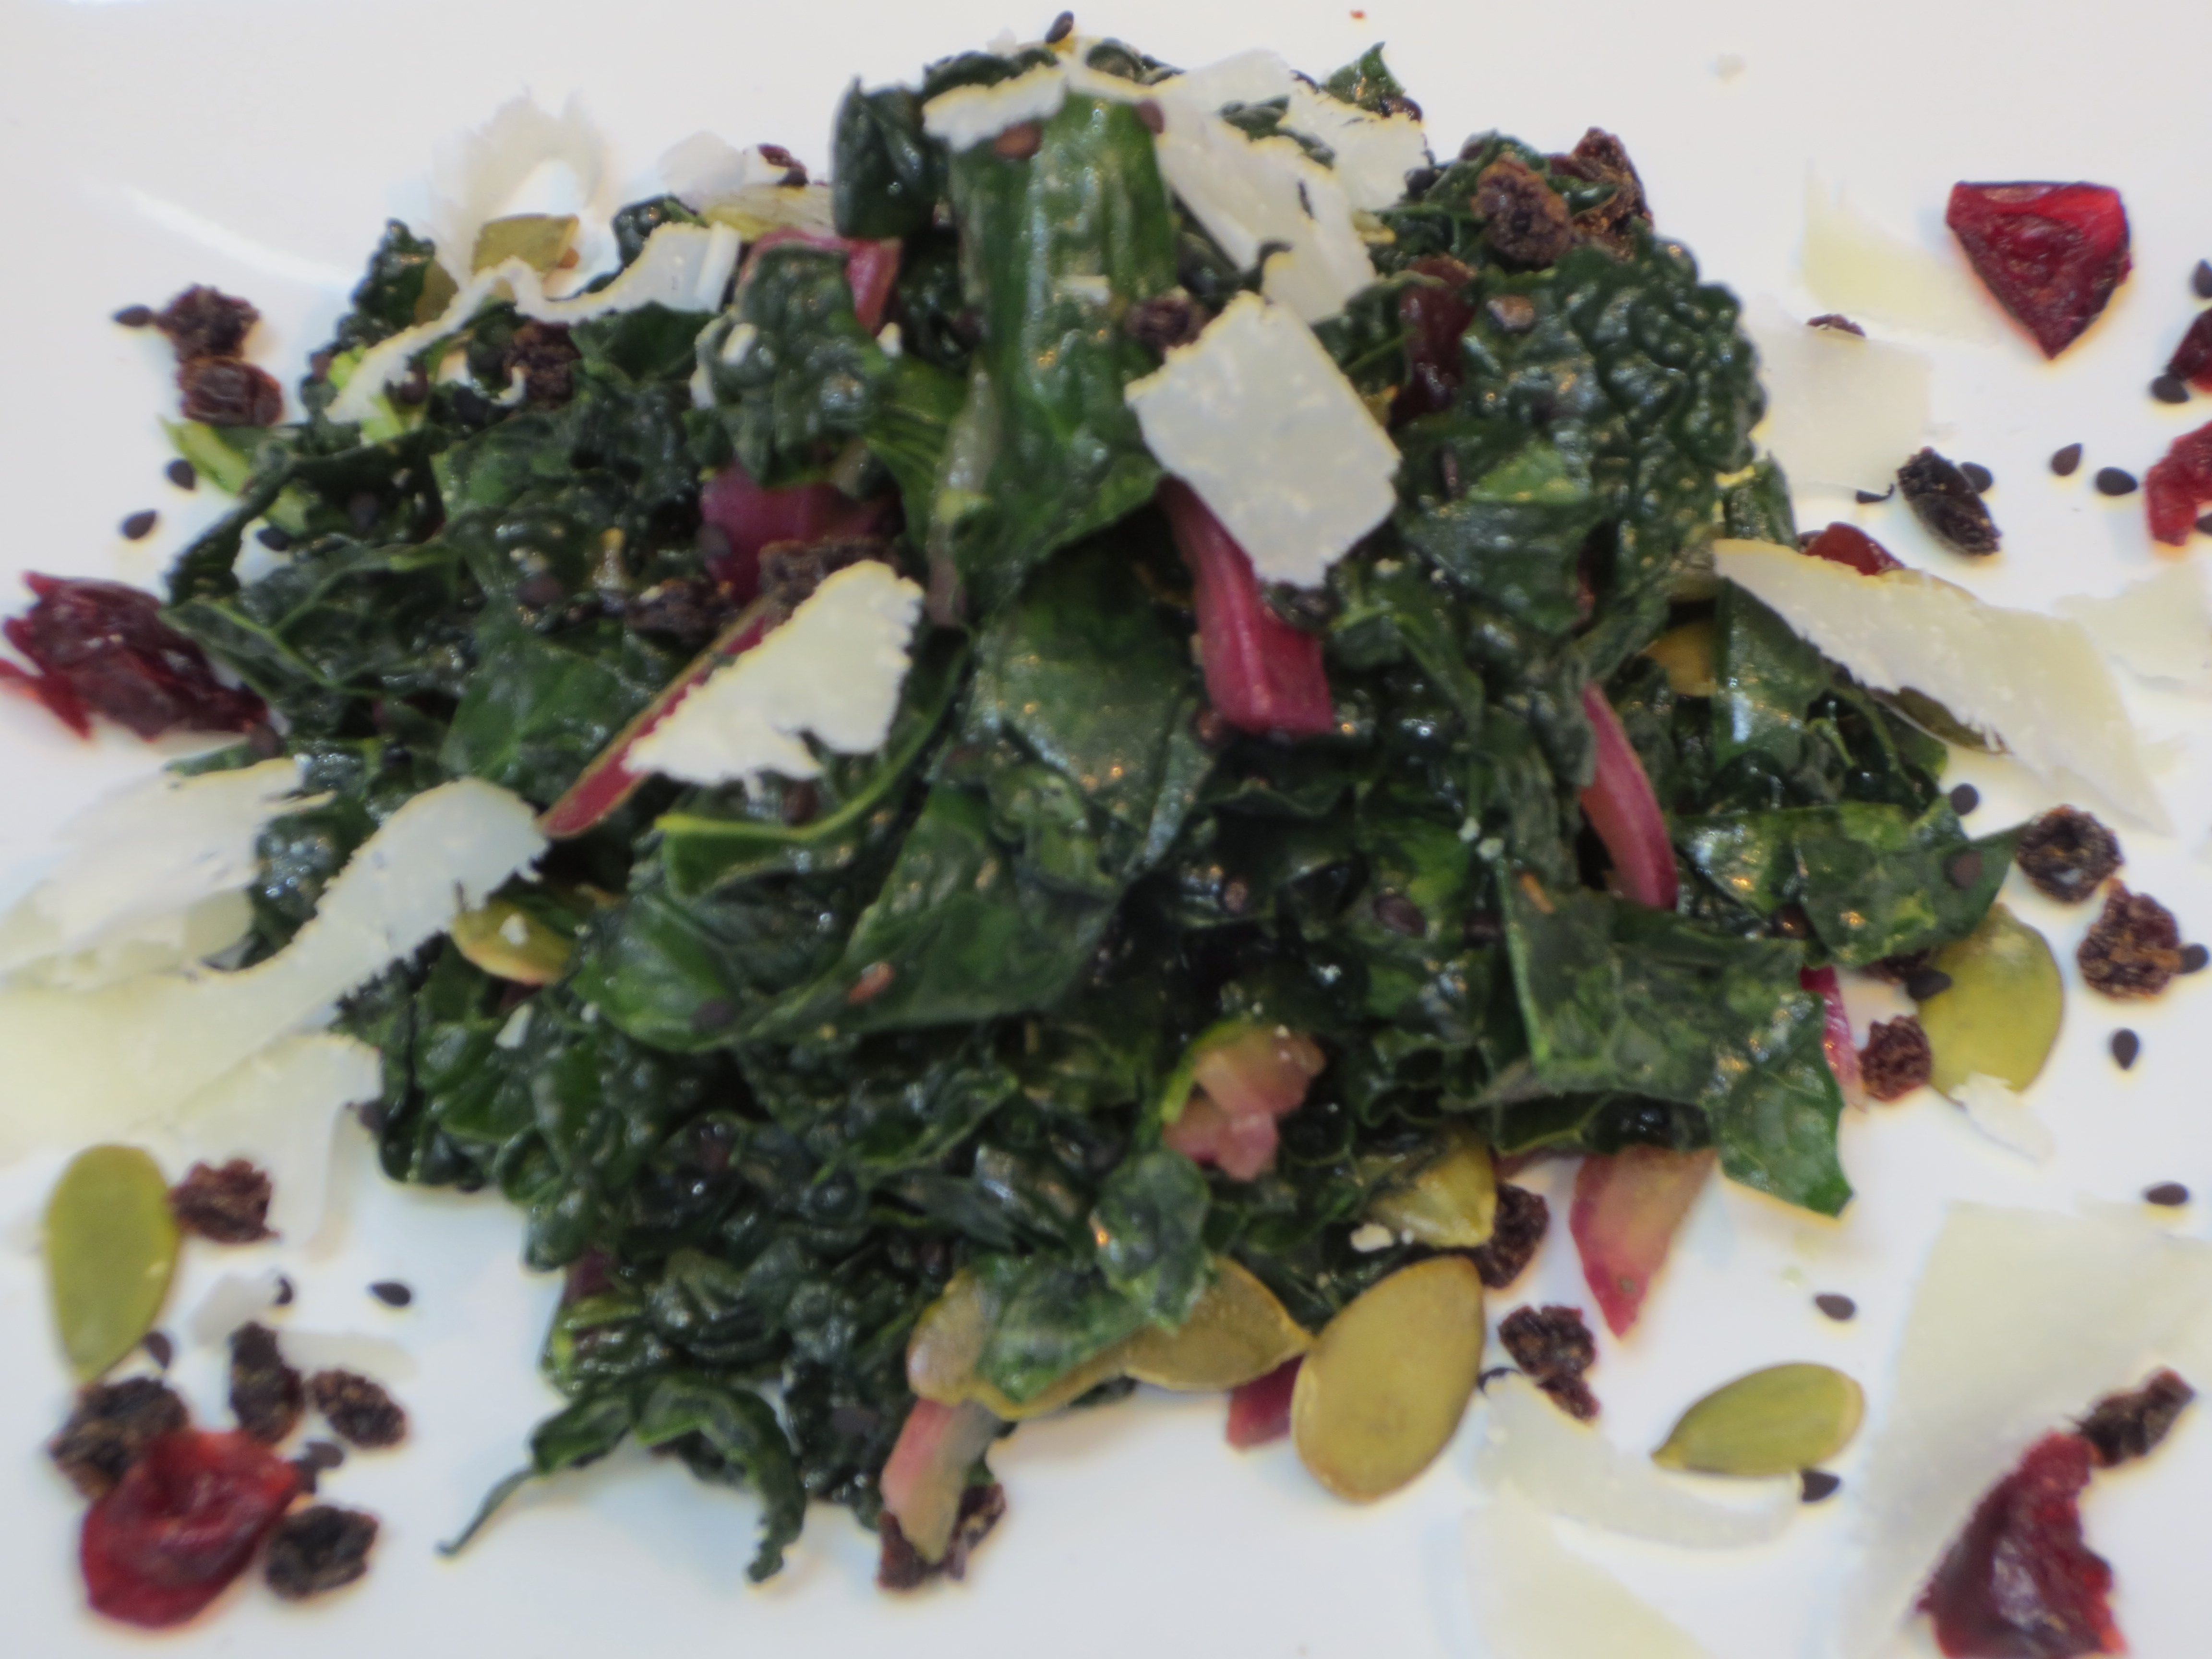
Kale Salad with Pickled Onions, Cranberries & Pumpkin Seeds
Author: Sweet Green Kitchen’s Jen Jones
I know, I know, I know, another kale salad! It seems that everywhere you look in the past couple of years you can find a kale salad and some might even say it’s going out of fashion, but not me. I mean how can something so good go out of style? And I mean that, this salad is good and good for you, but don’t make this salad because it’s good for you (although that is not a bad thing), make it because it’s just Good. (okay, did I use the word good enough?!)
I have several thoughts on kale salads, for starters not all kale salads out there are all that good (oops, I did it again), too leafy, not the right dressing or accompaniments. To me the type of kale you use and the way you treat it are very important to achieving a salad you’ll want to eat and make time after time. This salad is part of my regular rotation and I kid you not, my 13 year old gets excited when she sees I’m making it.

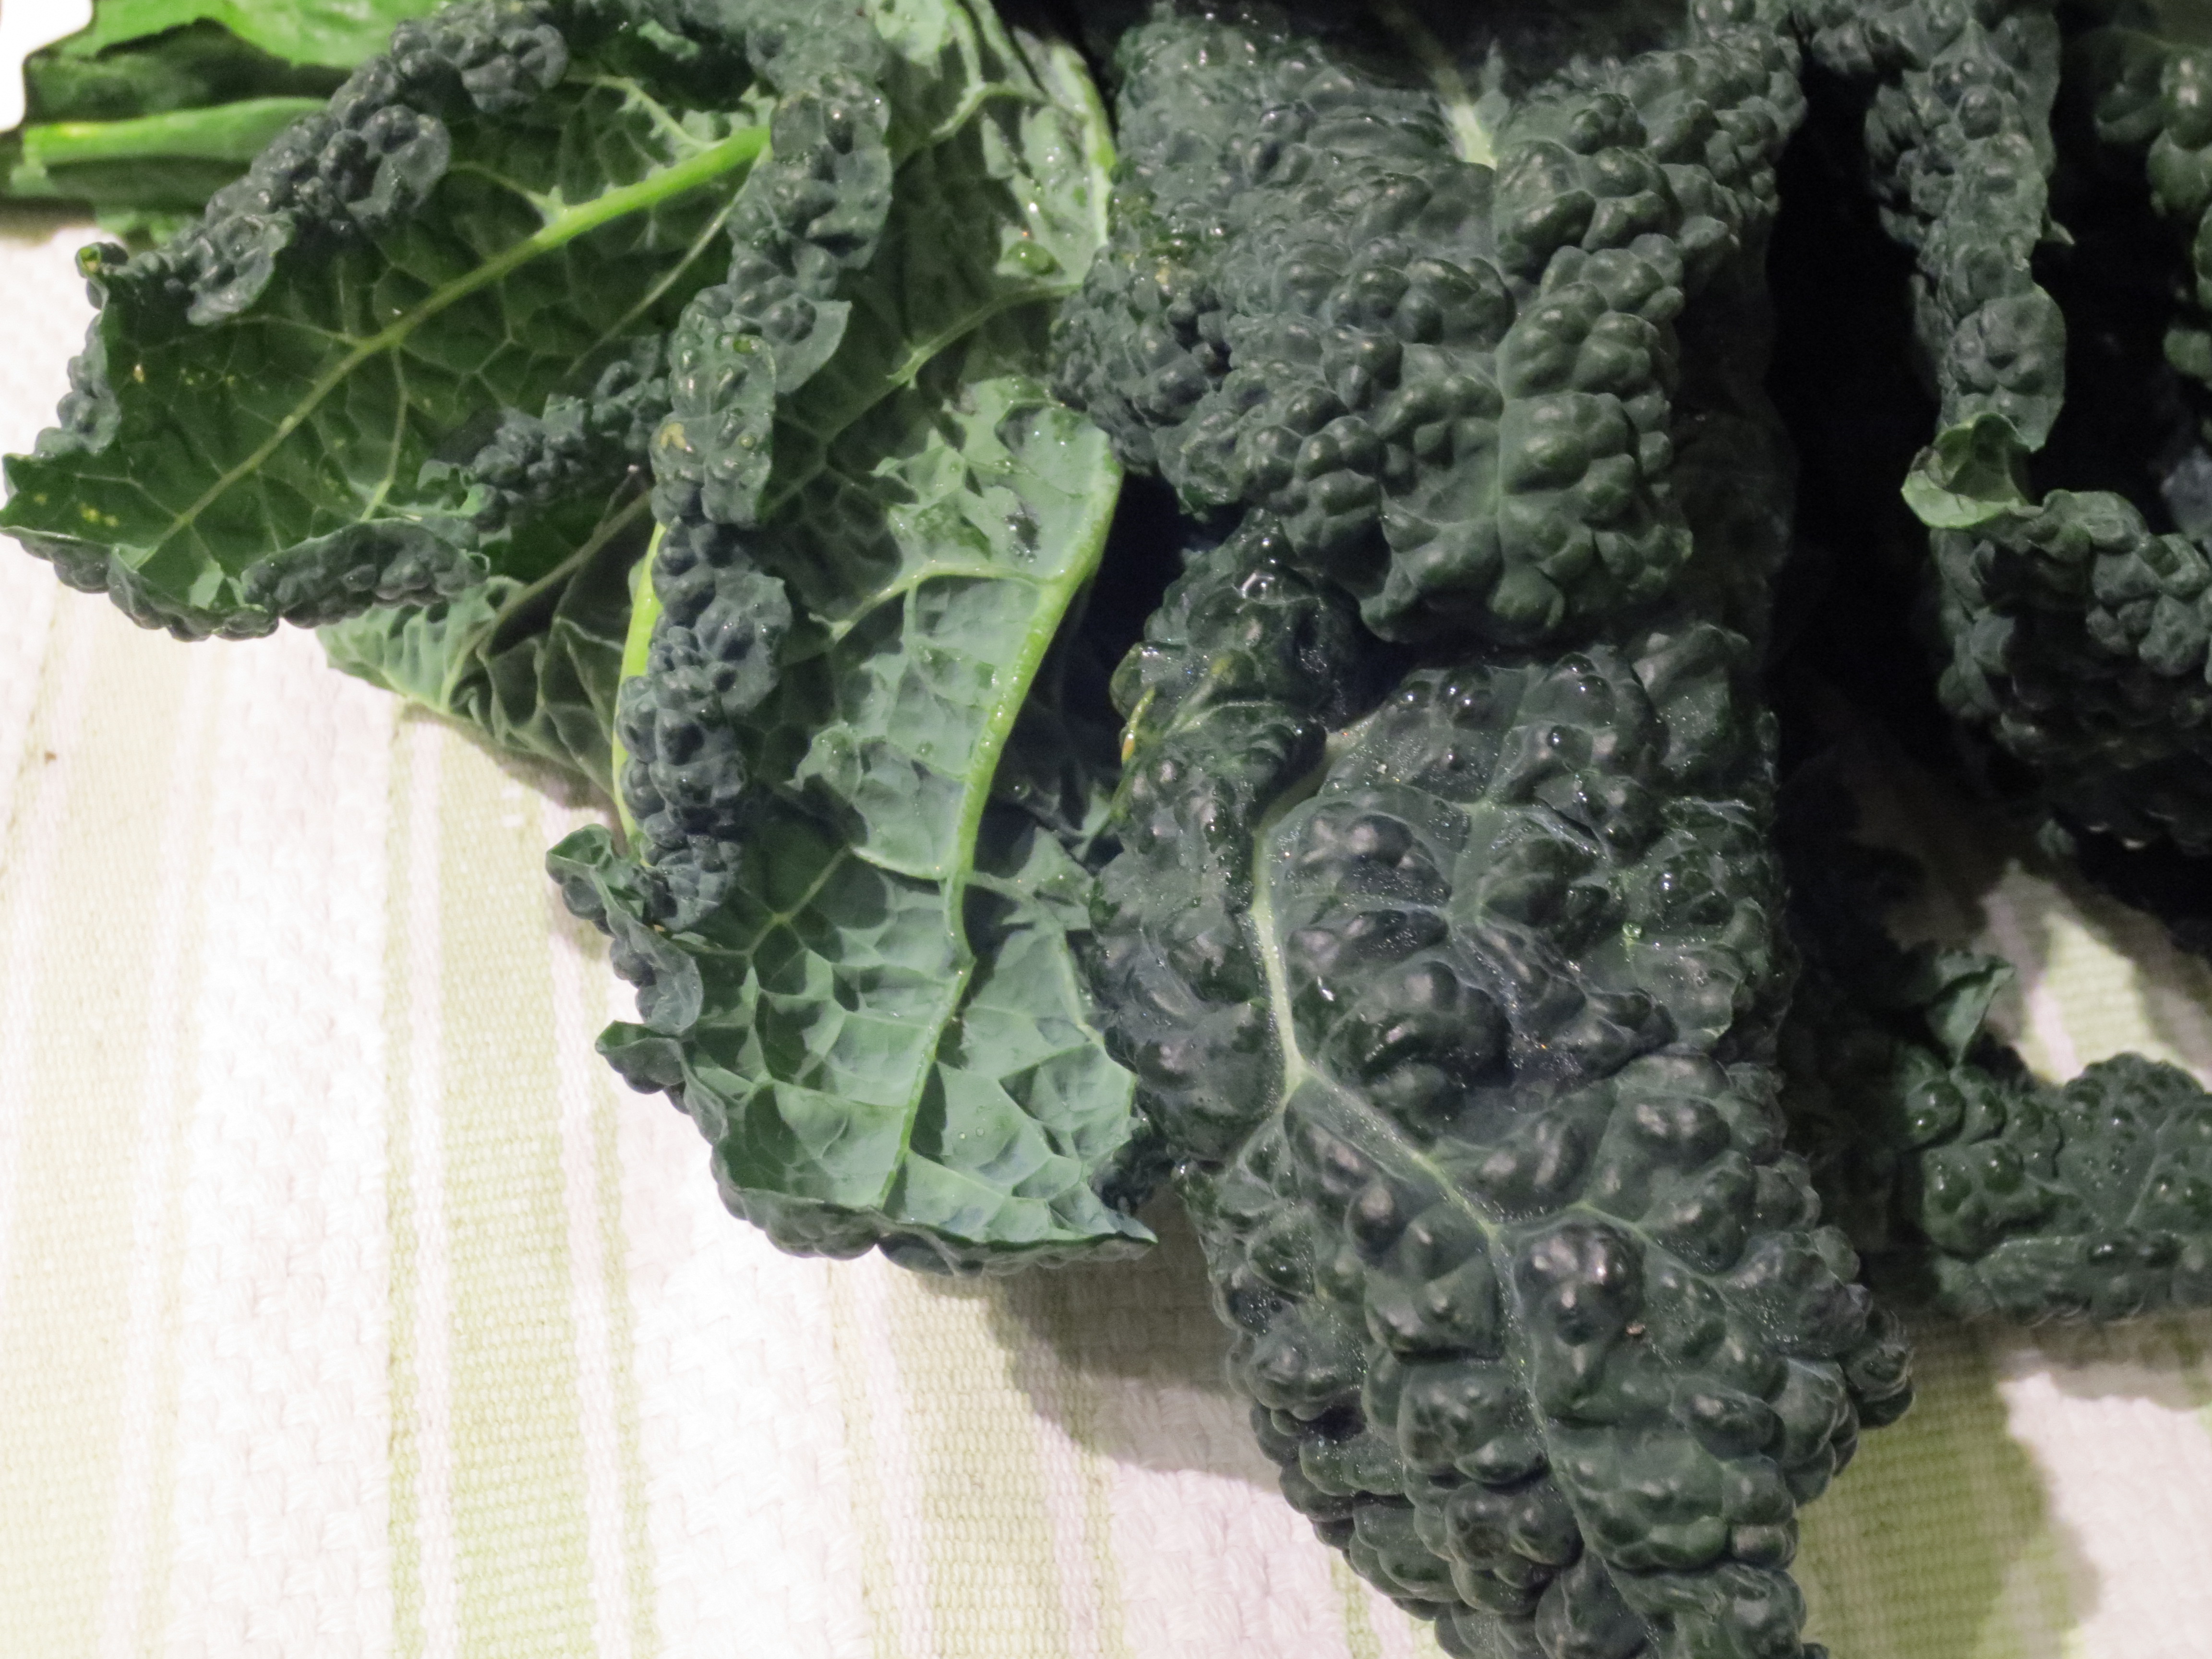
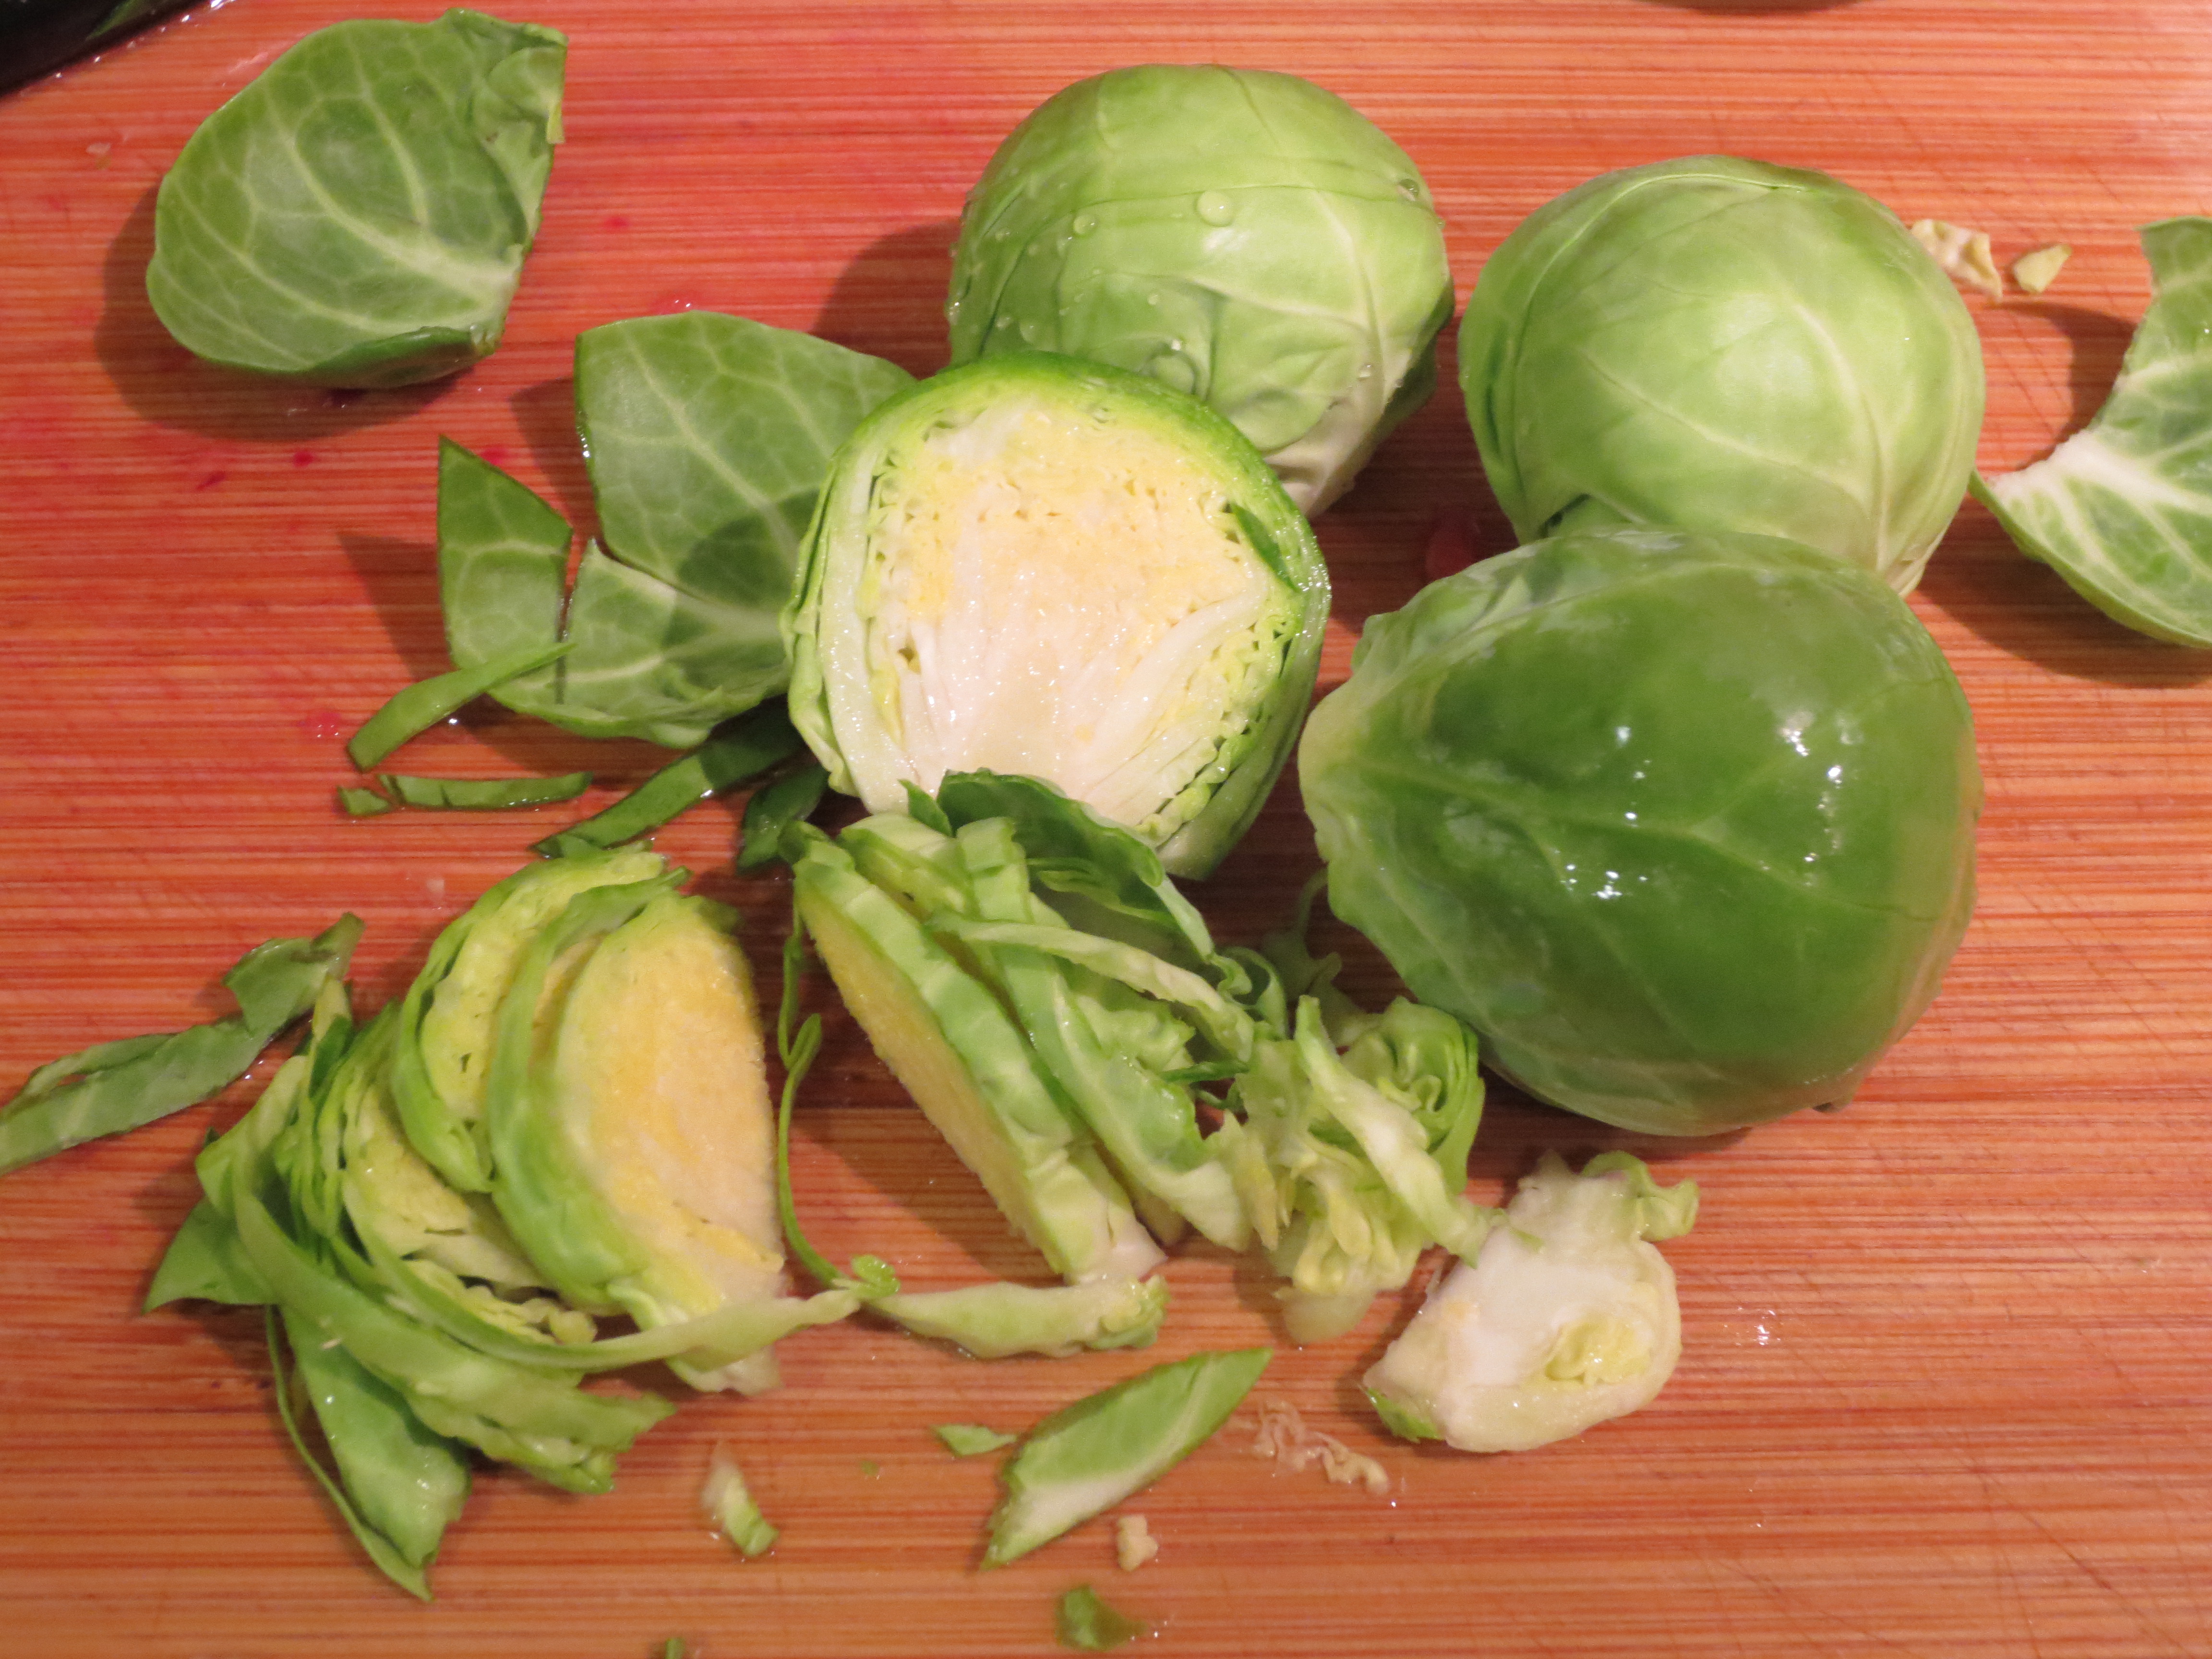
First, choose the right kale. For salads, I only use Lacinato Kale, also known as Cavalo Nero, Tuscan, Black and my favorite, Dinosaur. The leaves are very dark green with a bumpy surface, akin to the skin of a dinosaur, one that has bumpy skin that is. The leaves are long with a center rib and smooth slightly ruffled edges. It is important to remove the center rib, it’s just too tough, no one wants to eat it. This is easily done by holding one leaf at the stem end and pulling your fingers down along the rib, this should remove the leaf from the rib. If you don’t like this method, you can simply lay each leaf down on a cutting board and slice the rib out with a sharp knife, either way whatever you like. I usually remove the stems, catching the leaves right into my salad spinner. Next you’ll want to wash the leaves and this is actually an important part in “tenderizing” the kale. As leafy greens go, kale is pretty meaty, it can be tough to chew, but the texture improves greatly if you soften it a bit. I fill the salad spinner with water enough to cover the kale and then I swish and squeeze the leaves around the water, this not only cleans your veg, but begins to tenderize those meaty leaves. When you lift the spinner out of the bowl you should notice that the water left behind has turned a bit green. After your kale is thoroughly washed you want to dry it well and then place it on a cutting board. This next step is also very important in achieving the right texture for a salad. I lay out the kale a few leaves at a time and slice it into thin ribbons, you do not want big leaves for this salad. Lastly, it’s good to give raw kale a little time to marinate in your dressing, about 20 minutes is good, you can even let it sit longer, in fact this is a great salad for leftovers as it keeps well and gets even better a day or two later. I often make a big bowl for dinner and then keep the leftovers for lunches the next couple of days.
Ingredients:
Dressing:
Olive Oil – 2 Tablespoons
Apple Cider Vinegar – 1 Tablespoon
Fig Infused White Balsamic Vinegar – 2 Tablespoons
Orange Juice – 2-4 Tablespoons
Fresh Thyme – several sprigs, leaves removed
Dried Rosemary – about ½ teaspoon
Salt & Pepper to taste – I like to use a flaky Sea Salt
A note about the vinegars: I like to use a mix of vinegars, but this is certainly not necessary and if you would prefer to use just one, that is fine. As for the Fig Infused Vinegar, it sounds fancy, but I buy it in my big chain grocery store for less than $5.00. If you can’t find Fig, any fruit infused (raspberry, pear, etc) or perhaps even a light sherry vinegar would work here, alternatively you could use all Apple Cider Vinegar or any other light white vinegar, like white balsamic or champagne. I would not use a straight up Balsamic vinegar, as I believe the flavor would be too assertive in this dressing. If you do use a vinegar that isn’t infused with fruit, you may like a little more orange juice to achieve the desired subtle sweetness of the dressing.
Salad:
Red Onion or Sweet Vidalia – ½ of a large onion, sliced thinly
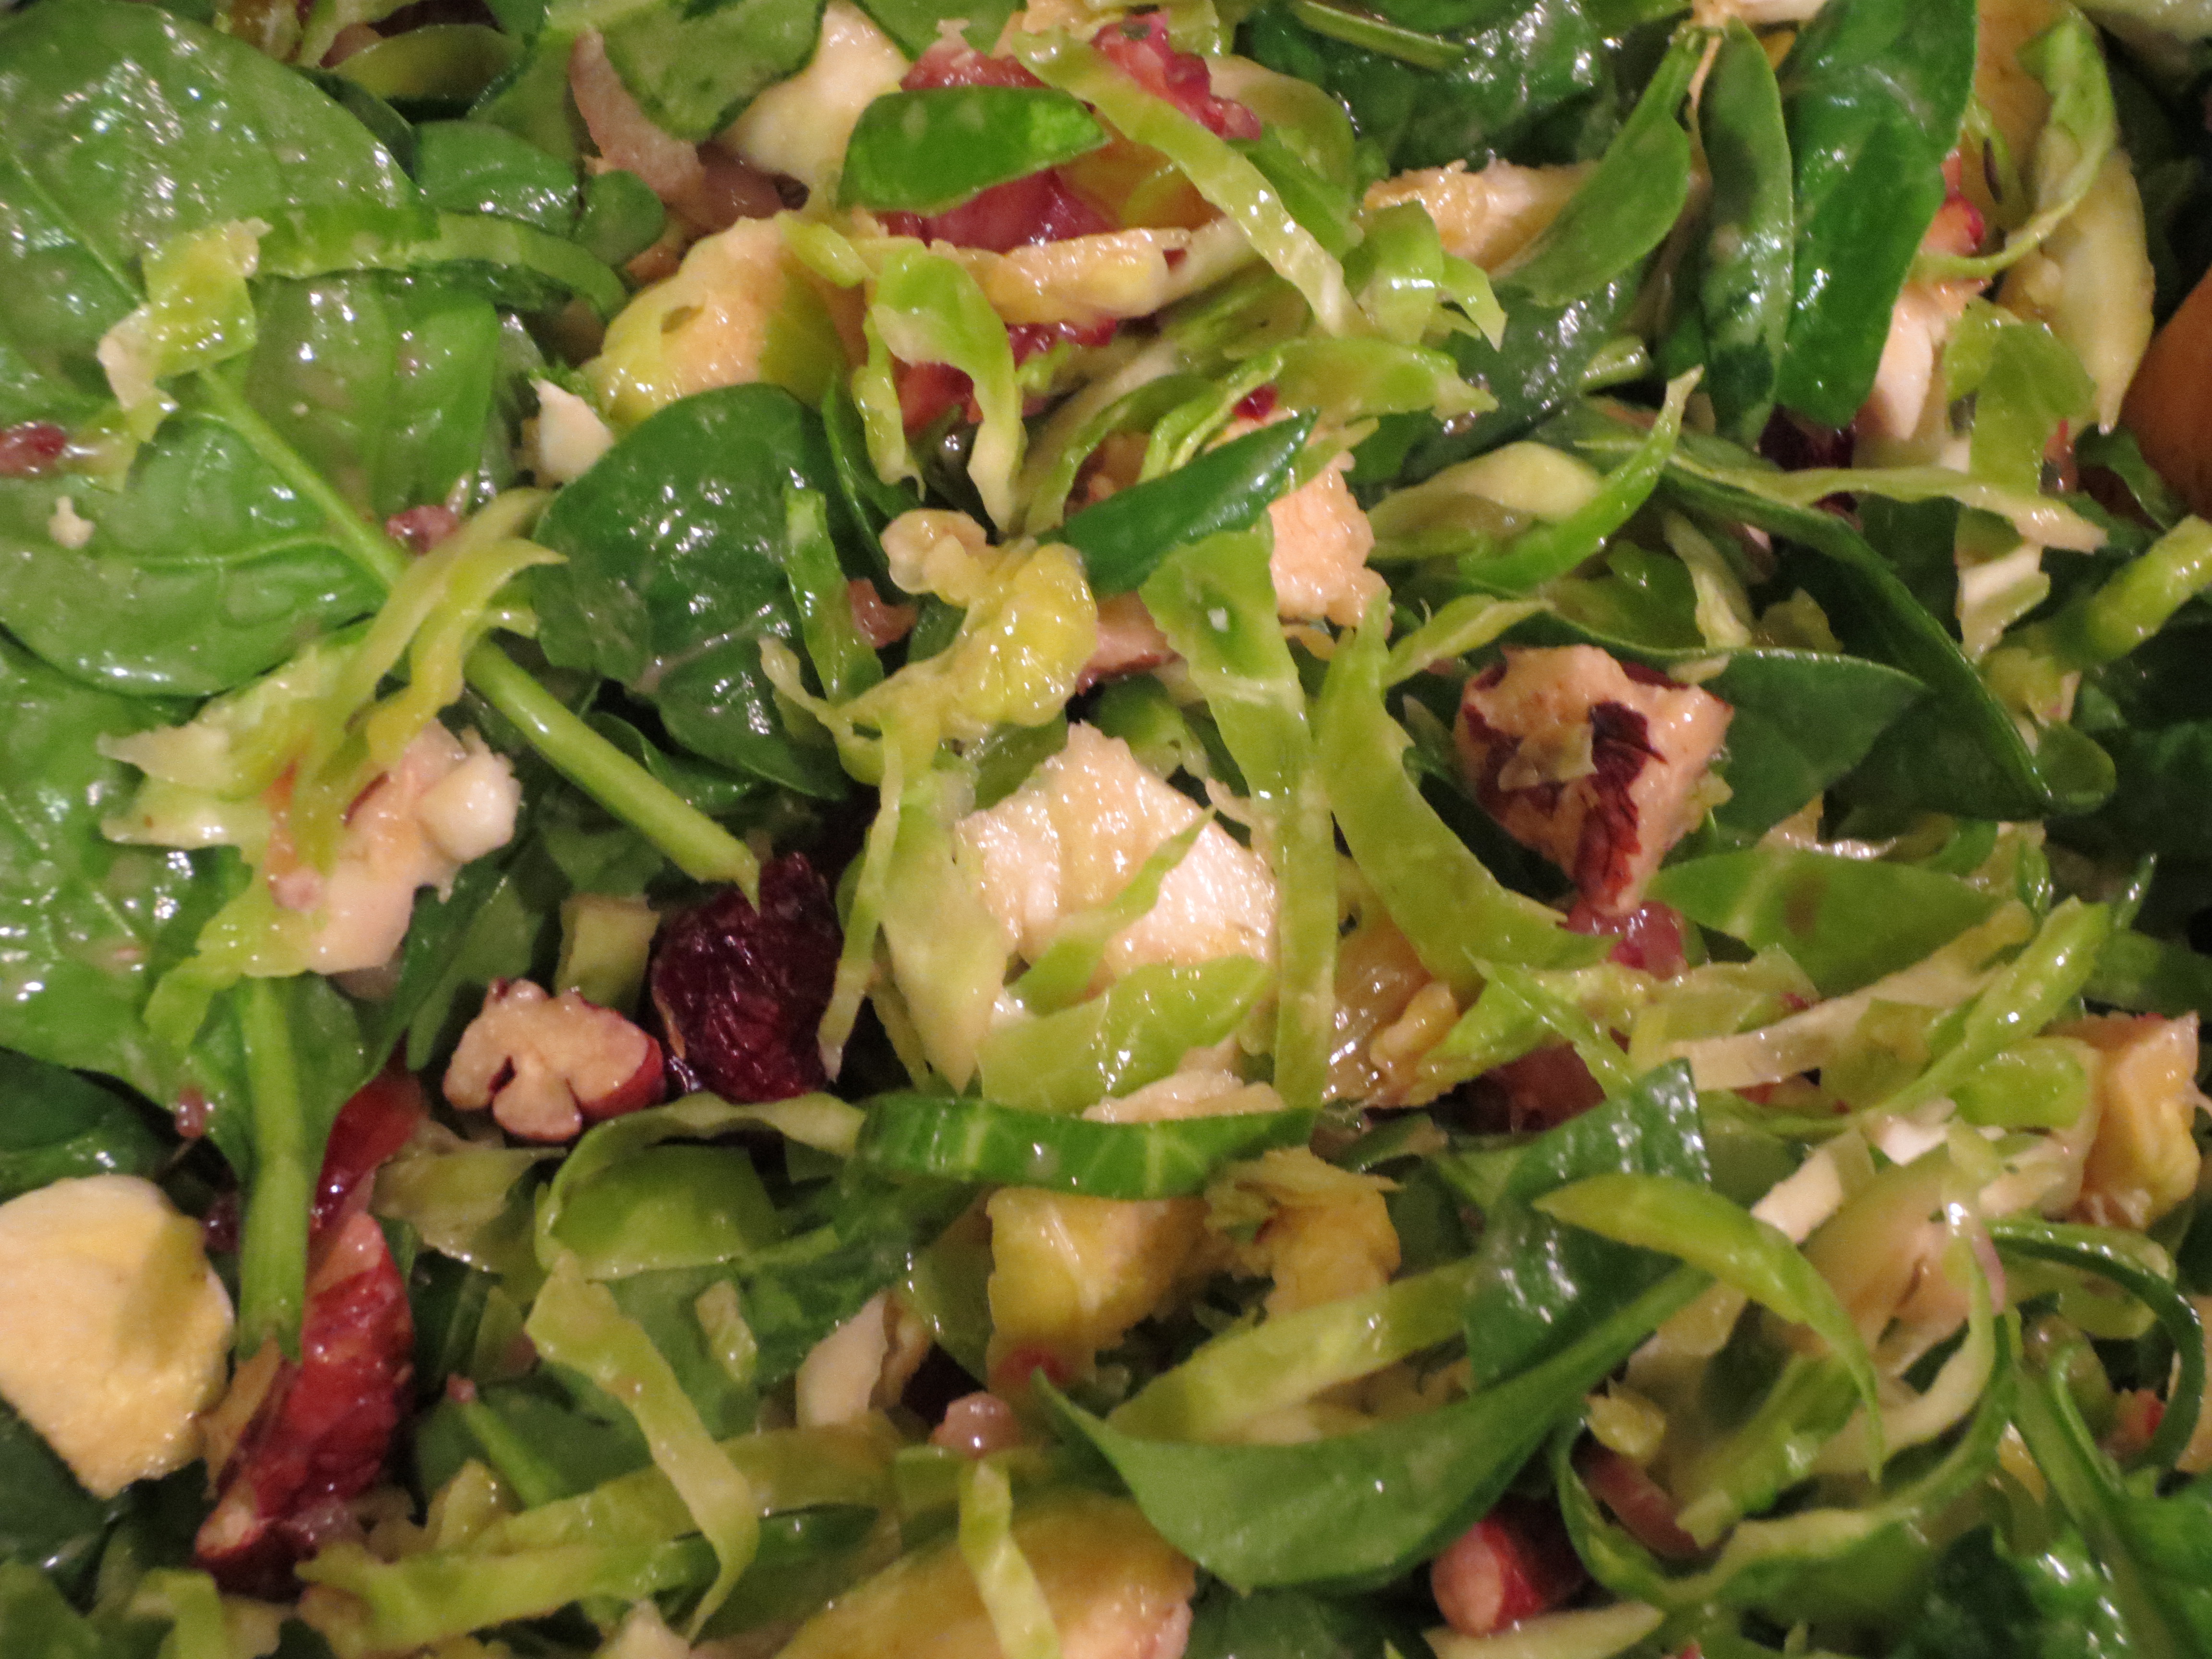
Lacinato Kale (a.k.a. Dinosaur, Cavalo Negro, Tuscan) – 1 large bunch
Dried Cranberries or Dried Currants – about 2 Tablespoons
Green Pumpkin Seeds (Pepitas) – about 2 Tablespoons
Black Sesame Seeds – about 1 Tablespoon (optional or use White Sesame Seeds)
Cheese – optional – shaved Ricotta Salata or Pecorino Romano or crumbled Goat or Feta
Directions:
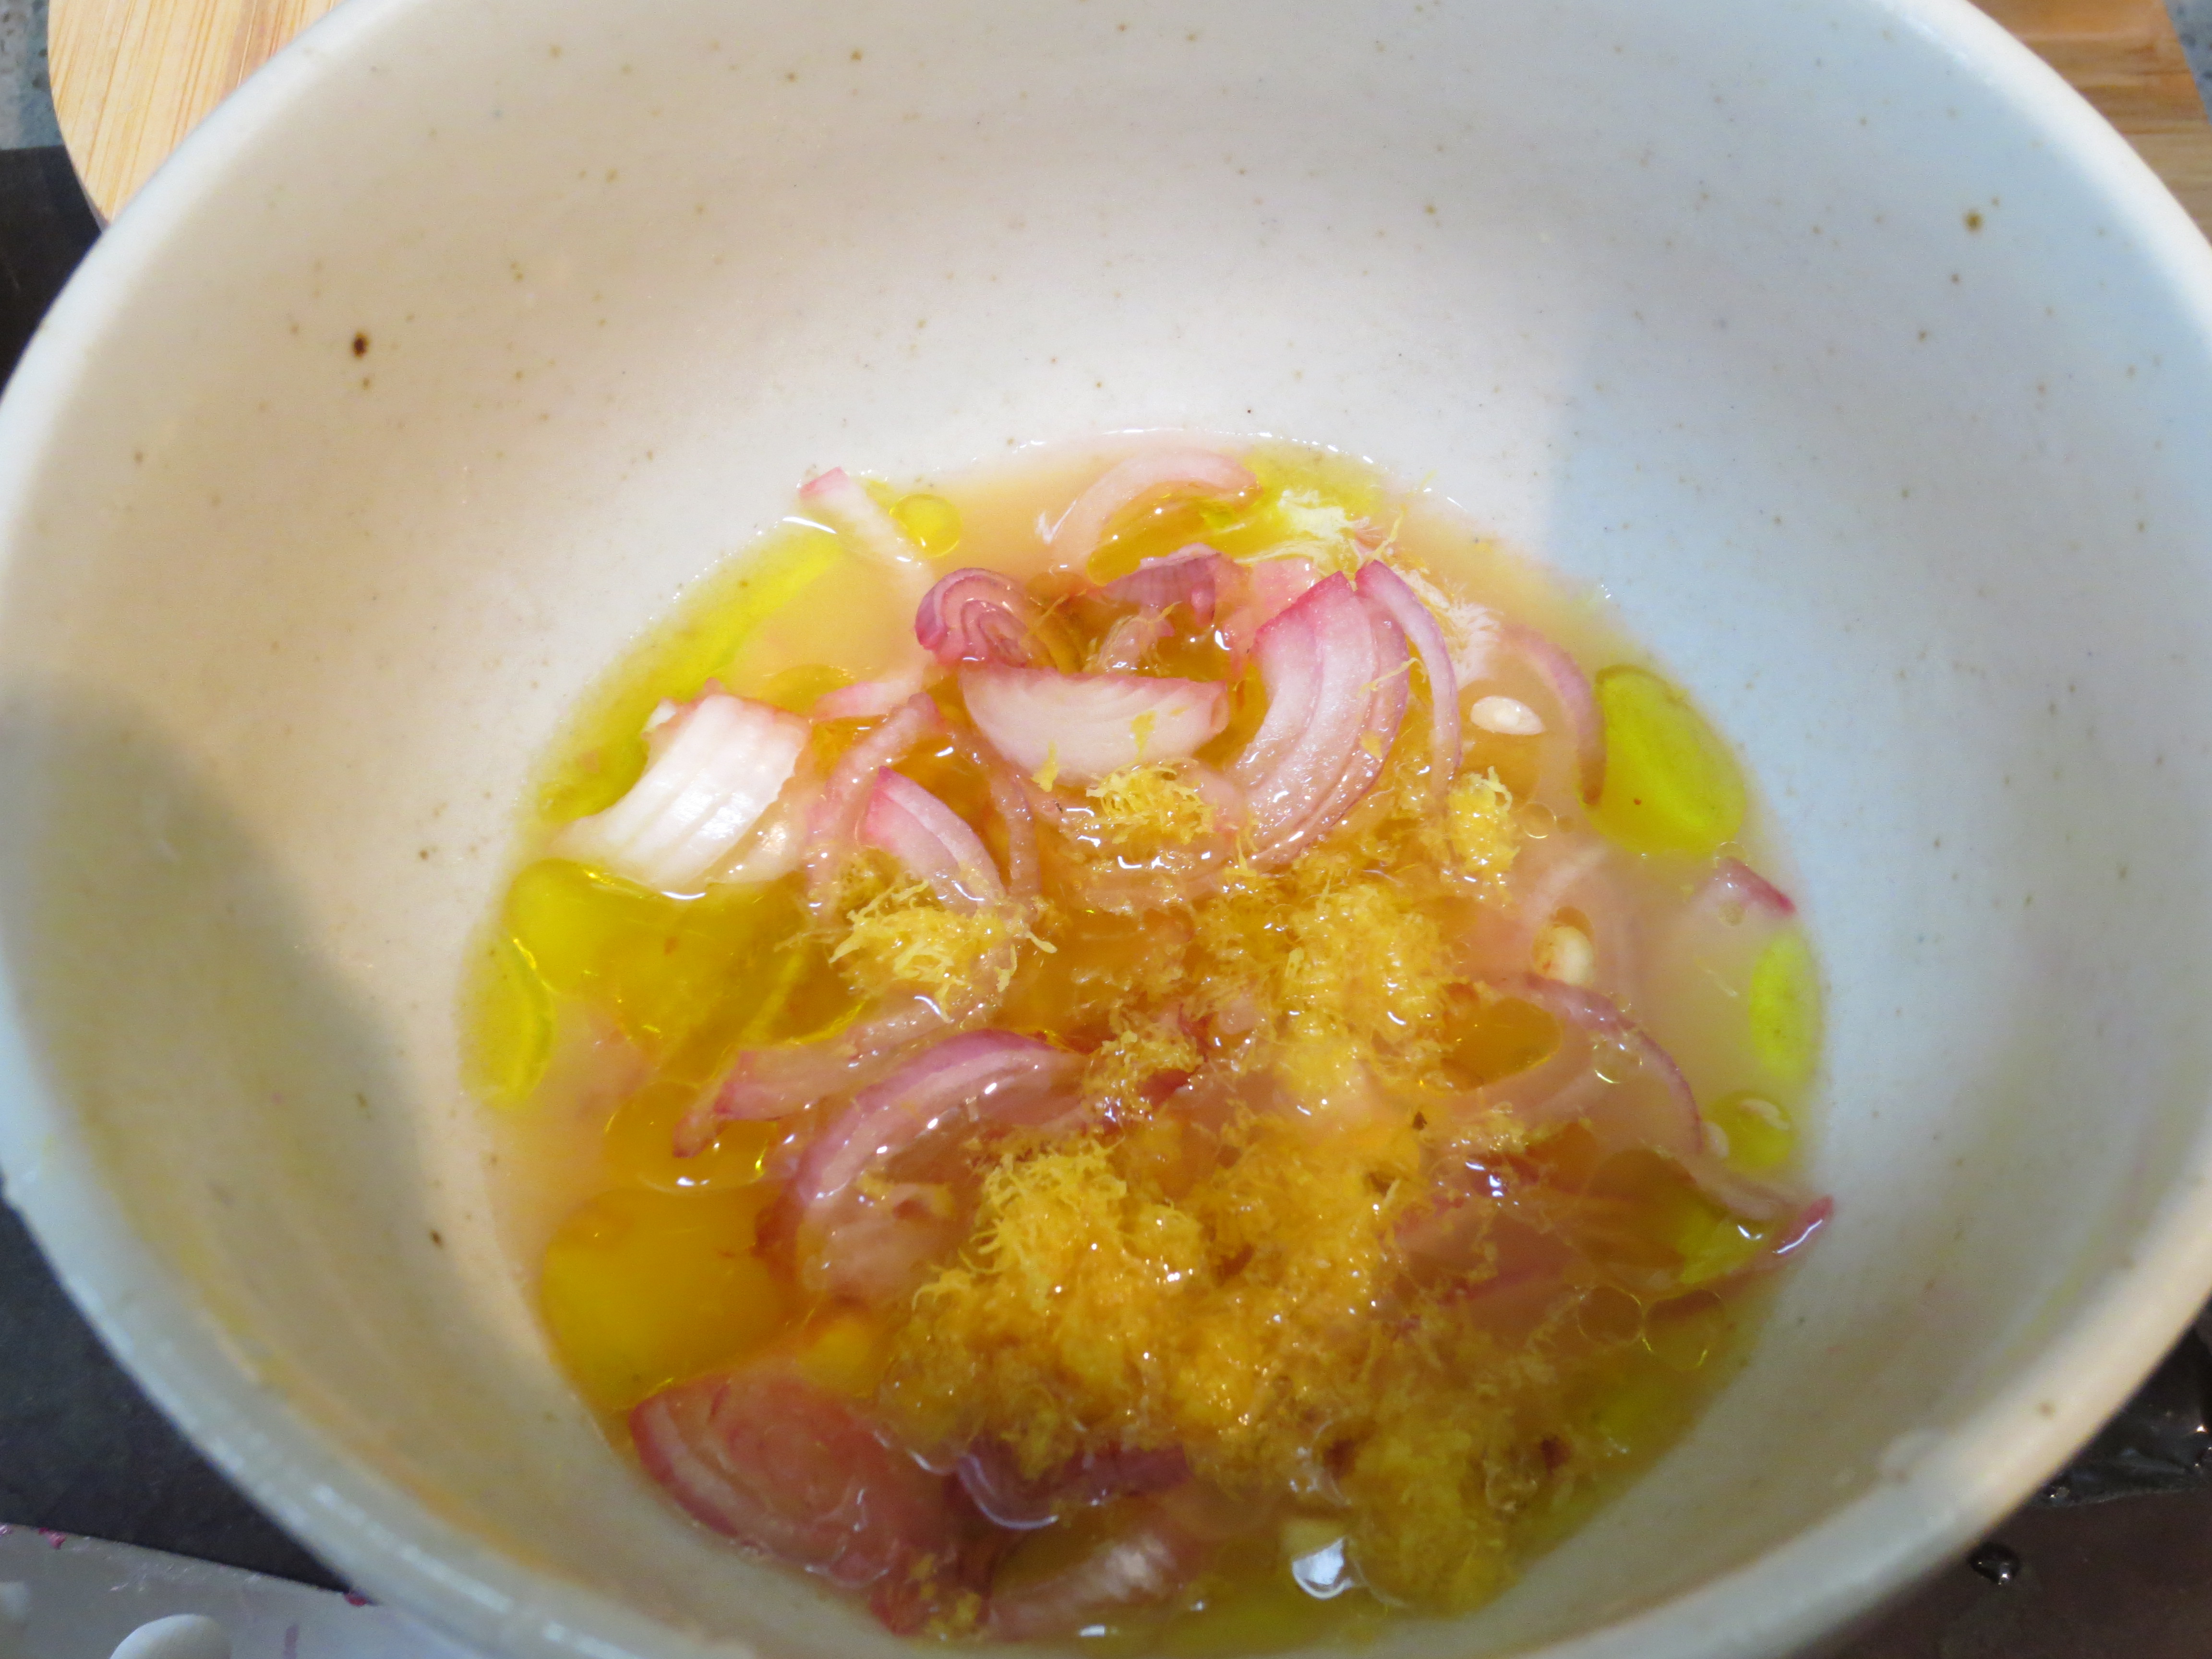
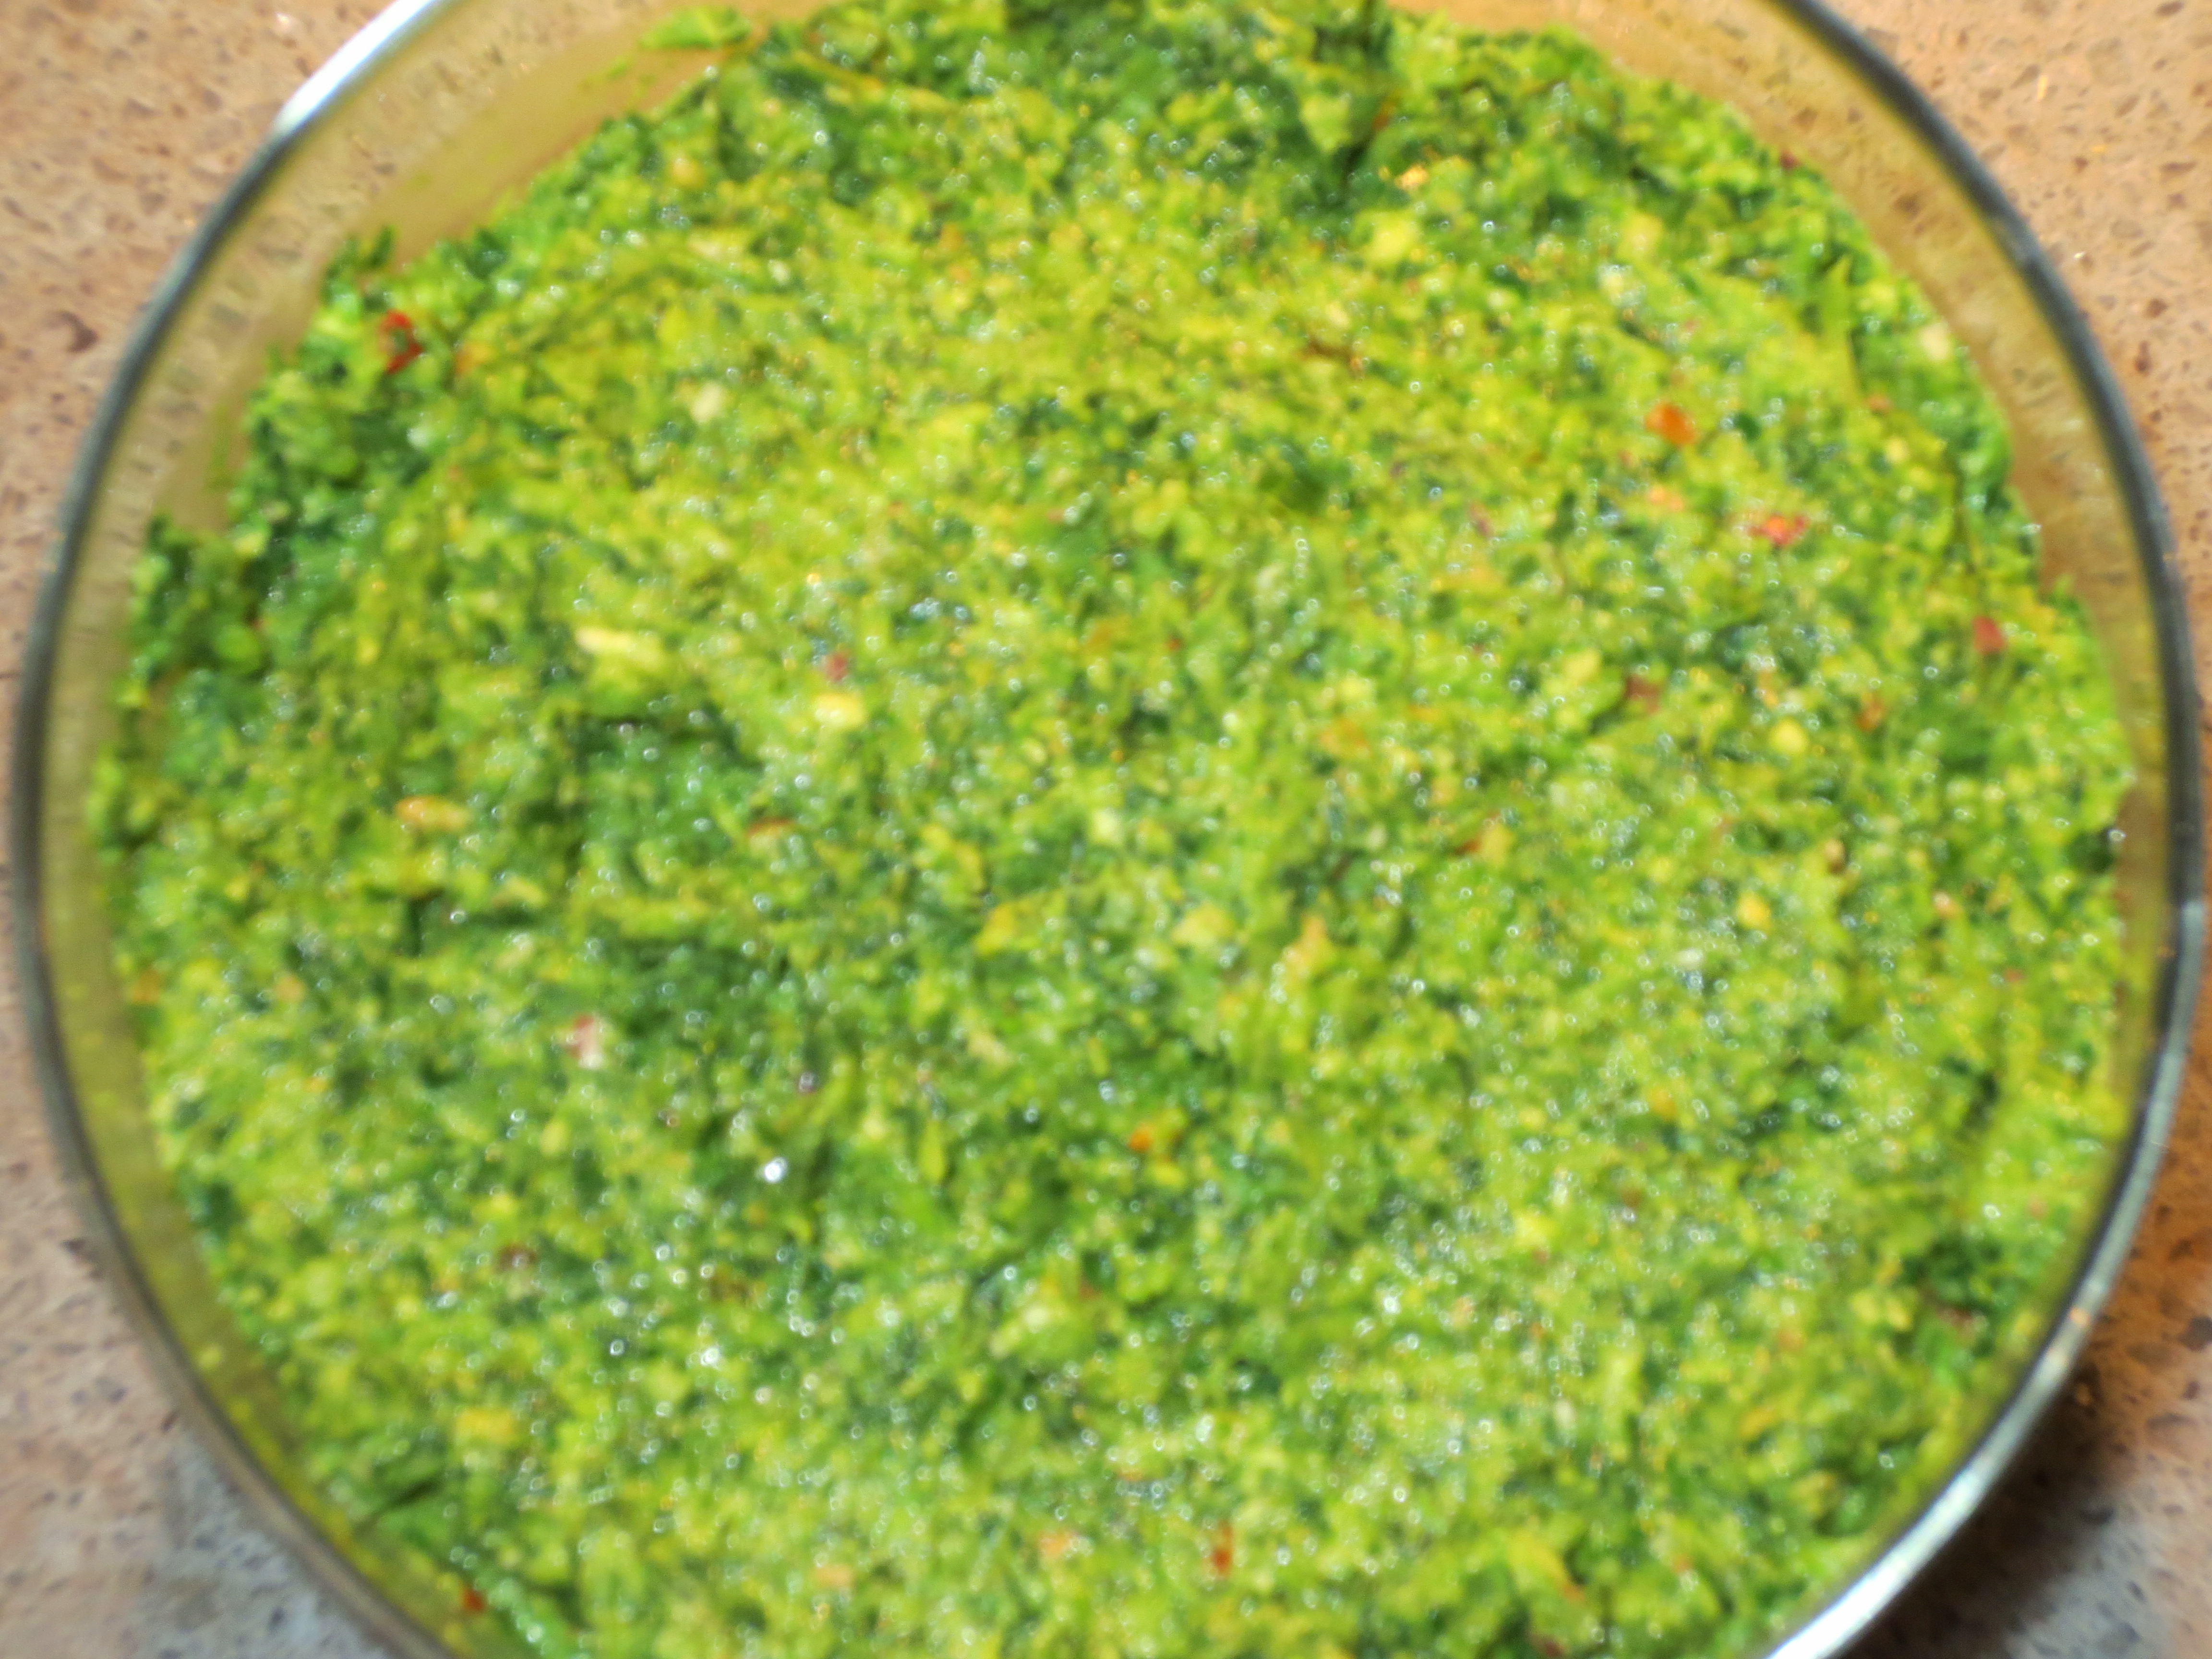
Mix all the dressing ingredients in a large salad bowl, starting with just 2 Tablespoons of Orange Juice, you can add more later if you need it.
Add the sliced onions to the dressing and stir to completely cover. It’s important to add the onions into the dressing first allowing them to pickle (lose some of their harshness and get a bit sweeter) while you then prepare the remaining ingredients. If you wish add in the cranberries or currants now to soften and plump up a bit, or wait and add them later.
Next, prepare the kale as noted above. Remove the ribs, wash and massage if you will, slice thinly and add into the bowl with the dressing and the onions. I like to mix up the kale with the dressing in stages as I add it to the bowl. Don’t be gentle, as you mix the salad, you want every bit of the kale to be covered and worked into the dressing, this helps to tenderize it even more. You will notice as you add the kale to the bowl it will seem like an enormous amount, but as you mix it, it begins to soften and lose quite a bit of it’s volume. As the kale shrinks down you’ll know it’s getting sufficiently softened.
You can taste it at this point and decide if the dressing needs a little more OJ, seasonings, etc. Note, if you are planning to use cheese, add extra salt sparingly as the cheese will be an additional salty element.
After adding in all of the kale, allow the salad to rest for about 20 minutes (relax or get to work preparing the rest of your meal). You can leave it at room temperature. Or, if you want to make the salad earlier in the day and let it hang out for a few hours, that’s good too, just cover it and place in the refrigerator.
Just before serving, mix in the pumpkin and sesame seeds and then top with shaved or crumbled cheese if using. Enjoy!

To cheese or not to cheese, that is the question. I really like adding a little shaved or grated Ricotta Salata cheese to this salad. If you’ve never tried this cheese before, it is a firm, dry ricotta, it’s creamy and a little bit salty, tastes best when grated or shaved over a salad or pasta, but it’s a little bit too dry and chalky to eat a hunk of. Sadly, I am finding this cheese more and more difficult to find. I used to buy Ricotta Salata regularly in my local supermarket and nowadays I’m having a hard time getting it from even the two different Italian markets near my home. This makes me think about the changing landscape of food availability, which is, for another discussion, but good food for thought.

If you cannot find Ricotta Salata (and if you are lucky enough to, please tell me where!), a nice creamy goat cheese or feta would also work well and I’ve even grated Romano over the top. But with all that being said about cheese options, this salad really is tasty enough on it’s own, so to cheese or not, it’s up to you.

More notes: This salad is great for parties or to bring along to a friend’s house as your contribution for dinner, unlike most salads it’s quite happy sitting around.
One more…okay I tried not to, but I just can’t give you a kale salad without talking about all the amazing nutritional benefits. If you don’t care and just want to eat tasty food, stop reading and enjoy your salad, otherwise here are just a few of the things that make kale so so good for you: It is one of the top sources of Vitamin k, super high in Vitamin A & C, good source of calcium and if you use sesame seeds (also a great source of calcium) and cheese, this salad is a powerhouse of bone healthy goodness. You also get a hefty dose of lutein and zeaxanthin, both known for promoting eye health. Also a good source of fiber and a variety of minerals; manganese, copper, iron, potassium and phosphorus, plus it’s super low in calories. Cancer fighting, bone building, eye health promoting, are just some of things that make Kale such a super hero! Eat and enjoy, lots of it.


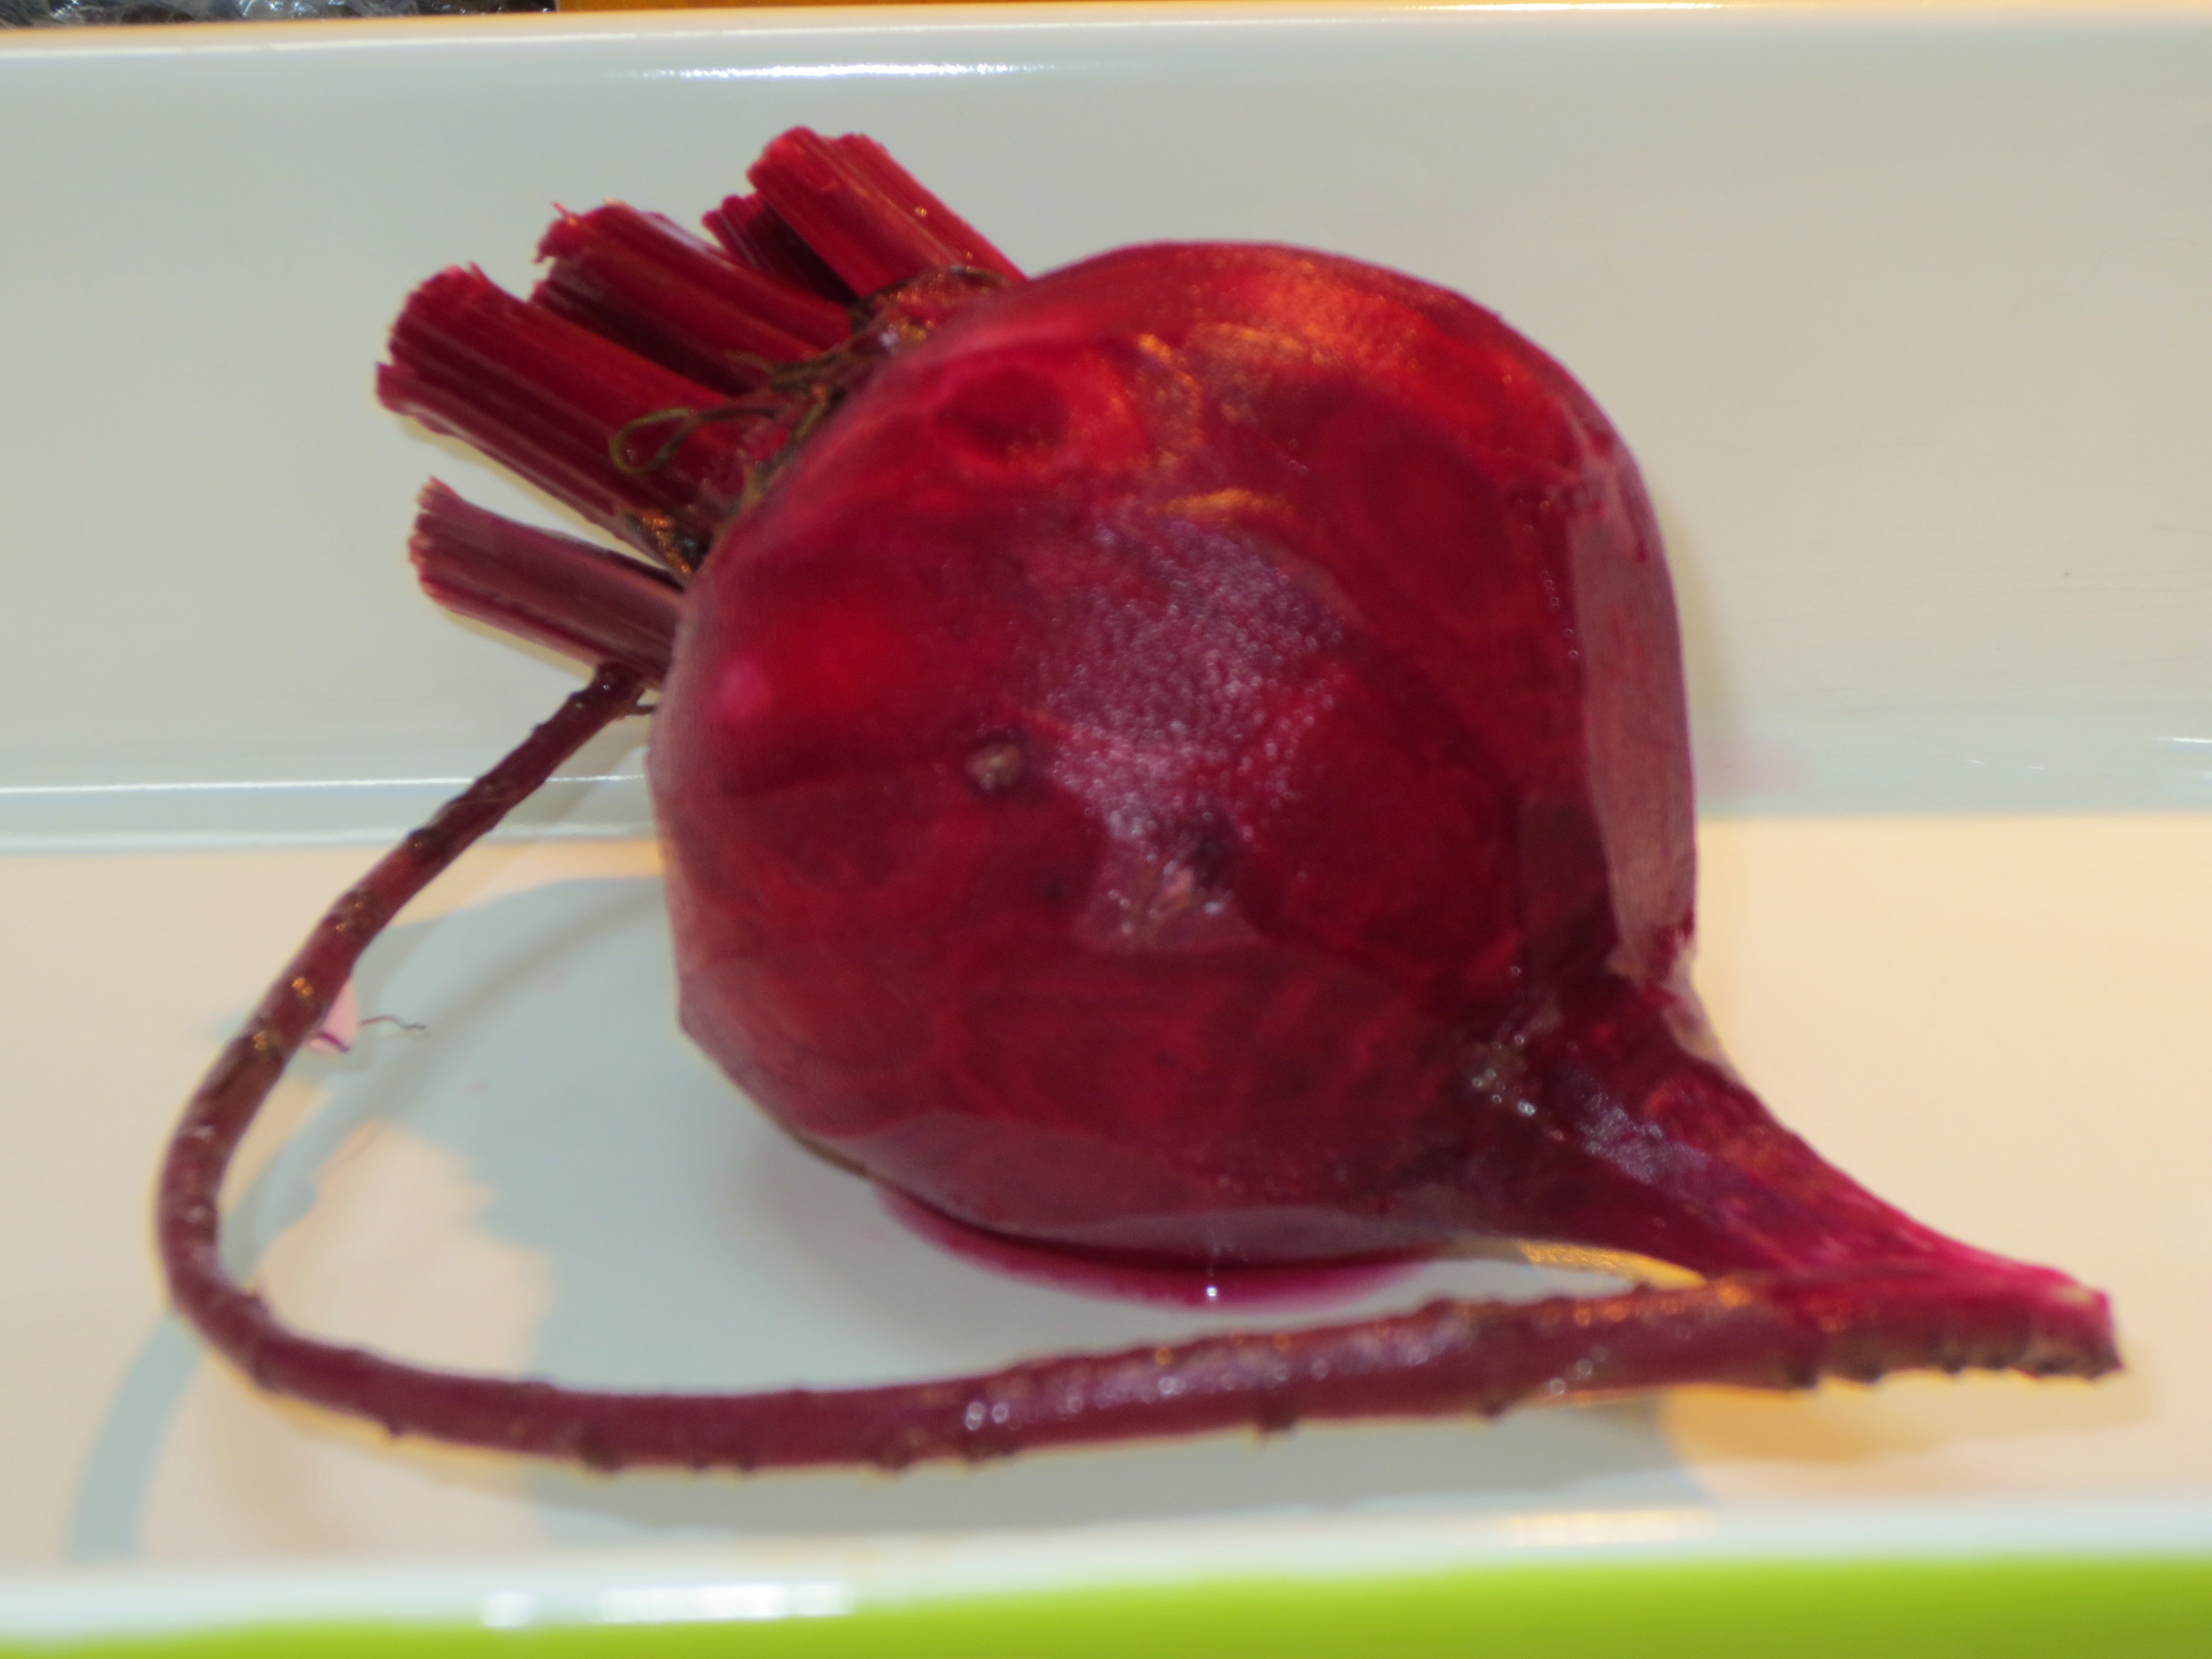
 Place beets in a small casserole dish and drizzle lightly with Olive Oil. Cover with foil. Roast in a 400 F degree oven for about 45 minutes to 1 hour, until cooked through. You’ll know the beets are cooked when you can easily pierce them with a fork.


i love getting feedback, here are some of your most recent comments…