
Summer Rolls with Peanut Miso Lime Dipping Sauce

inspired, healthy, delicious to eat recipes
Summer Rolls with Peanut Miso Lime Dipping Sauce
Testing this recipe has been like the story of Goldilocks and the Three Bears in trying to determine the perfect amount of lemon to use. The household tasters just could not come to agreement. The first few times I made this with the juice and zest of just one lemon and it was really tasty with a very nice mellow lemon flavor. BUT, I decided we just had to try upping the ante of lemon just to see…So the next time I decided to really go for it “go BIG or go home” and added in 2 whole lemons worth of juice and zest. I didn’t change anything else in the recipe, even though the extra lemon added in another ¼ cup of liquid. The result was intensely lemony, but not excessive and the extra juice made for a really moist cake, whereas one lemon made for a drier crumb but easier to get a nice clean slice out of, which is a plus for presentation. Now at this point we came to some disagreement, my husband loved the extra zing of lemon, but my daughter (who still happily ate several slices) said it was just too much. In fact Skyler described the taste as “violently lemony”, which sounded pretty bad to me, but to her teen age self that wasn’t a bad description at all. To me the taste of the extra lemony tea cake was more like a big smacking kiss of lemon, the way may 5 year old plants a BIG kiss on my face.

So on to round 3, which was really more like round 5 or 6, but who’s counting, we’re just eating…Now it was time to split the difference and try it with the juice and zest of 1 ½ lemons, which required another trip to the grocery and me being late to pick up Skyler from swim team practice which ended 30 minutes early that day without my knowing, but hey she got some cake out of it even if she had to sit out in the rain a little extra time. I wonder does making lots of yummy food cancel out numerous late pick ups in mommy universe? So Saturday morning, one more tea cake was made and this time I used 1 ½ lemons. One taste and finally we felt this version was just right, nice and moist with a pronounced but not over powering flavor of lemon. But, I will leave it up to you to decide what is the ideal amount of tart for You. 
With all that said, I really do love lemon in SO many ways, however I’m not usually a fan of lemon in sweets preferring more of a savory twist on my lemon, but Skyler has been begging for months for me to make lemon poppy seed muffins and then I came across the Clever Carrot’s recipe for Lemon Poppy seed Cornmeal Muffins and since I love corn muffins and lemon I was sold! As usual, I added a bit of my own twist to it with a little whole wheat flour, some extra cornmeal for added crunch and some coconut oil. But then when it came time to add the poppy seeds, which I had every intention of using, I found that my ancient jar of poppy seeds had gone rancid, so rather than run out to the store in the middle of baking I tried to figure out a substitute and lo and behold, chia seeds came to the rescue! Just make sure you add in the seeds at the very last minute, otherwise they may start absorbing liquid and gel up, which is not what you want.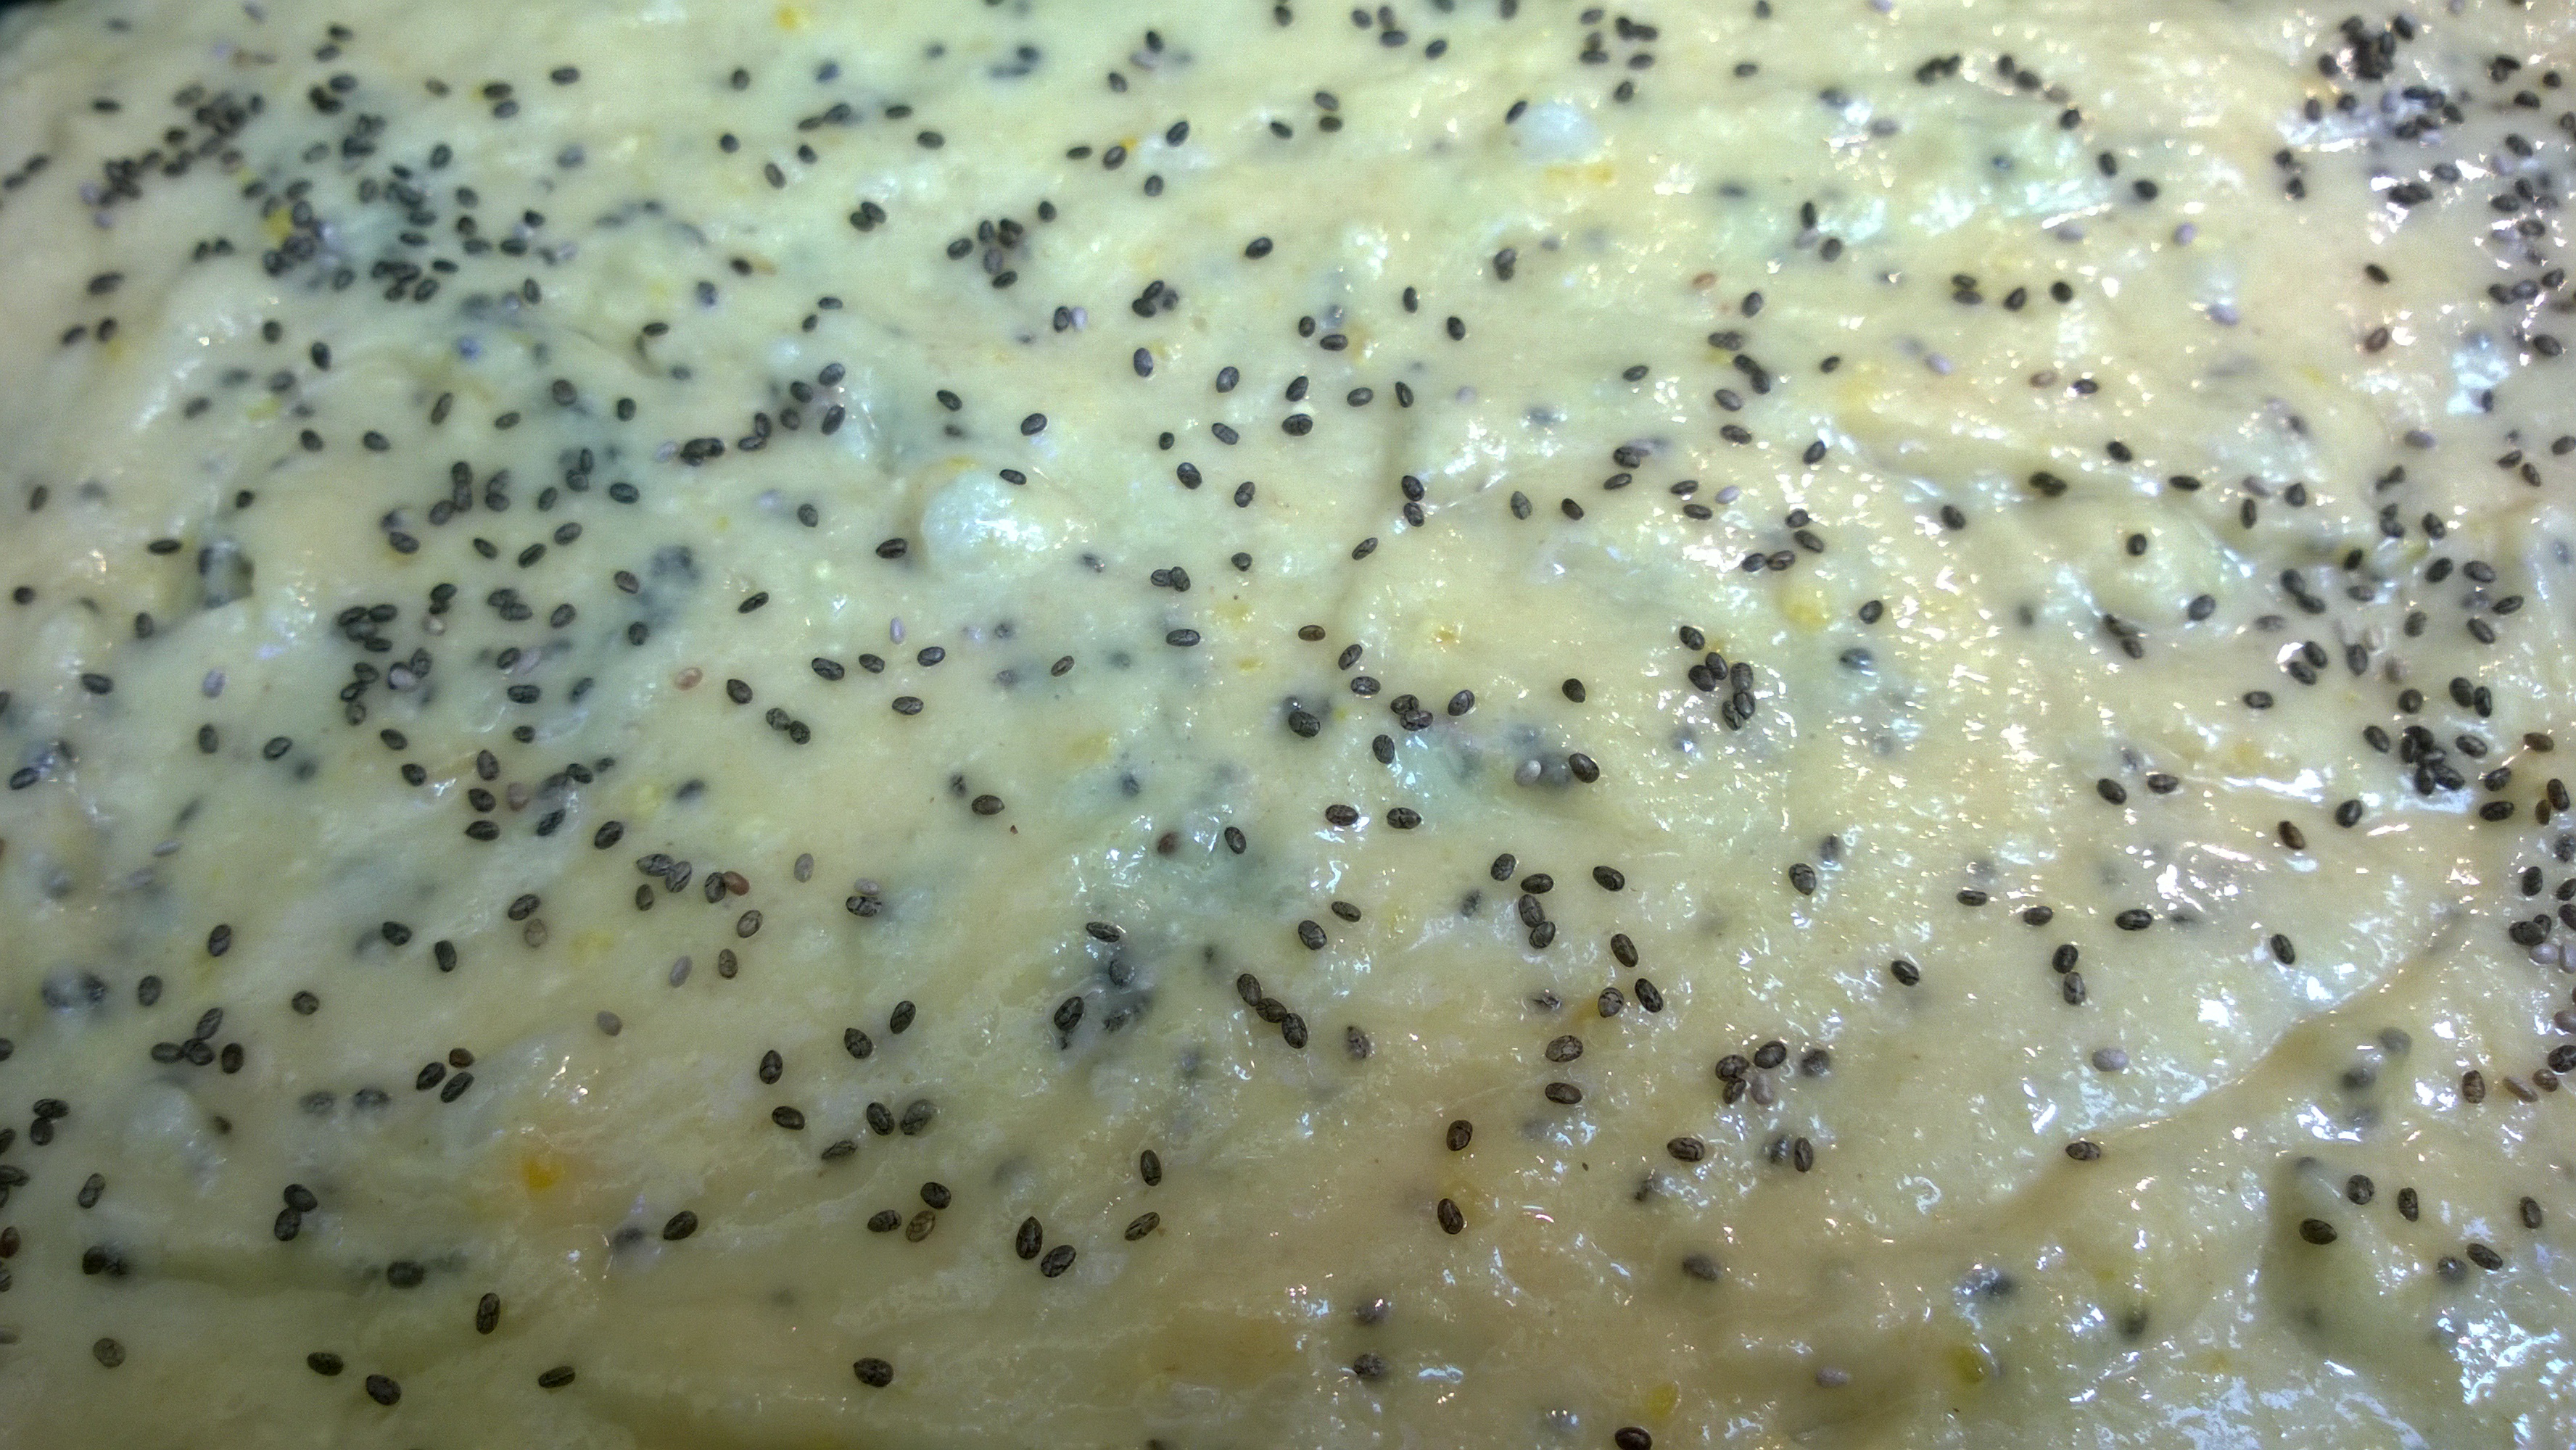
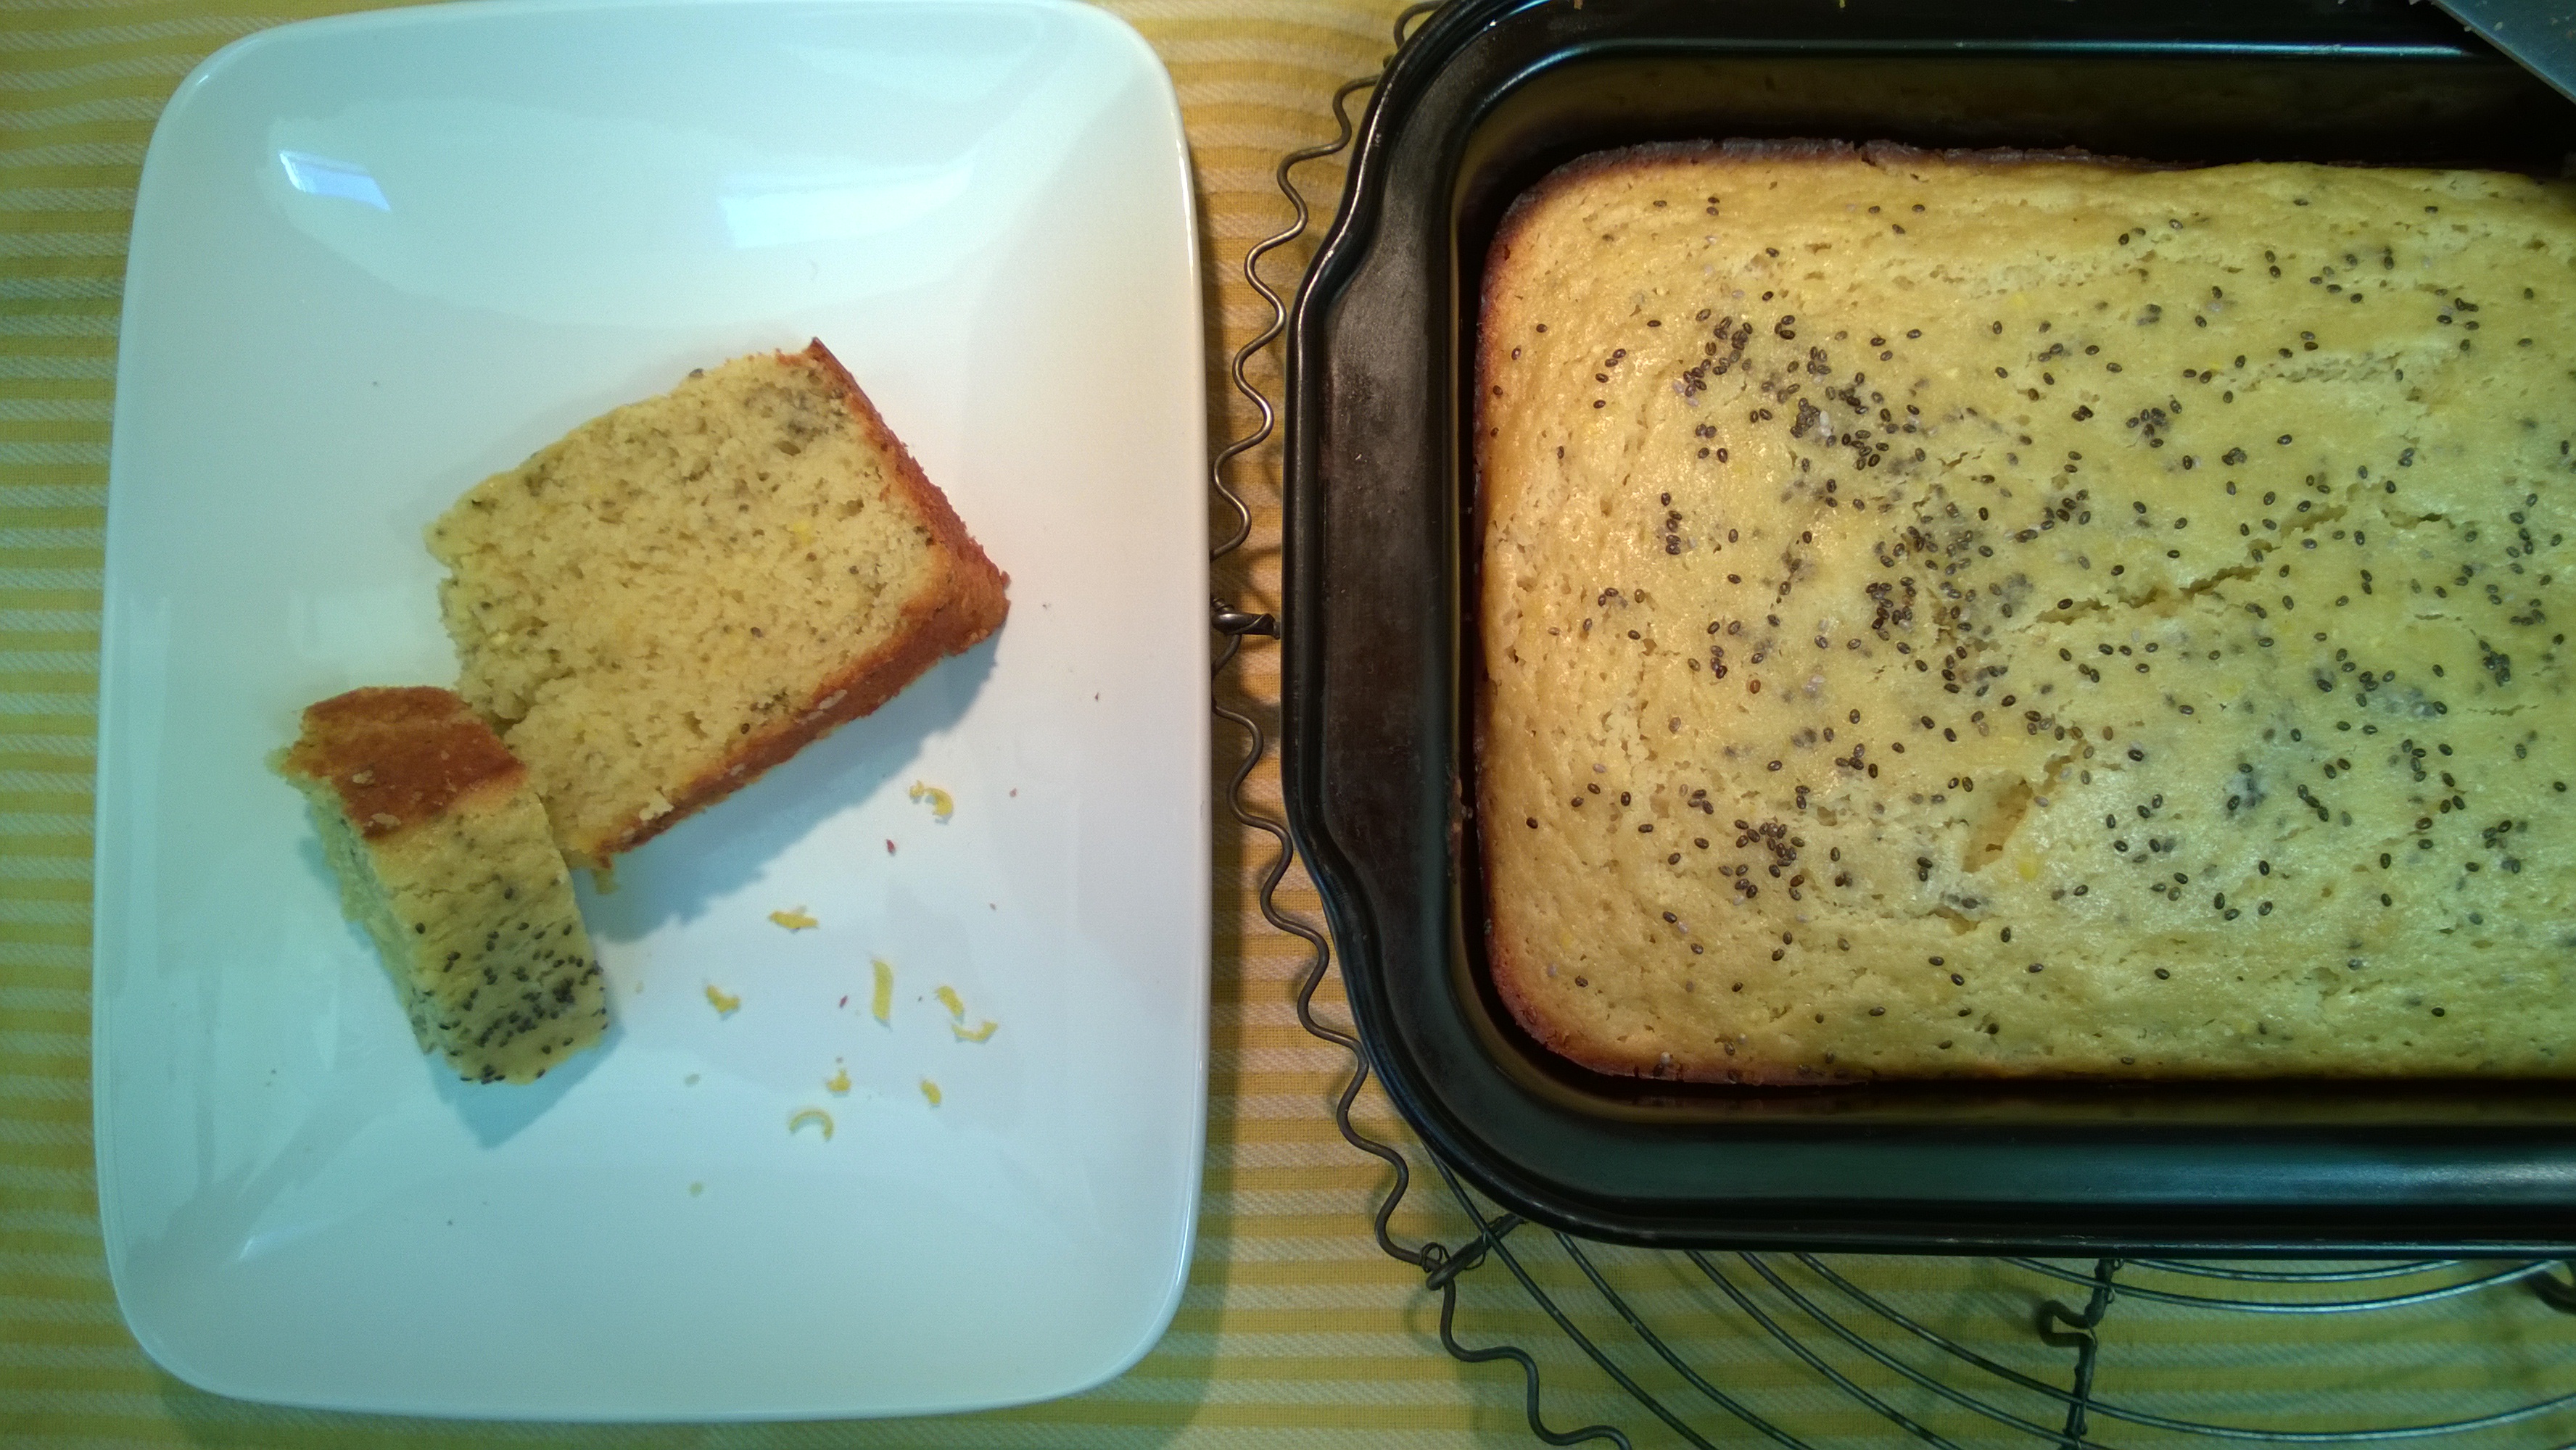
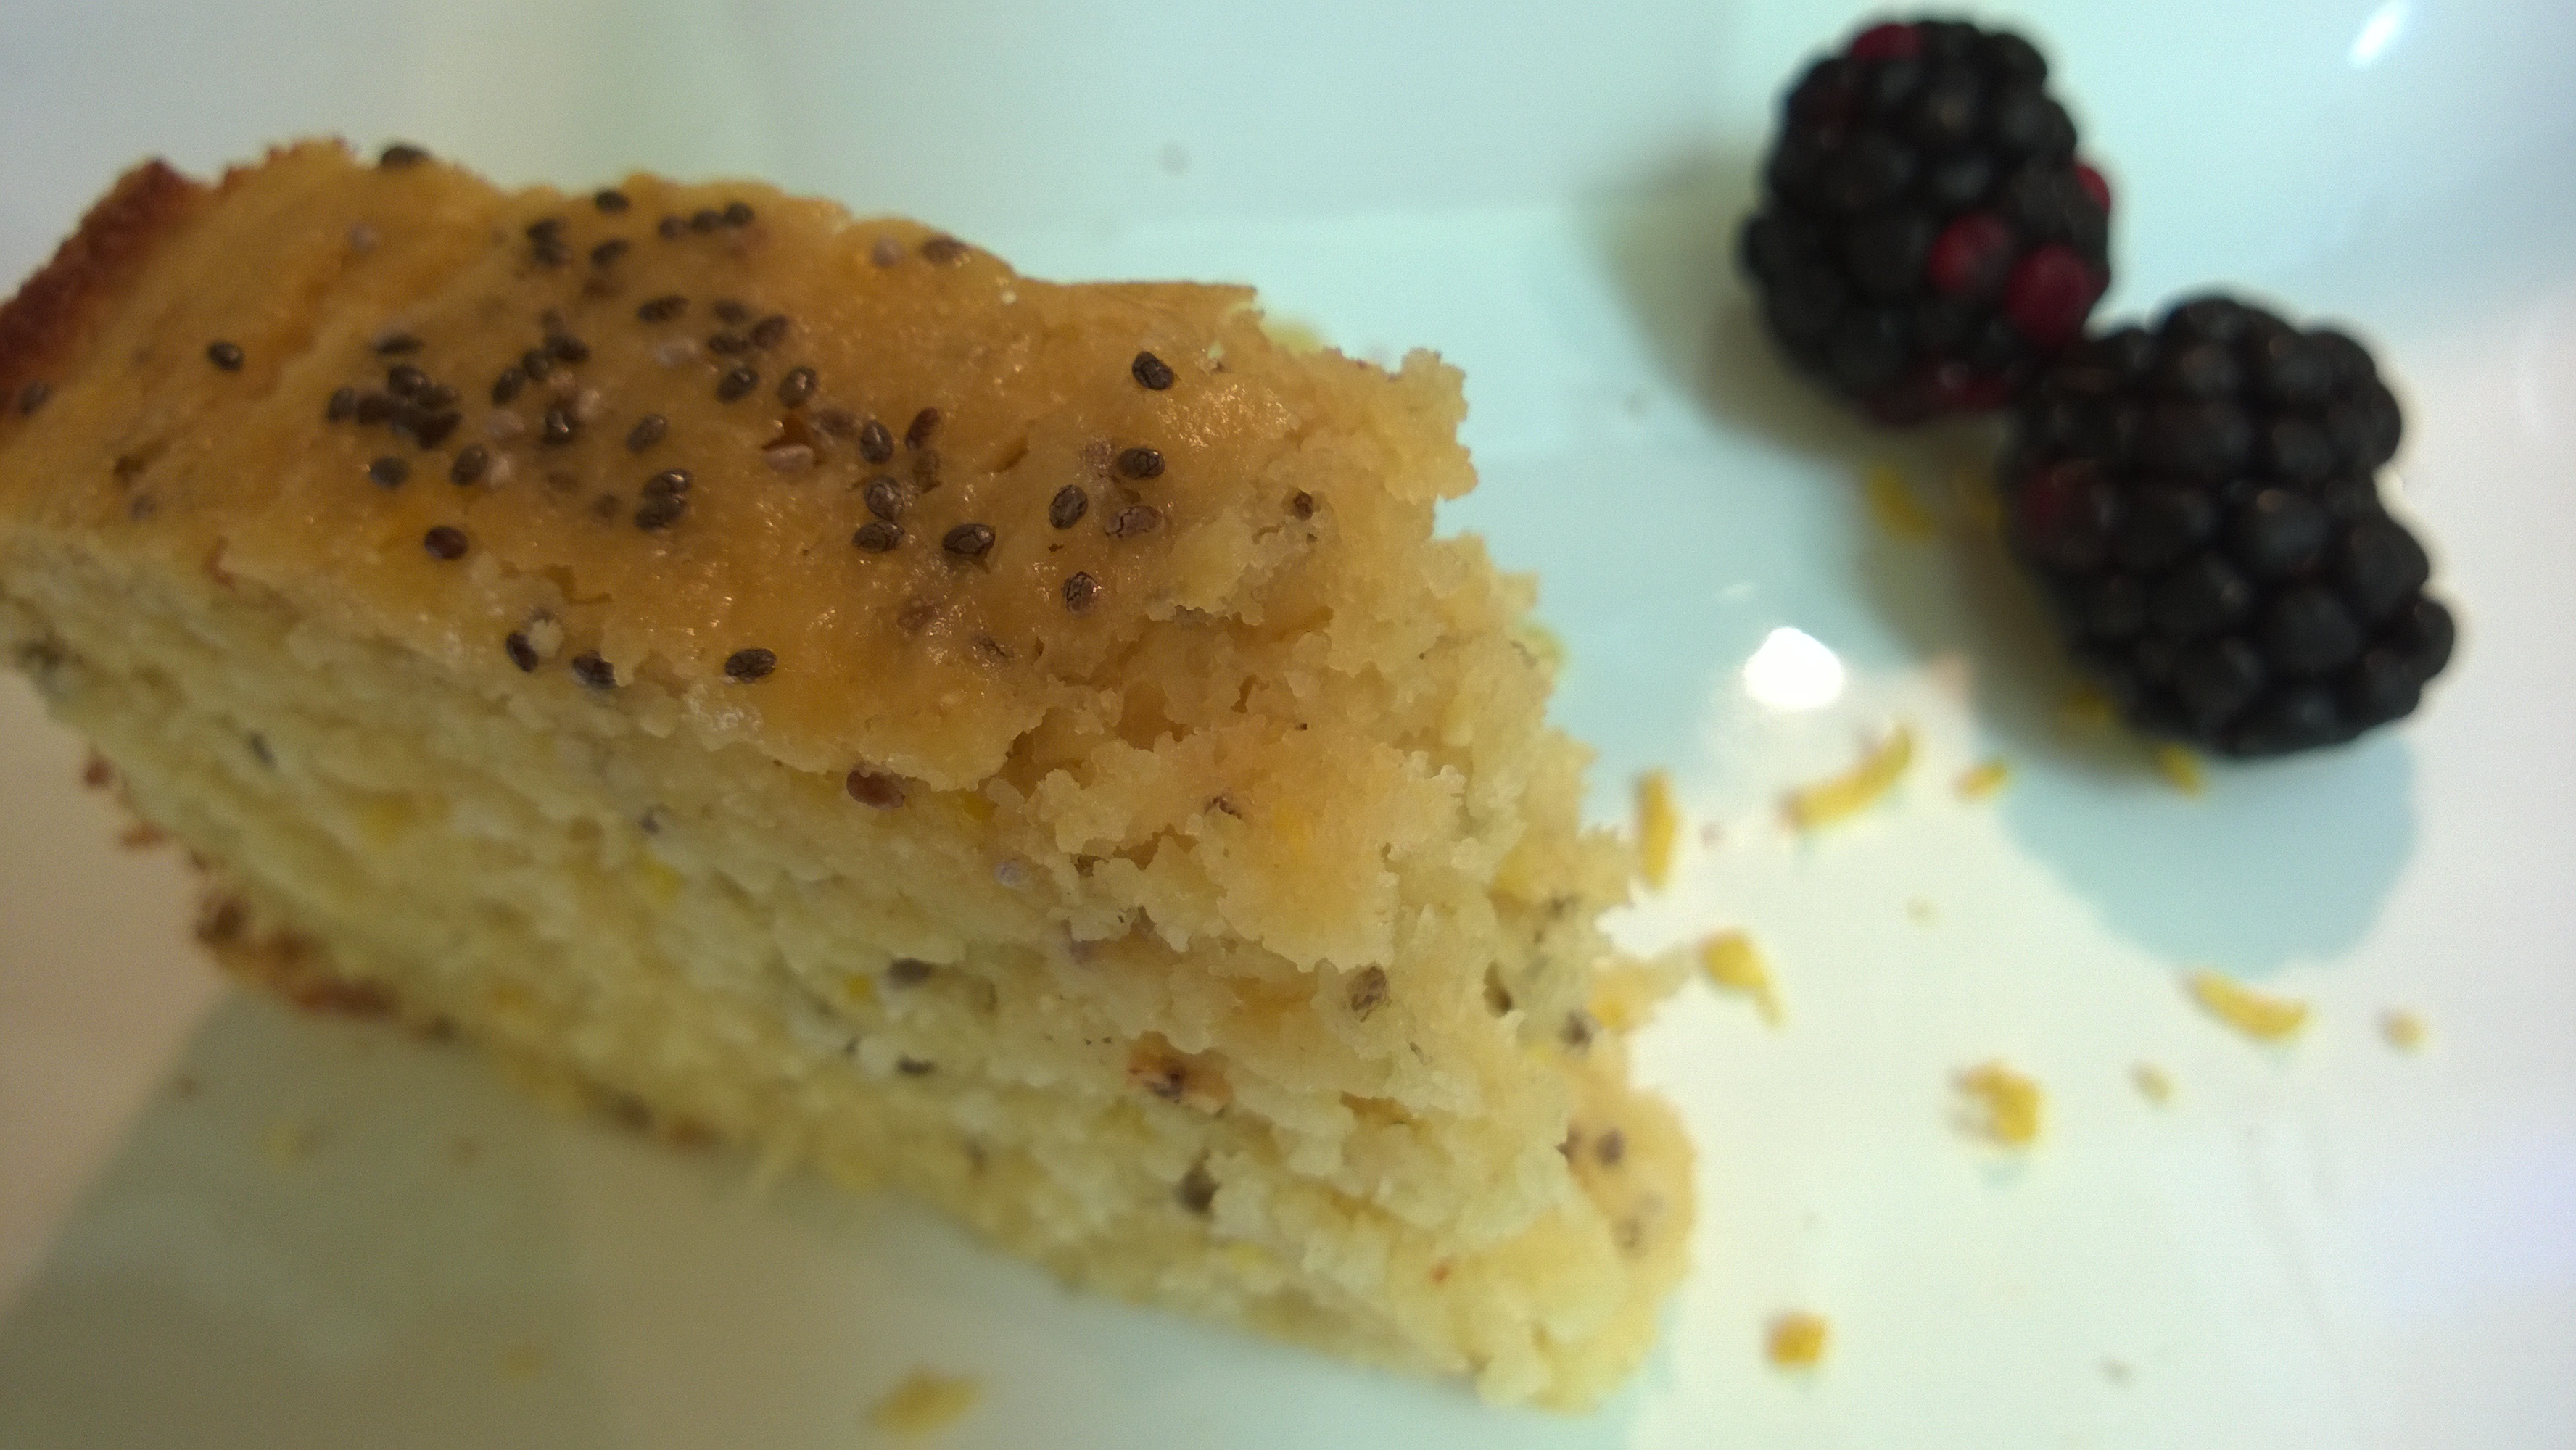
The first time around I did make these as muffins but then I decided to try it in a loaf pan and liked it even better (that much the whole family could agree on). However you slice it, this is a very tasty treat, perfect for an afternoon with tea, served at brunch, as a late night snack or even for breakfast with a side of yogurt and berries.
Lemon Chia Tea Cake
Author: Sweet Green Kitchen’s Jen Jones
Adapted from The Clever Carrot’s Lemon Poppy seed Cornmeal Muffins
Ingredients:
1 cup all purpose flour
½ cup whole wheat flour (I use whole wheat pastry flour)
½ cup corn flour
2 Tablespoons corn meal (adds a nice little crunch)
1 ½ teaspoons baking powder
½ teaspoon baking soda
½ teaspoon salt
2 extra large eggs
2/3 cup natural cane sugar
¼ cup coconut oil – either softened or liquid
1 cup buttermilk
Juice & zest of 1 1/2 lemons (or just 1 or up 2, whatever you prefer)
1 teaspoon vanilla extract
1 Tablespoon chia seeds, plus a little extra for sprinkling on top
Directions:
Preheat oven to 350 F. Oil a loaf pan.
In a medium bowl, mix together all the dry ingredients (flour through salt), plus the lemon zest.
In a separate bowl, whisk together the eggs, sugar and oil. Next add in the buttermilk, lemon juice and vanilla. Whisk it all together.
Add the liquids to the dry ingredients and mix until fully combined. Lastly add in 1 Tablespoon of chia seeds. Pour it all into your oiled loaf pan and sprinkle the top with a few more chia seeds.
Bake at 350 F for about 40-45 minutes. When a toothpick inserted in the center comes out clean, remove from the oven and let cool in the pan, slice it up and Enjoy!
If you prefer muffins – bake regular size muffins for about 17 minutes and mini muffins for 10. Makes about 15 regular or 26-30 minis. Just make sure to oil your muffin tin well and skip the paper liners as I find the muffin sticks a lot more to the paper than they do to the pan.

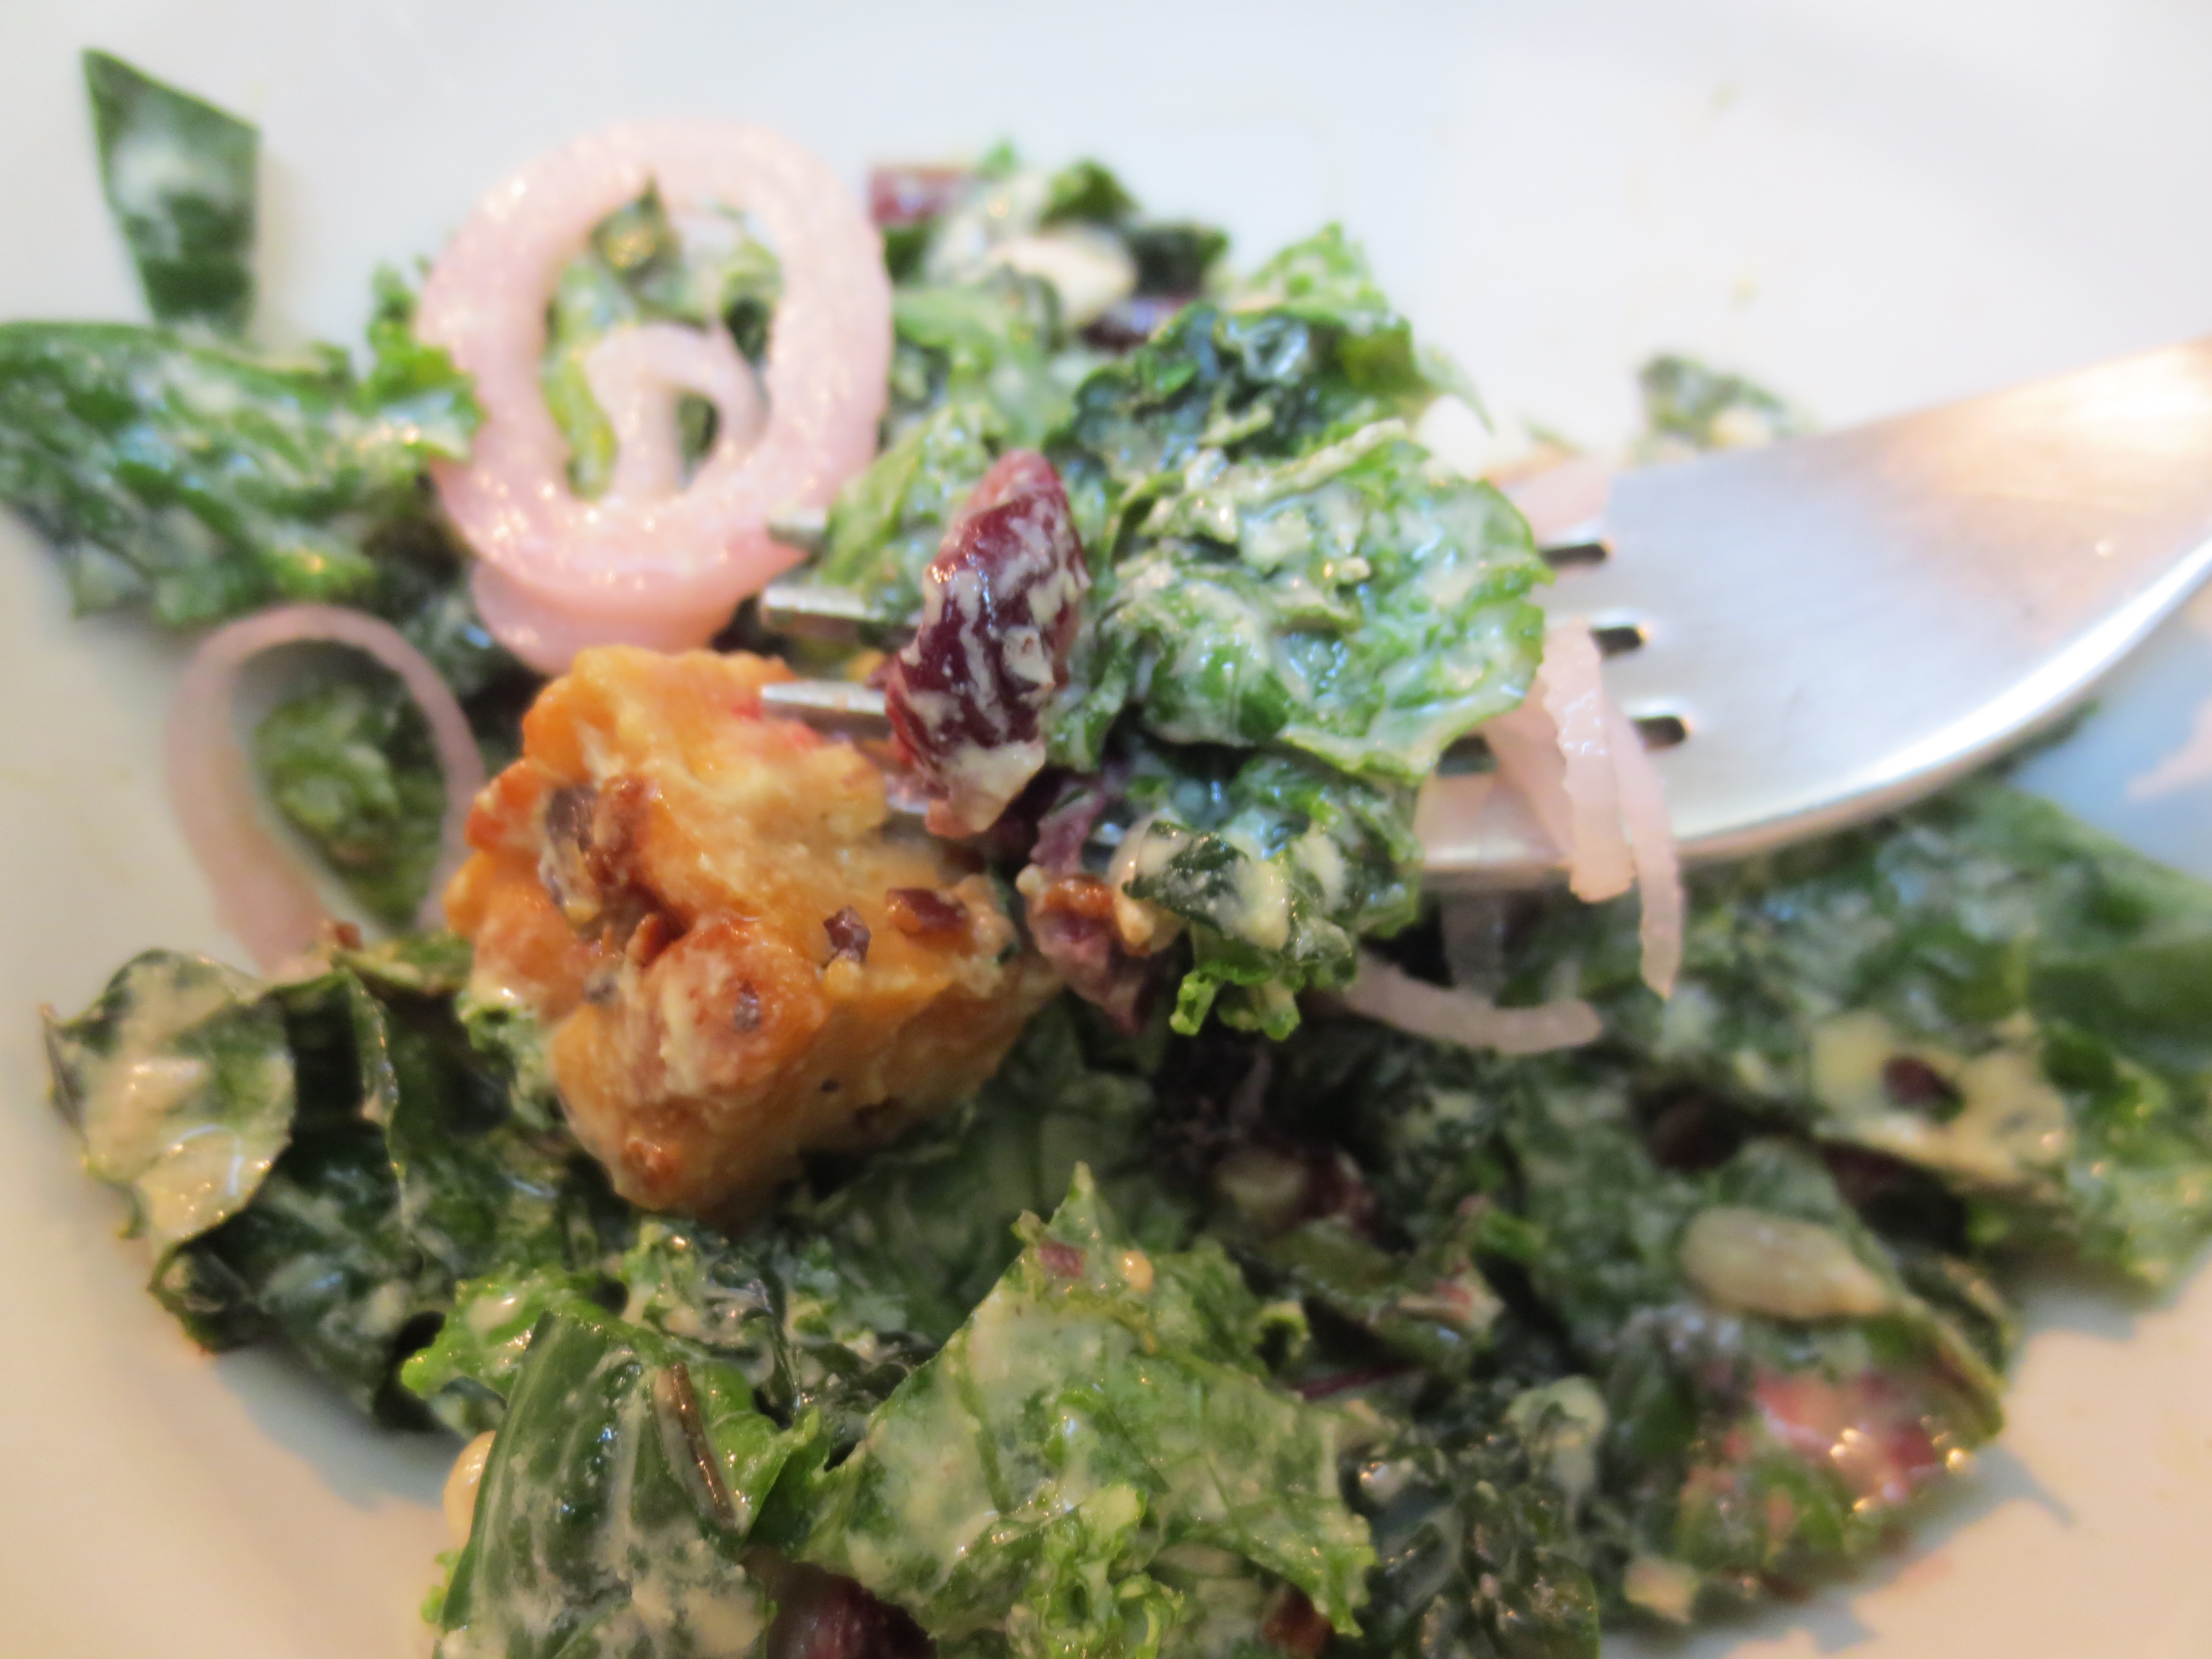
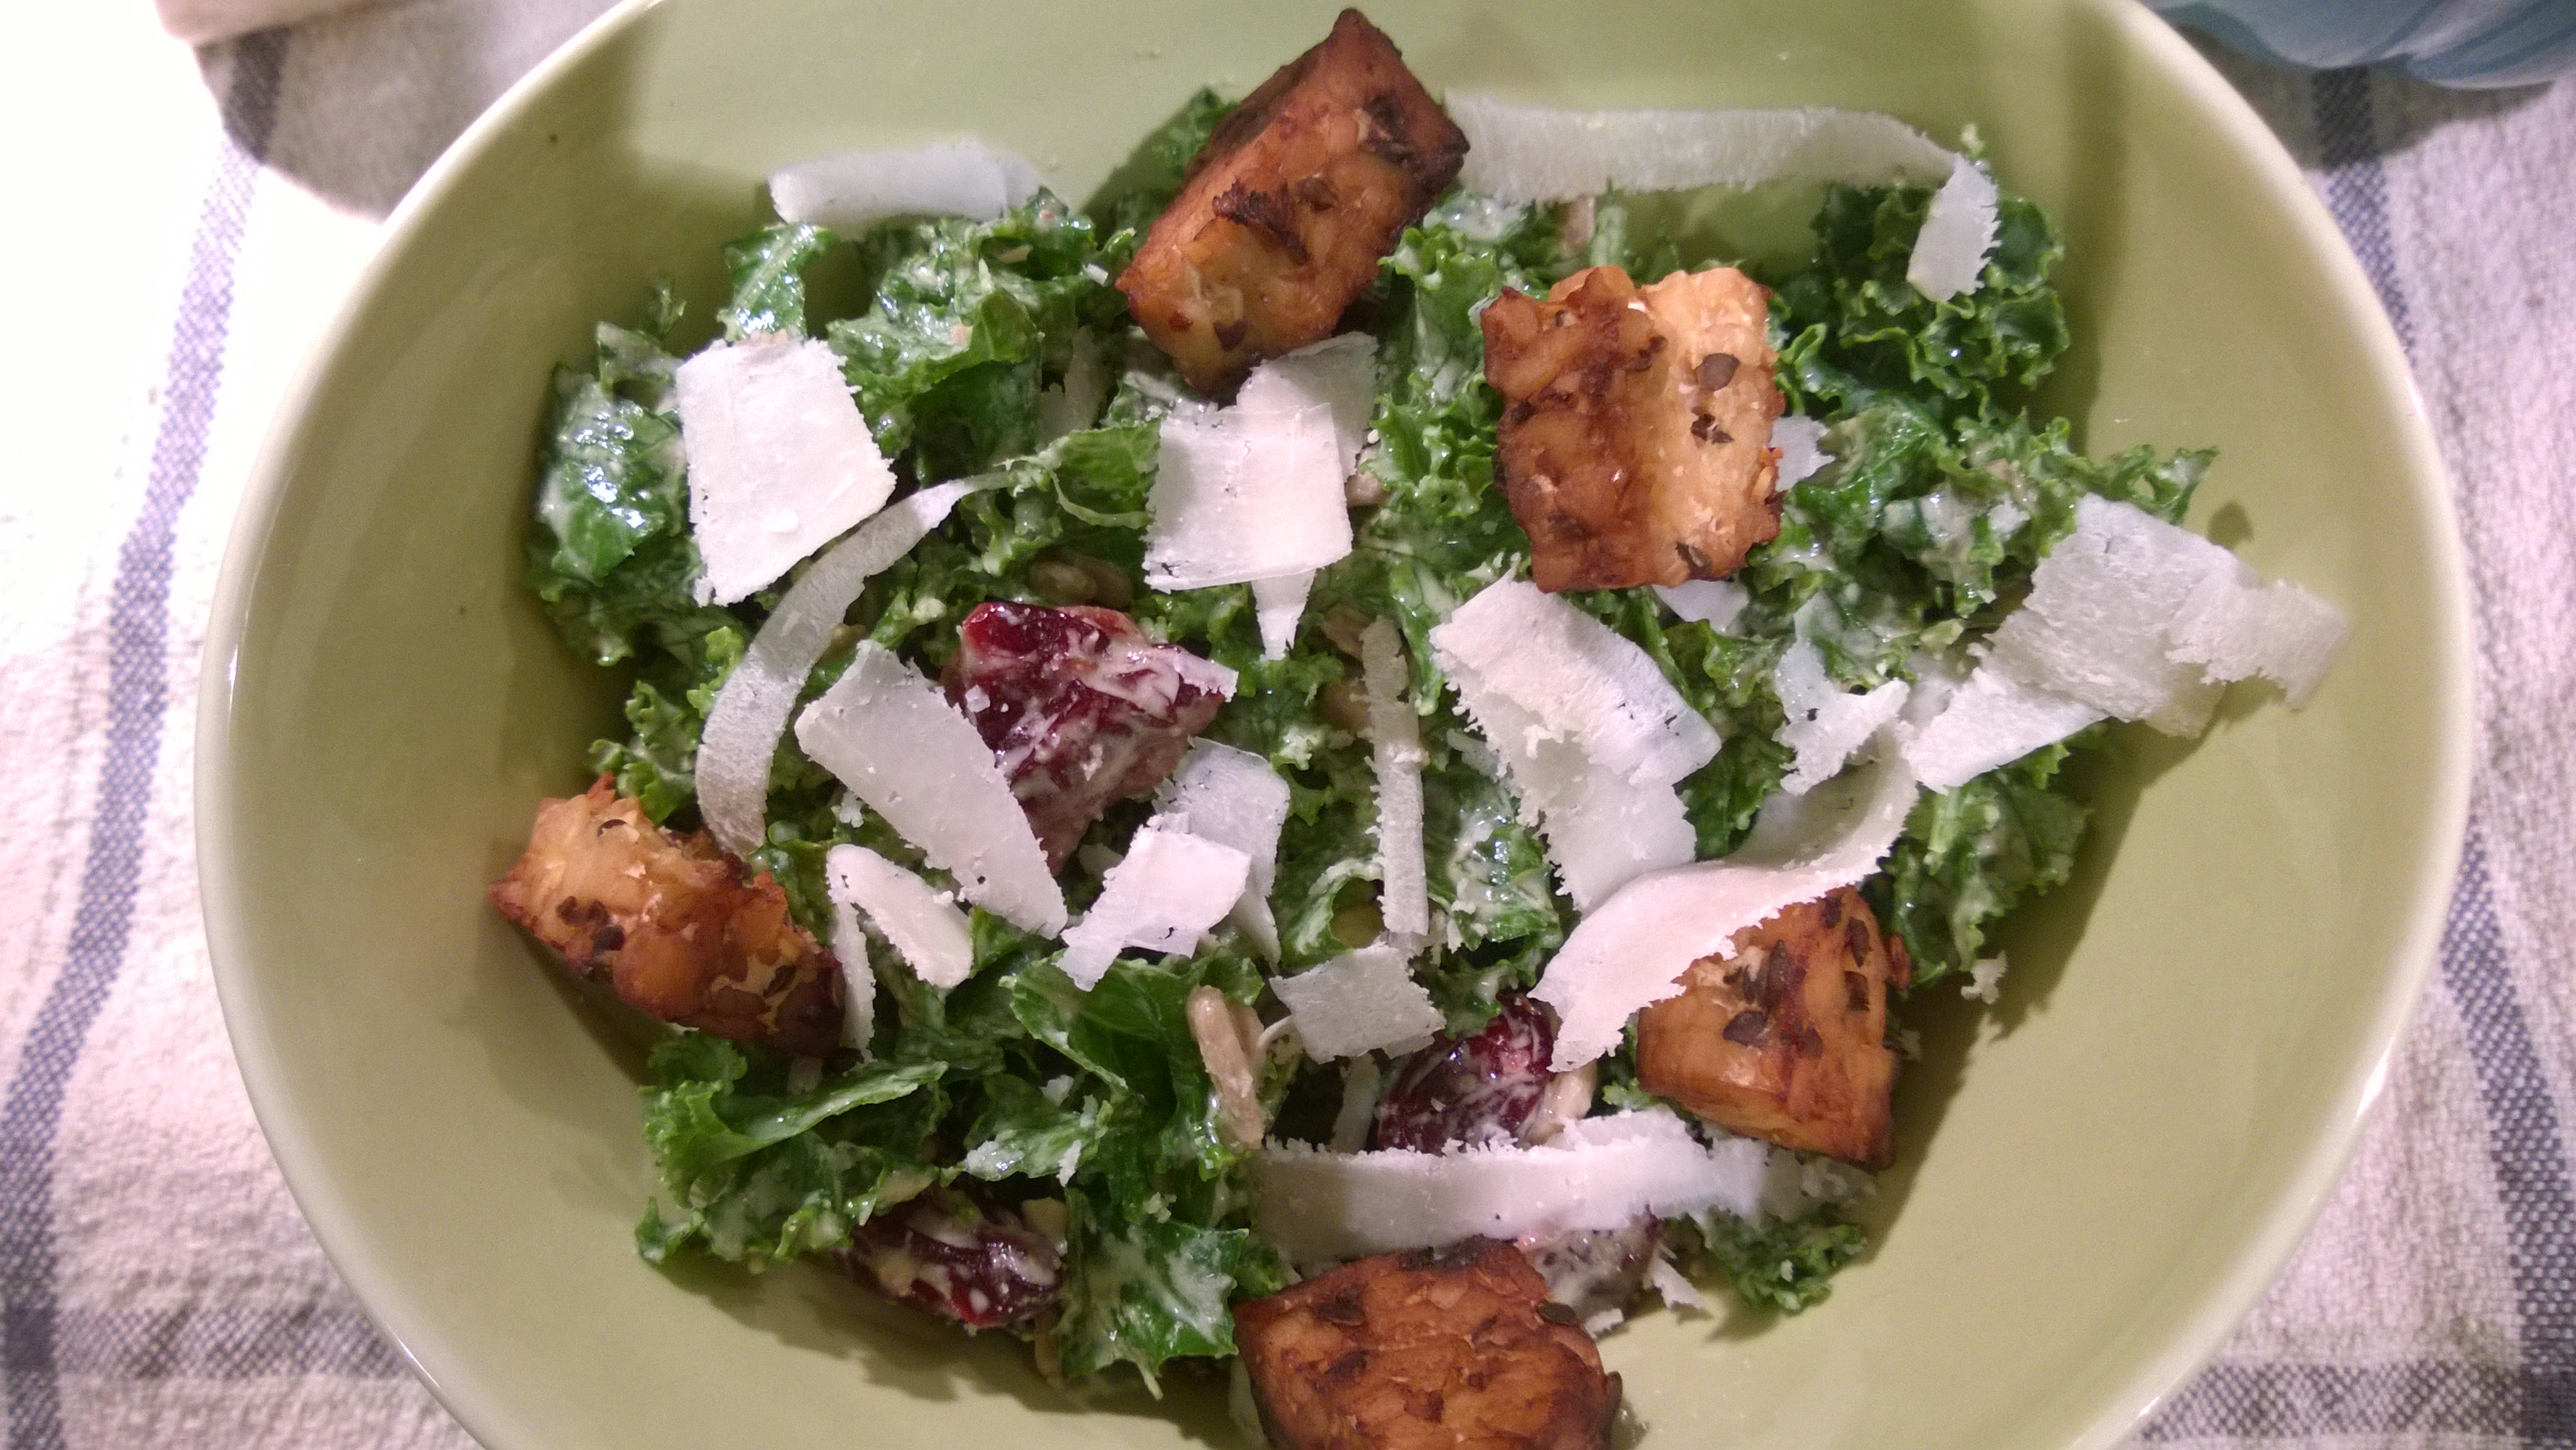
This is my current salad obsession and I’ve been making it weekly for the past couple of months. By now, everyone has heard of all the health benefits of kale and about what a superfood it is. It’s true it really is super and not just for the high amount of nutrition in each bite (super crazy amounts of vitamin k, tons of beta carotene & vitamin C, plus a good source of calcium and magnesium), it’s also highly versatile and my go to green for everything from salads, chips, sautés, soups and pesto. One of my favorite things about using kale in salads is how well it holds up to time, which makes it fantastic to make ahead, bring to a party or save leftovers. One of my least favorite things about so many kale salads you find out at shops and restaurants, is the “way too big to enjoy eating” leaves. So my biggest tip for making kale salads great at home, is to be sure to tear or cut your leaves into very small bite size pieces. Smaller bites of kale will be much more tender and a lot easier/more enjoyable to chew.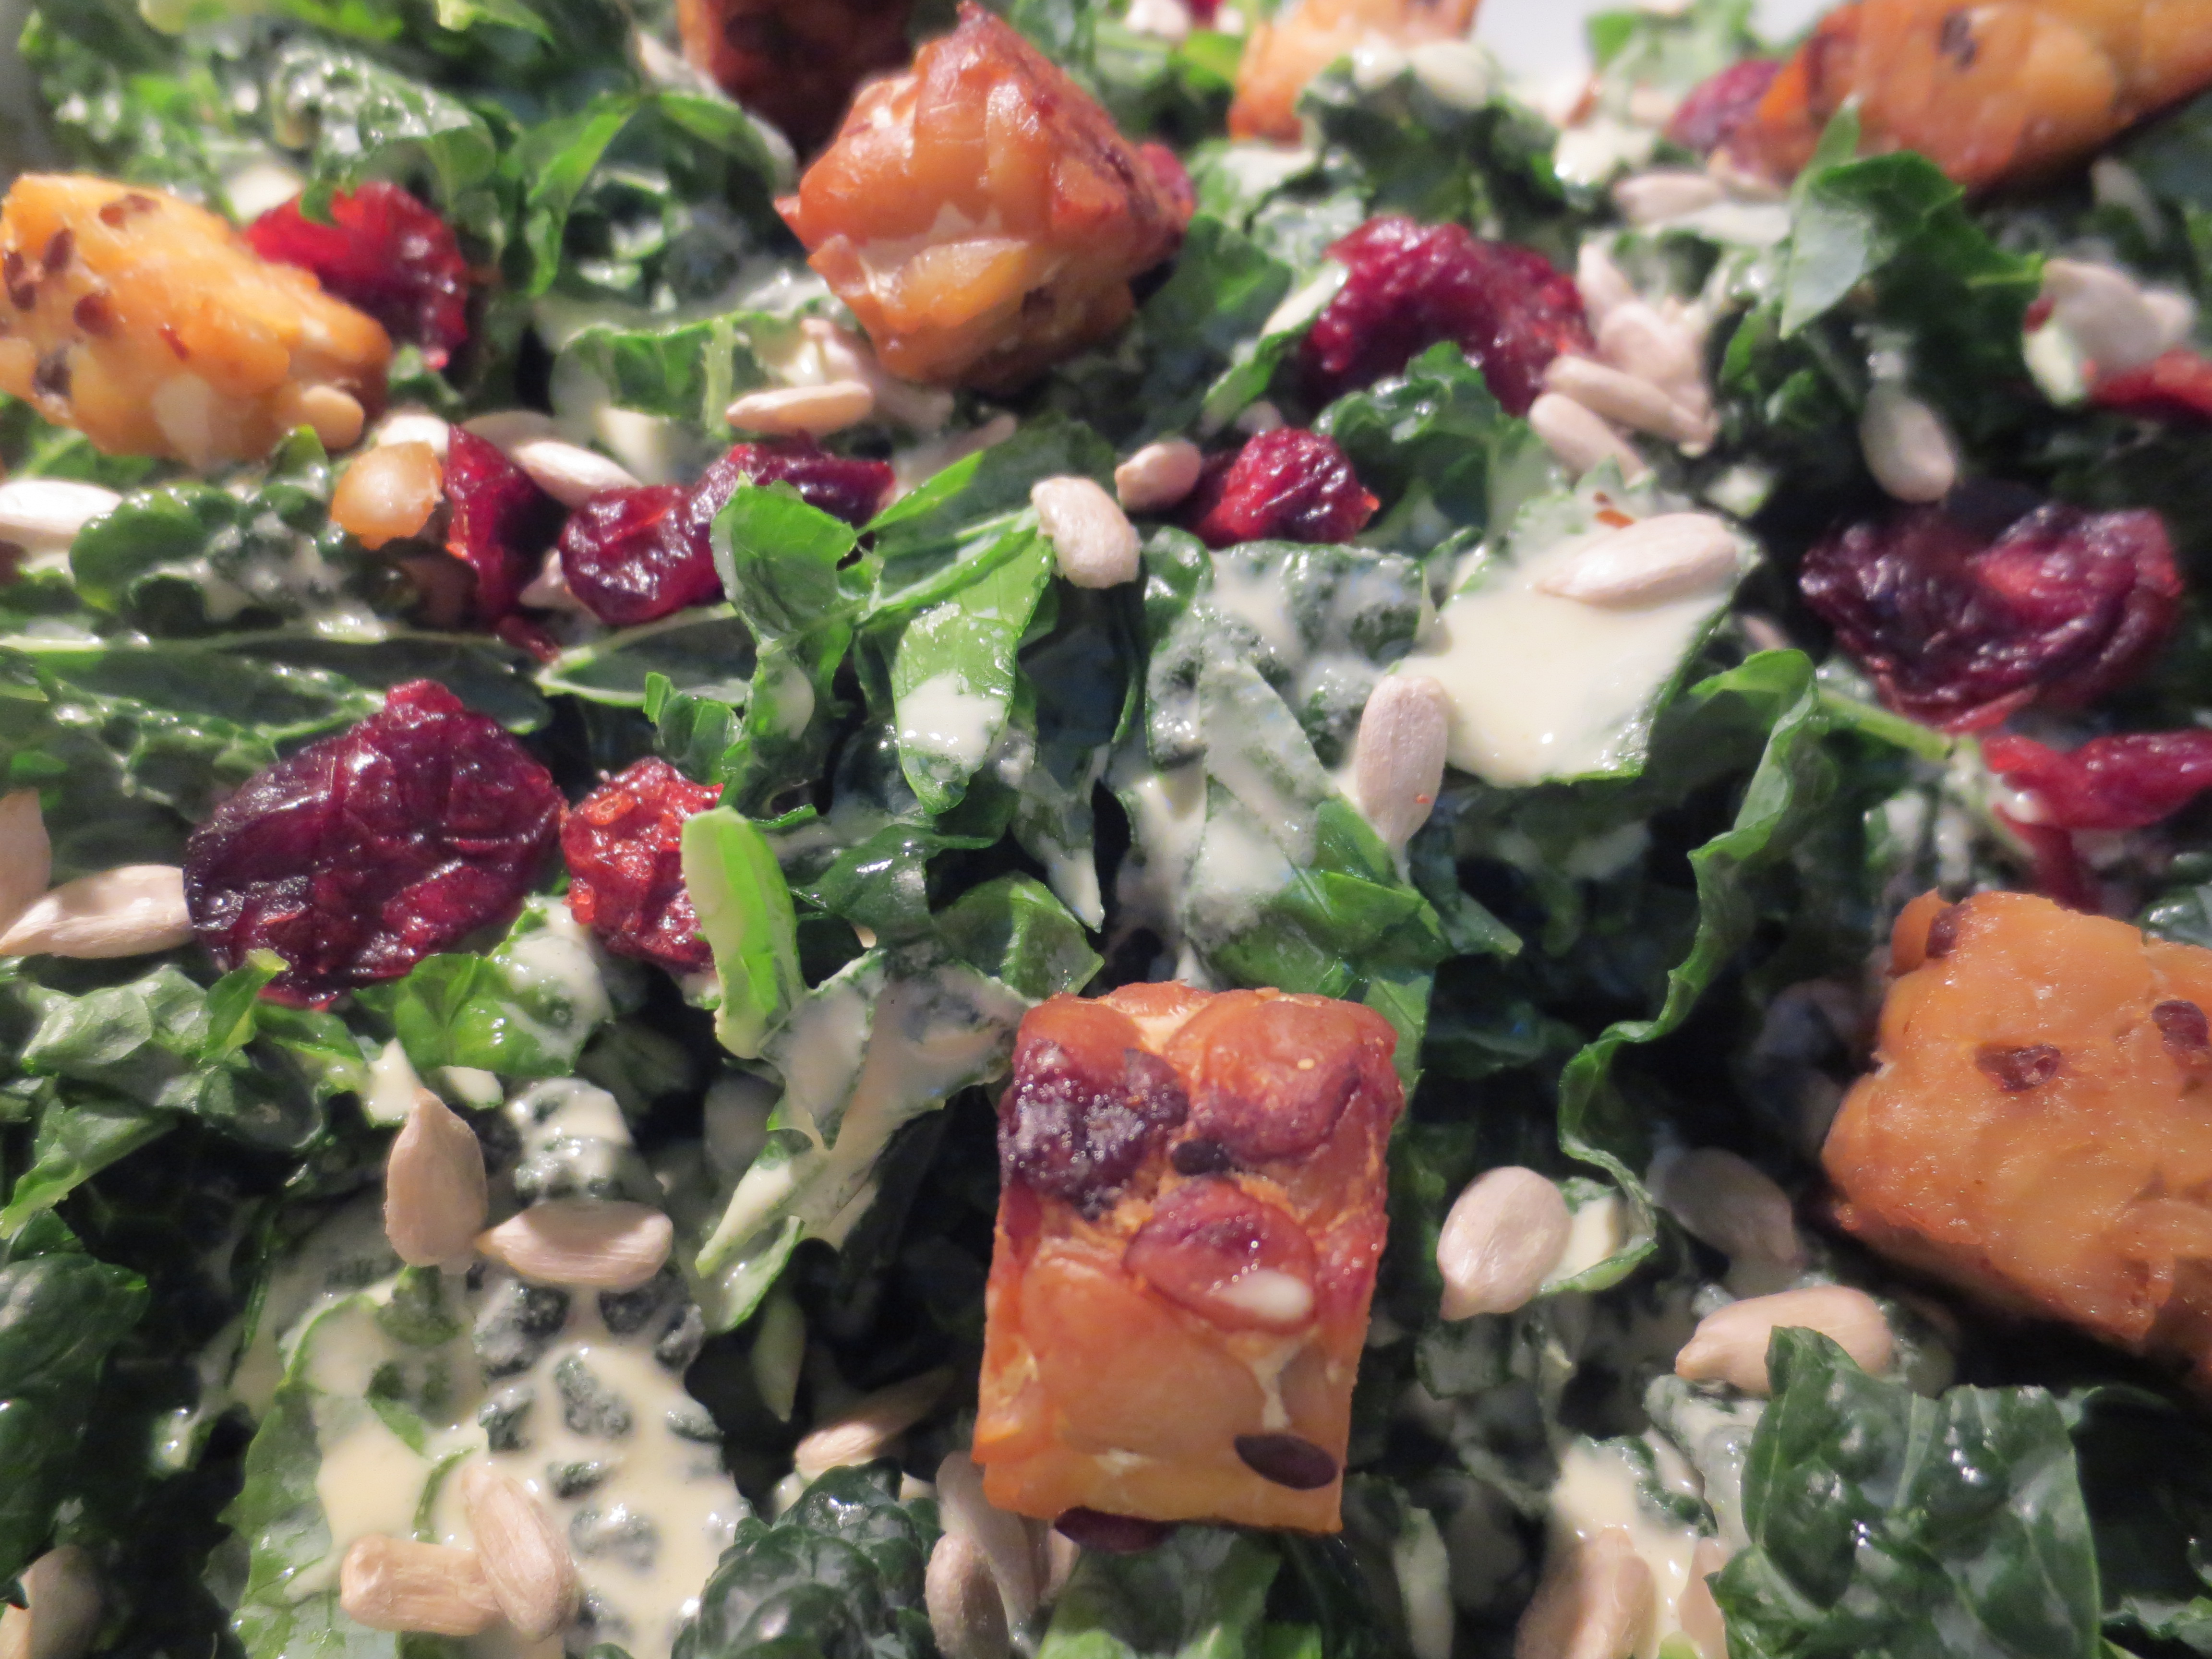
Now I don’t usually get kale salads when I’m out due to the aforementioned giant leaves issue, plus I cook so much at home I like to get dishes I don’t often make myself, but, I was having lunch with Colin’s sister Glynis at Sweet Grass Grill in Tarrytown and they had a kale salad that intrigued me. It had a creamy cashew truffle dressing and was served with crispy grilled salmon on top. I loved the idea of the creamy vegan dressing and I’m a sucker for tender salmon with a crisp exterior. The salmon did not disappoint and the dressing was fantastic, although I will say when I thought about it later I had no memory of the truffle in it. I went home and searched online for a recipe and found a big fat nothing. So instead, I decided to make up my own, starting with a base of cashew cream and adding to that some of my favorite salad dressing ingredients. I tend to like my salad dressings with a bit more acid and a hint of sweetness and since I don’t usually do creamy dressings this was a bit of a departure for me, but I have to say I love it and it has become a regular in our weekly meals.  The first many times I made this kale salad with creamy cashew dressing, I used orange juice for my sweet component, but the last time I sadly found myself with none on hand, so I substituted maple syrup, using about a third of the amount since it is sweeter and I can’t say which I like better as they’re both delicious.
Next on to the Tempeh croutons, I really wanted to make this entirely vegan (although if you’re not, adding a few shards of shaved Pecorino cheese over the top is fantastic) and also make it a complete meal in itself, so I needed a protein and wanted a bit of extra texture too. If you’ve never had tempeh before give it a try. It’s made from soy, but completely different from Tofu. It is fermented which makes it very easy to digest, plus an amazing probiotic. It’s also high in both protein and fiber, which is a rare combination. When marinated and roasted it develops great flavor and a nice crispy texture. I’ve tried a few different brands and really prefer Lightlife to all others. 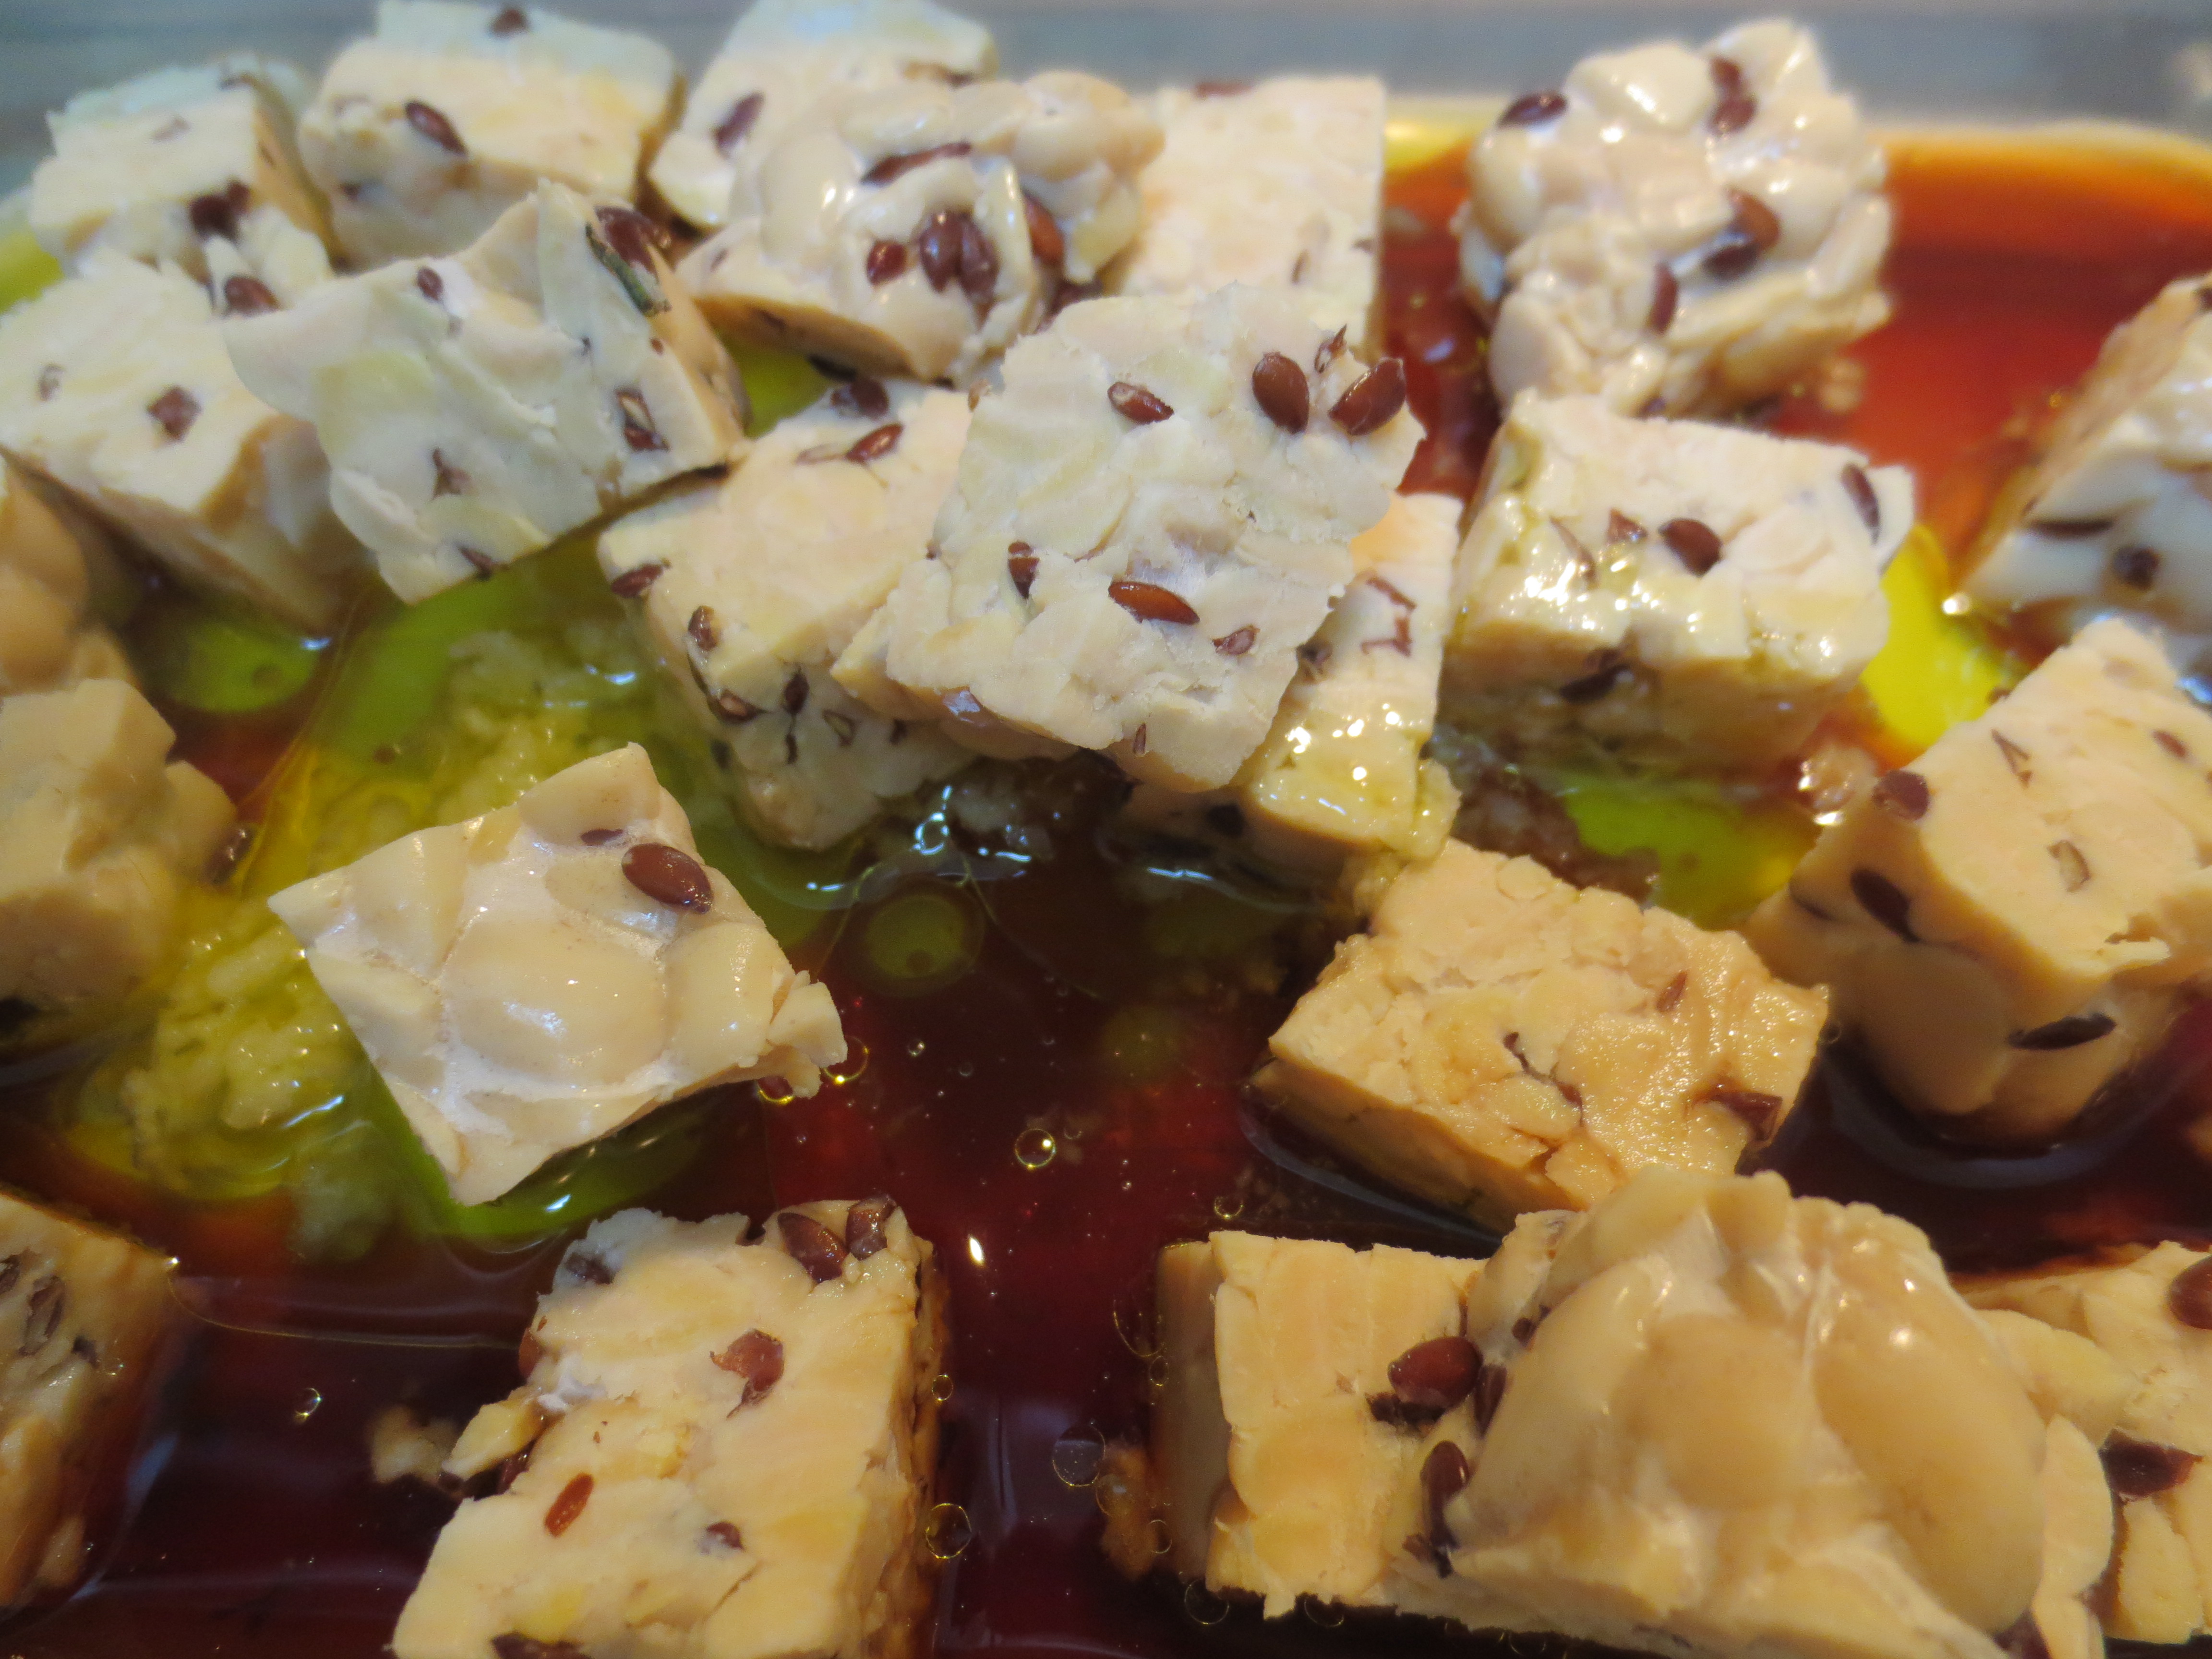
This salad, complete with the tempeh is a perfect main course, but also makes a nice side salad with or without the tempeh, to a more substantial meal and any leftovers are great for lunch or an after school snack if you have a kale salad loving kid like I do.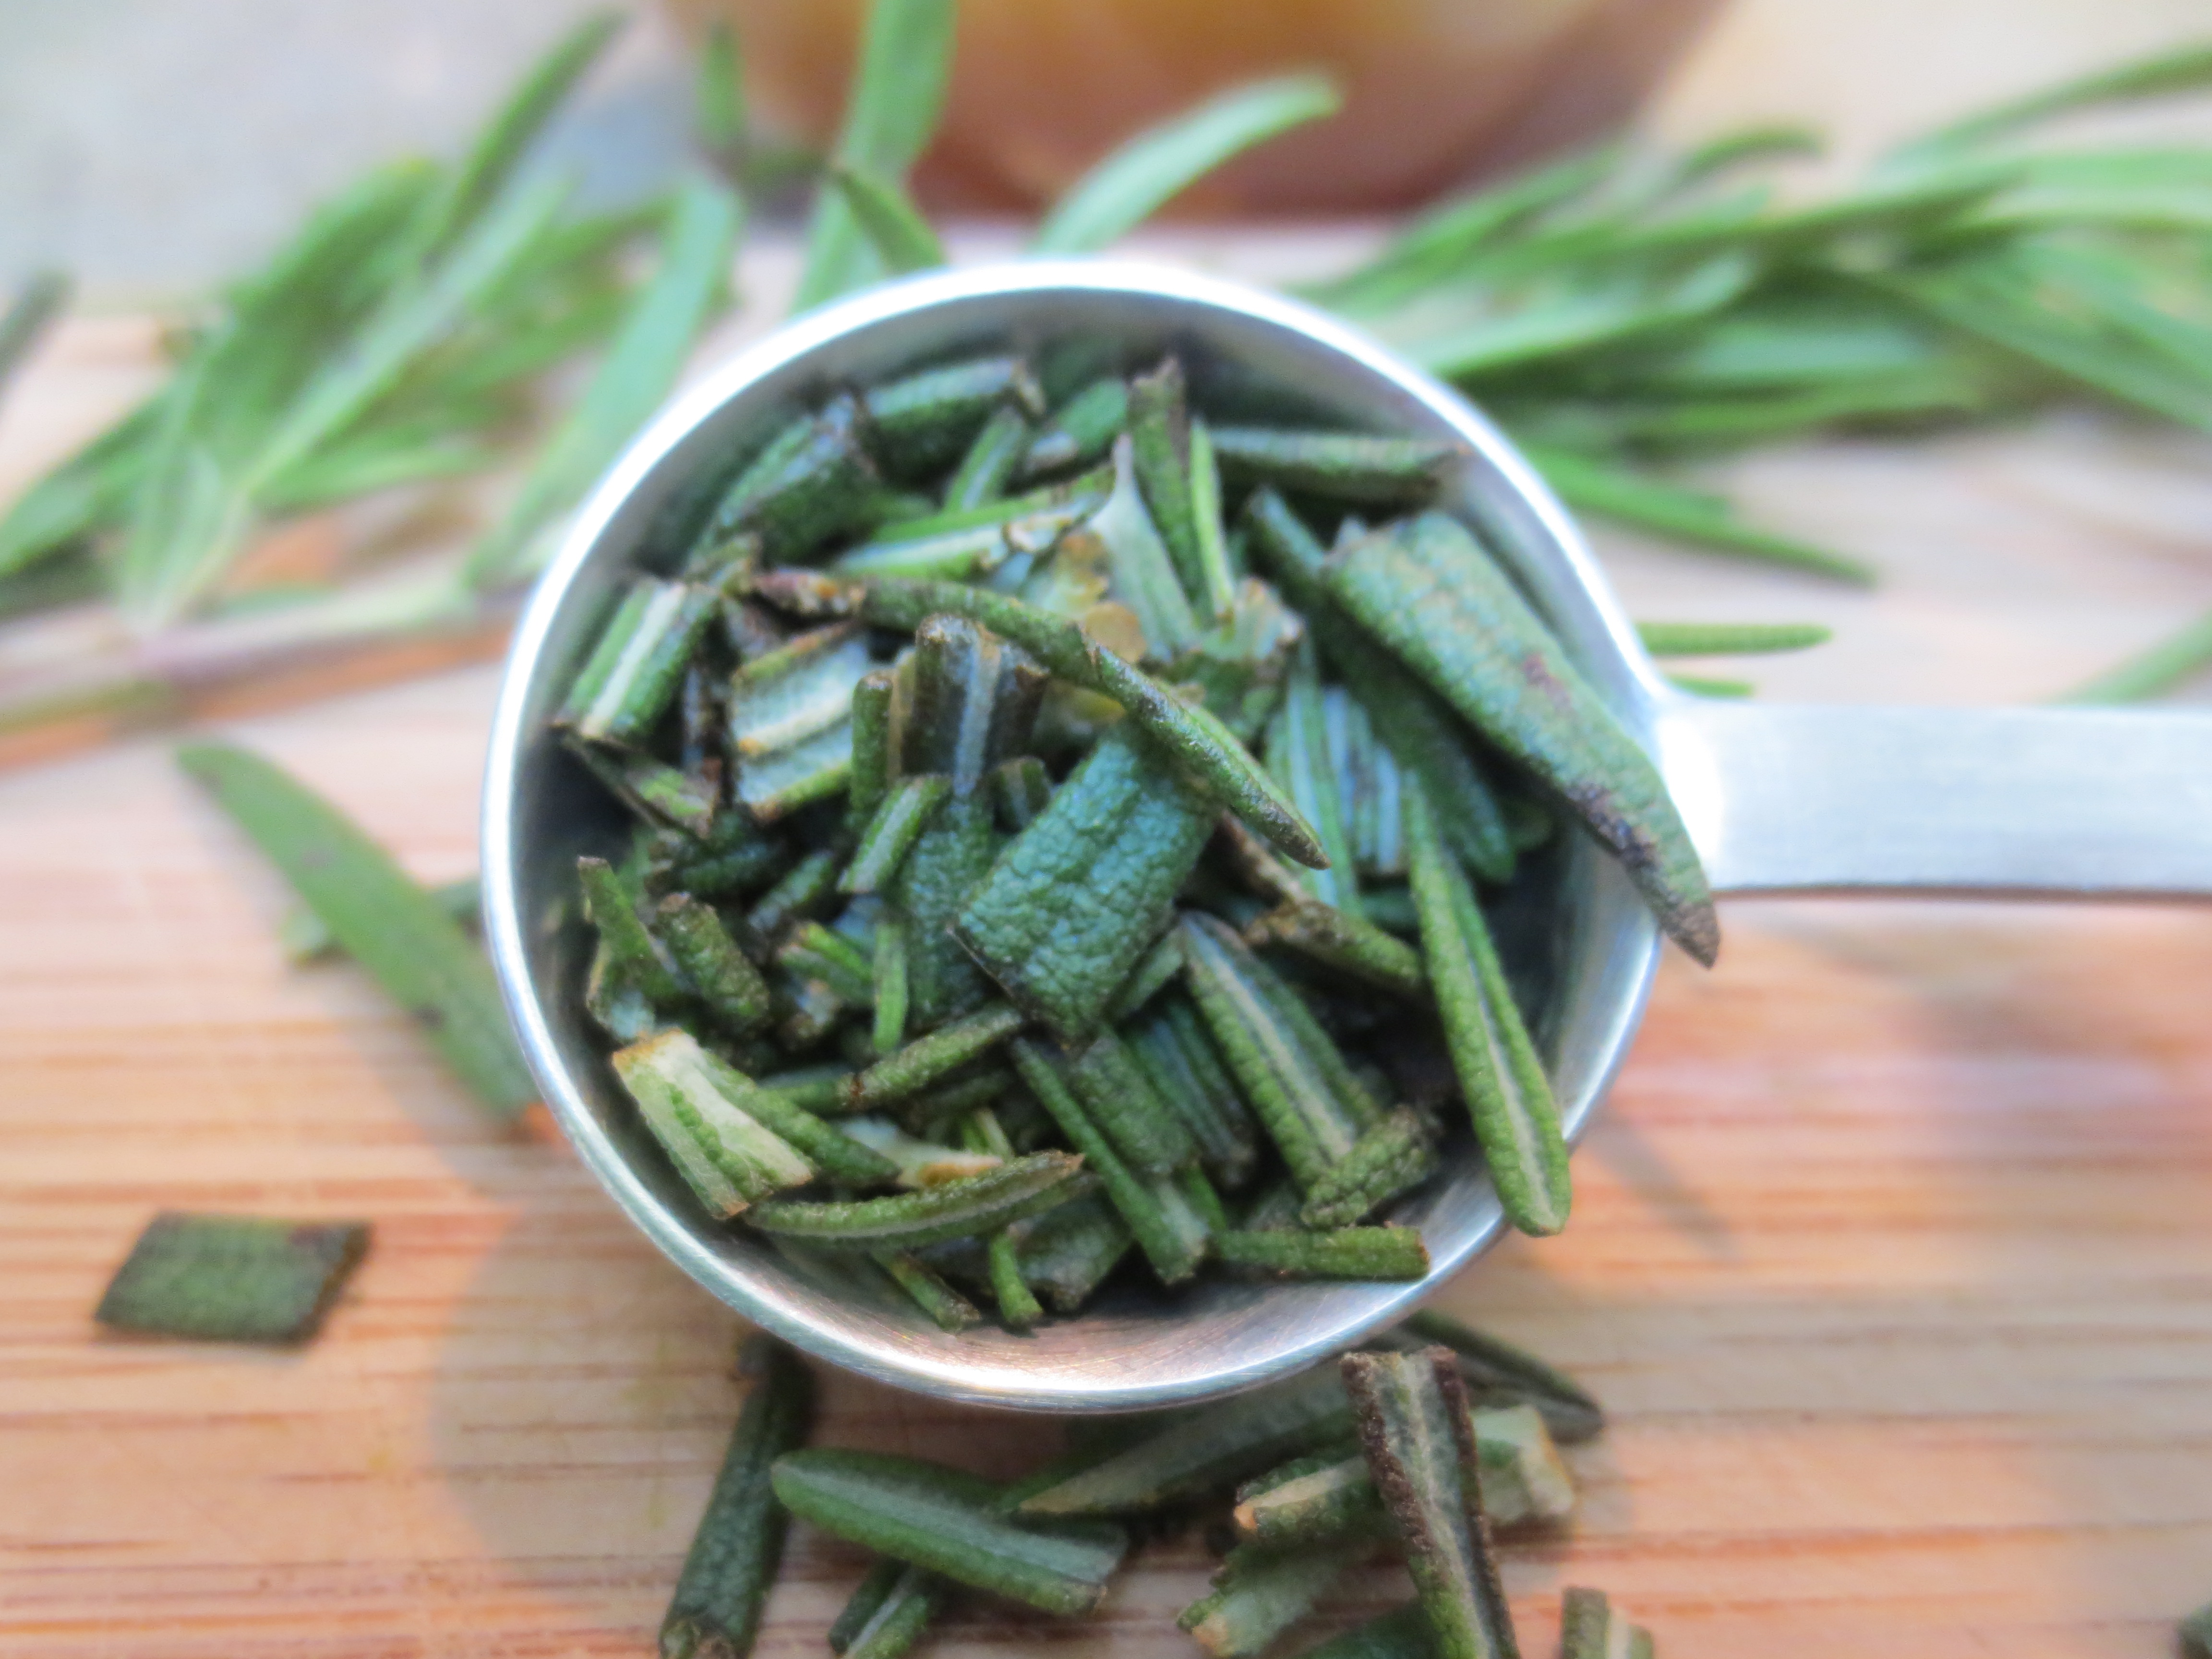
Kale Salad with Creamy Cashew Dressing
and Crispy Tempeh Croutons
Author: Sweet Green Kitchen’s Jen Jones
Ingredients:
Dressing:
¼ cup Raw Cashews – soaked in water to cover for at least 2 hours
2 Tablespoons Water
1 Tablespoon Olive Oil
1 Tablespoon Apple Cider Vinegar
3 Tablespoons Orange Juice Or 1 Tablespoon of Maple Syrup
½ Tablespoon Shoyu or Soy Sauce – I use low sodium
1 small clove Garlic
1 teaspoon chopped fresh Rosemary
Sriacha Sauce – a few drops or more to taste
Tempeh Croutons:
1 package Tempeh – diced into bite size pieces (I use Lightlife Soy or Flax)
1 small clove Garlic
1 Tablespoon Olive Oil
1 Tablespoon Balsamic Vinegar
1 Tablespoon Shoyu or Soy Sauce
Red Pepper Flakes – a sprinkling
Salad:
1 large bunch Curly Kale – cut or torn into small bite size pieces / ribs removed
Cranberries or Currants – about 2 Tablespoons
2 Tablespoons Sunflower Seeds
Flaked Sea Salt and Rosemary
Directions:
Dressing: After soaking cashews, drain and rinse. In a high speed blender (I use my Magic Bullet), add cashews, water, olive oil, vinegar, orange juice or maple syrup, soy sauce, garlic, rosemary and sriacha. Blend until completely smooth and creamy. This can be made hours ahead or even a day, refrigerate dressing if preparing in advance.
Tempeh Croutons: Combine the Tempeh and remaining crouton ingredients and allow to marinate, either a few minutes, a few hours or even overnight (refrigerate if marinating more than a few minutes). Pour into a baking pan and bake at 350 F for 15-25 minutes, turning once, until desired crispness. Remove from the oven and set aside until ready to serve.
Salad assembly: To a large bowl, pour a little of the dressing into the bottom of the bowl and then add in the kale in batches, pouring a little bit of dressing in layers. Top with the remaining dressing. Mix in the cranberries or currants and a bit of extra rosemary. Toss to completely coat all of the kale with the dressing. Then top with sunflower seeds and a little flaked sea salt to taste. Give it a final toss.
Top each serving of salad with some of the Tempeh croutons.
Optional add ins:
Shaved Pecorino Romano
Pickled shallots
Grilled Salmon

No butter, no eggs, no guilt, but sinfully delicious! This is Skyler’s all time favorite cookie. Peanut butter and maple syrup make these soft and tender cookies melt in your mouth, perfection.

I adapted this recipe from Dreena Burton’s “Vive le Vegan and after years of making Skyler’s Favorite Peanut Butter Cookies, along came 9 years younger brother Evan, who thinks everything in life is better with jelly, including big sister’s favorite cookie recipe! So, as soon as he was old enough to know what was going on, he decided to up the ante and request/demand that his favorite condiment, raspberry jam, be added to the mix and lo and behold the Perfect PB & J Cookie was born. And…since we were already messing with Skyler’s perfect cookie world, why not mess just a little bit more and add in everybody’s favorite cookie condiment…chocolate! Really I don’t know what took me so long to put two and two and another two and two together, maybe it was the fact that Skyler loved the original version so much we were afraid to mess with success, “if it ain’t broke don’t fix it”. But now, even though the original is still a favorite, we never make peanut butter cookies without adding a little jam and a few chocolate chips to at least a few. 
With or without the jelly or chocolate, these cookies are a family favorite and devoured by friends as well. A perfect after school snack for the kids and me! They are soft and a little bit crumbly, perfect for anyone who avoids eggs and dairy and delicious for all.
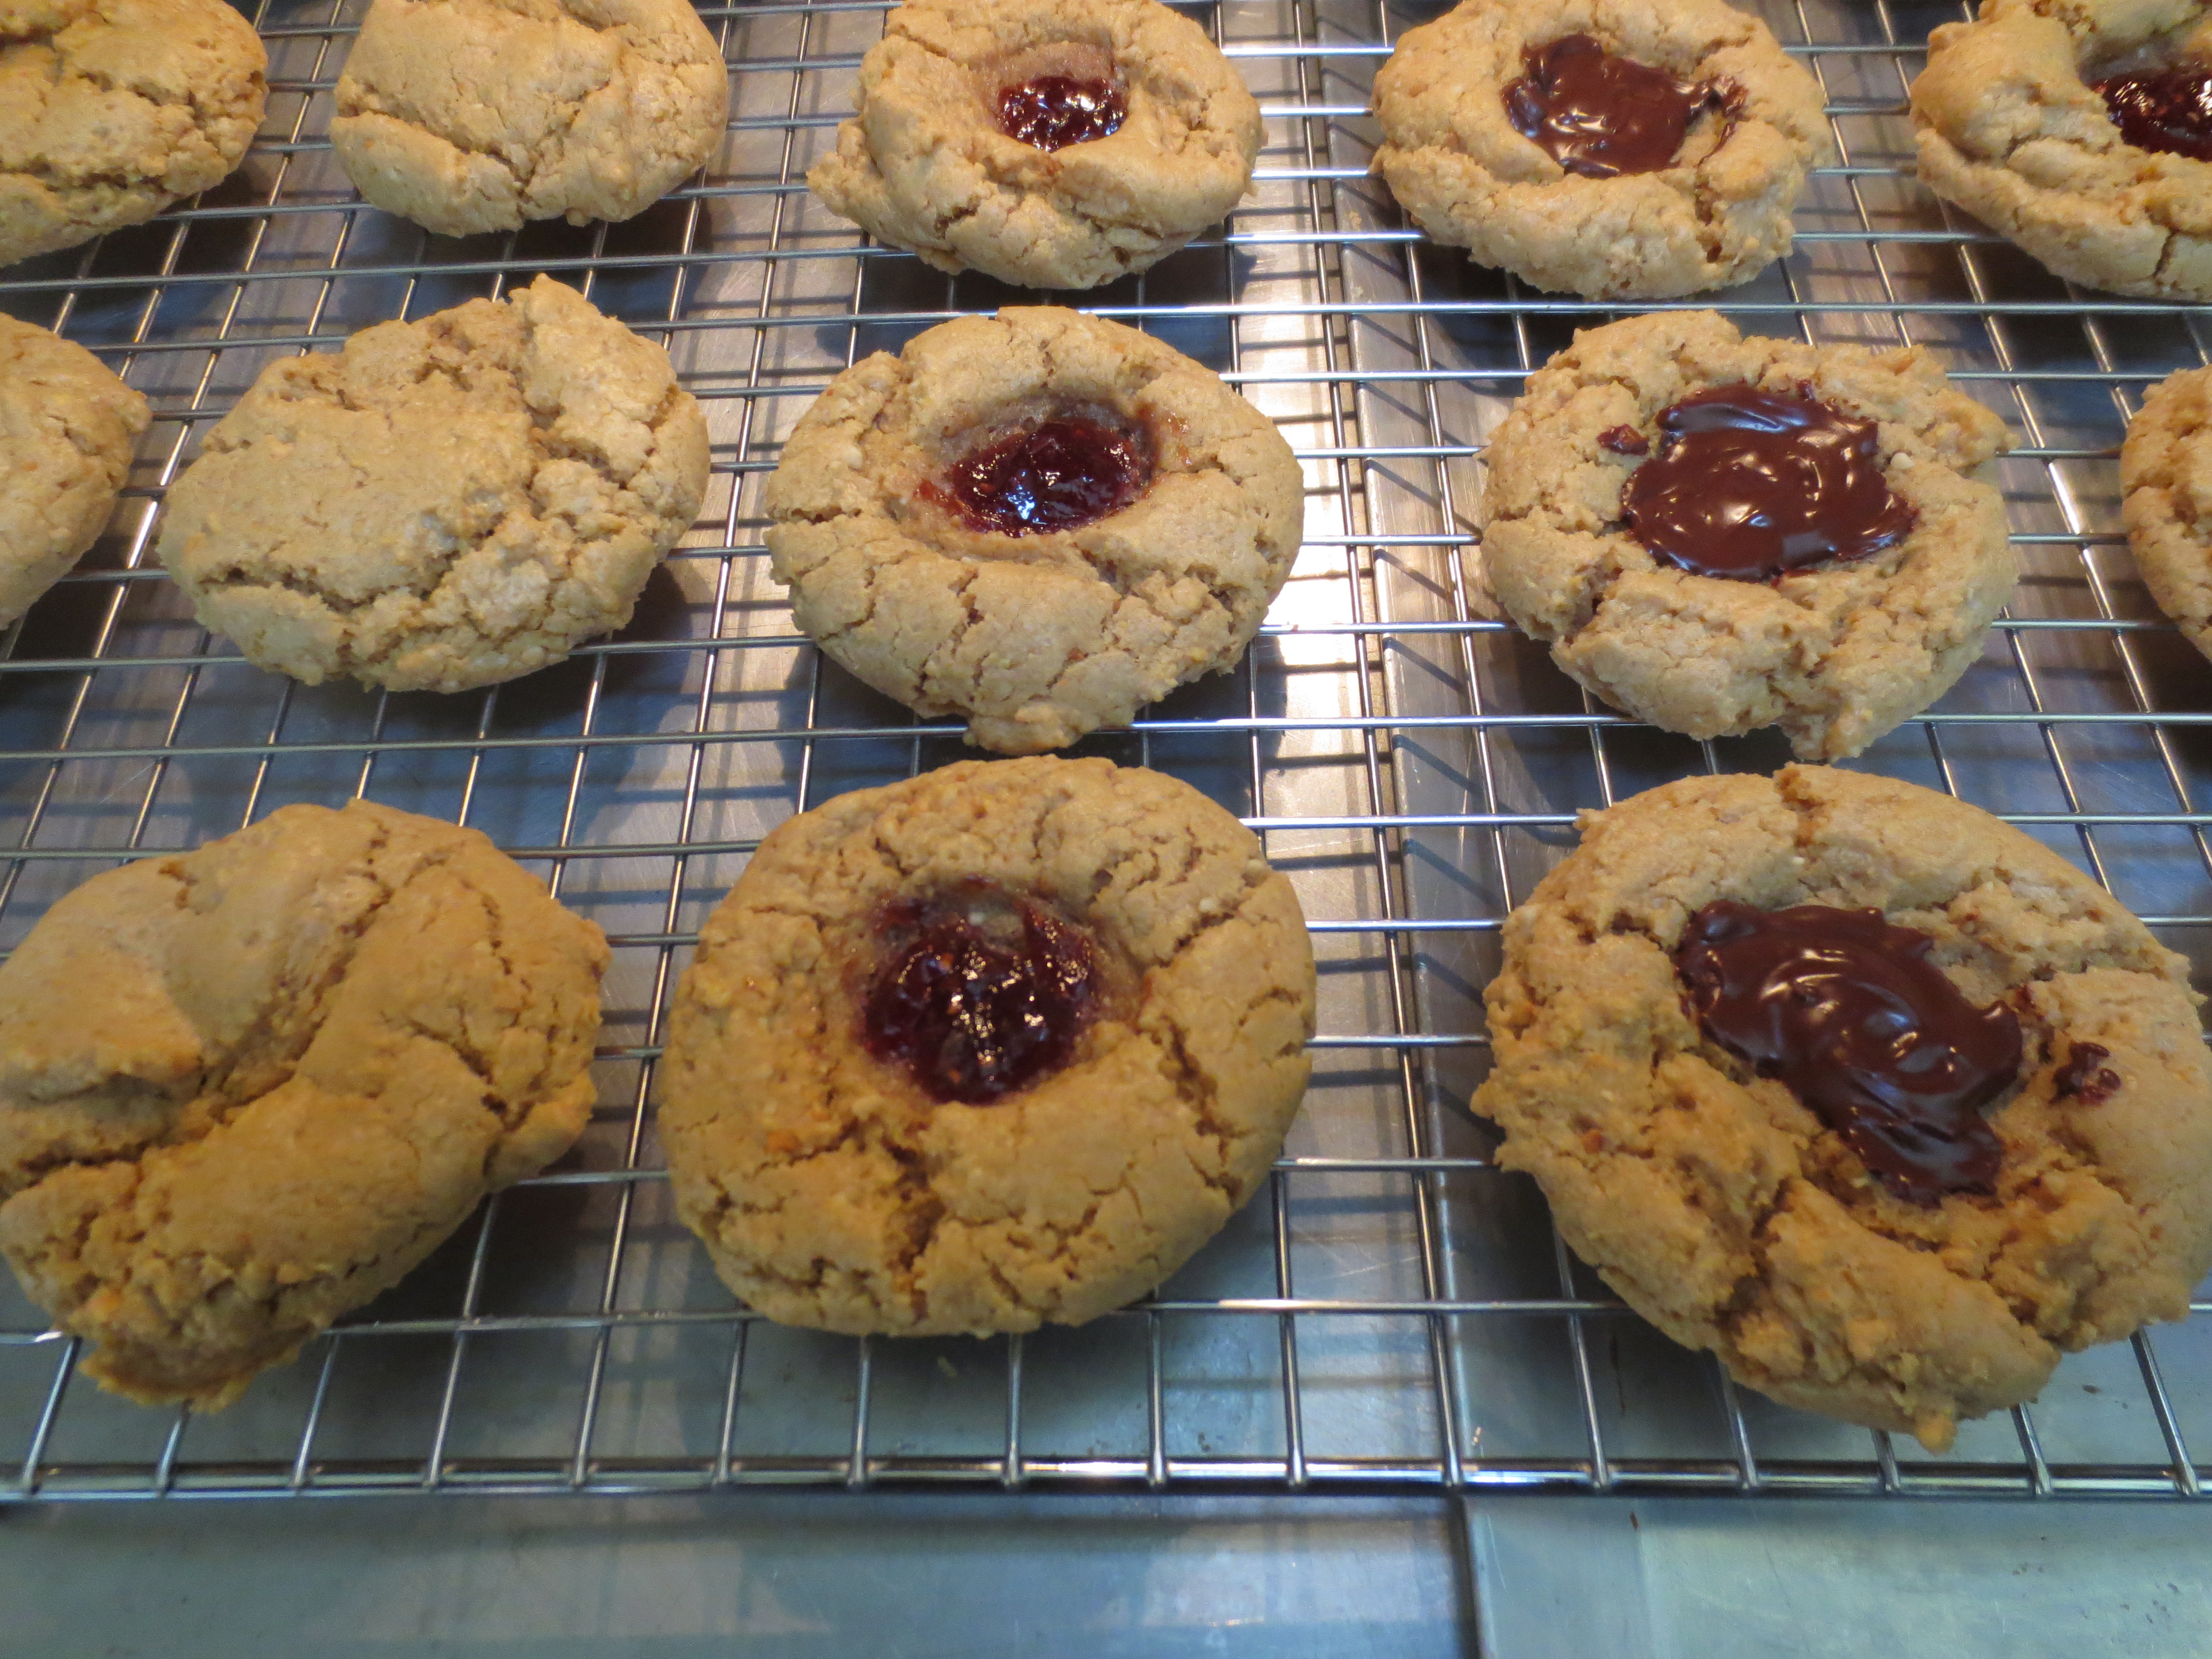


Recipe Notes: This recipe is Vegan, use Vegan chocolate chips to keep it that way or non Vegan if it’s not necessary for you. Full disclosure, I don’t use Vegan chocolate, my favorite for these and most other recipes involving chocolate, is Ghiradelli 60% Cocoa chips, they are a little bigger than your average chocolate chip and perfectly bittersweet.
A note about the peanut butter, I only use all natural peanut butter with no added sugar or any other ingredients but salt. Sometimes, I’ll make my own at the health food store which works perfectly here as well.
 I love the summer and always look forward to it coming. I remember spending my days at the pool, having fun and relaxing. Somehow, every year between September and June I forget the truth about summer, the busyness of it all and how quickly it flies by. Driving kids back and forth to camp, rather than just getting them to the bus, spending more of the day out doors and at the pool, which is quite nice, but unfortunately leaves little time for food prep, cooking and clean up and even less time to photograph food, write about and post it right here. So I’ve had a little hiatus from blogging, but now with the end of summer drawing near and the start of school and back to a more regular routine soon approaching, I’m looking forward to cooking and writing and I have a lot in mind.
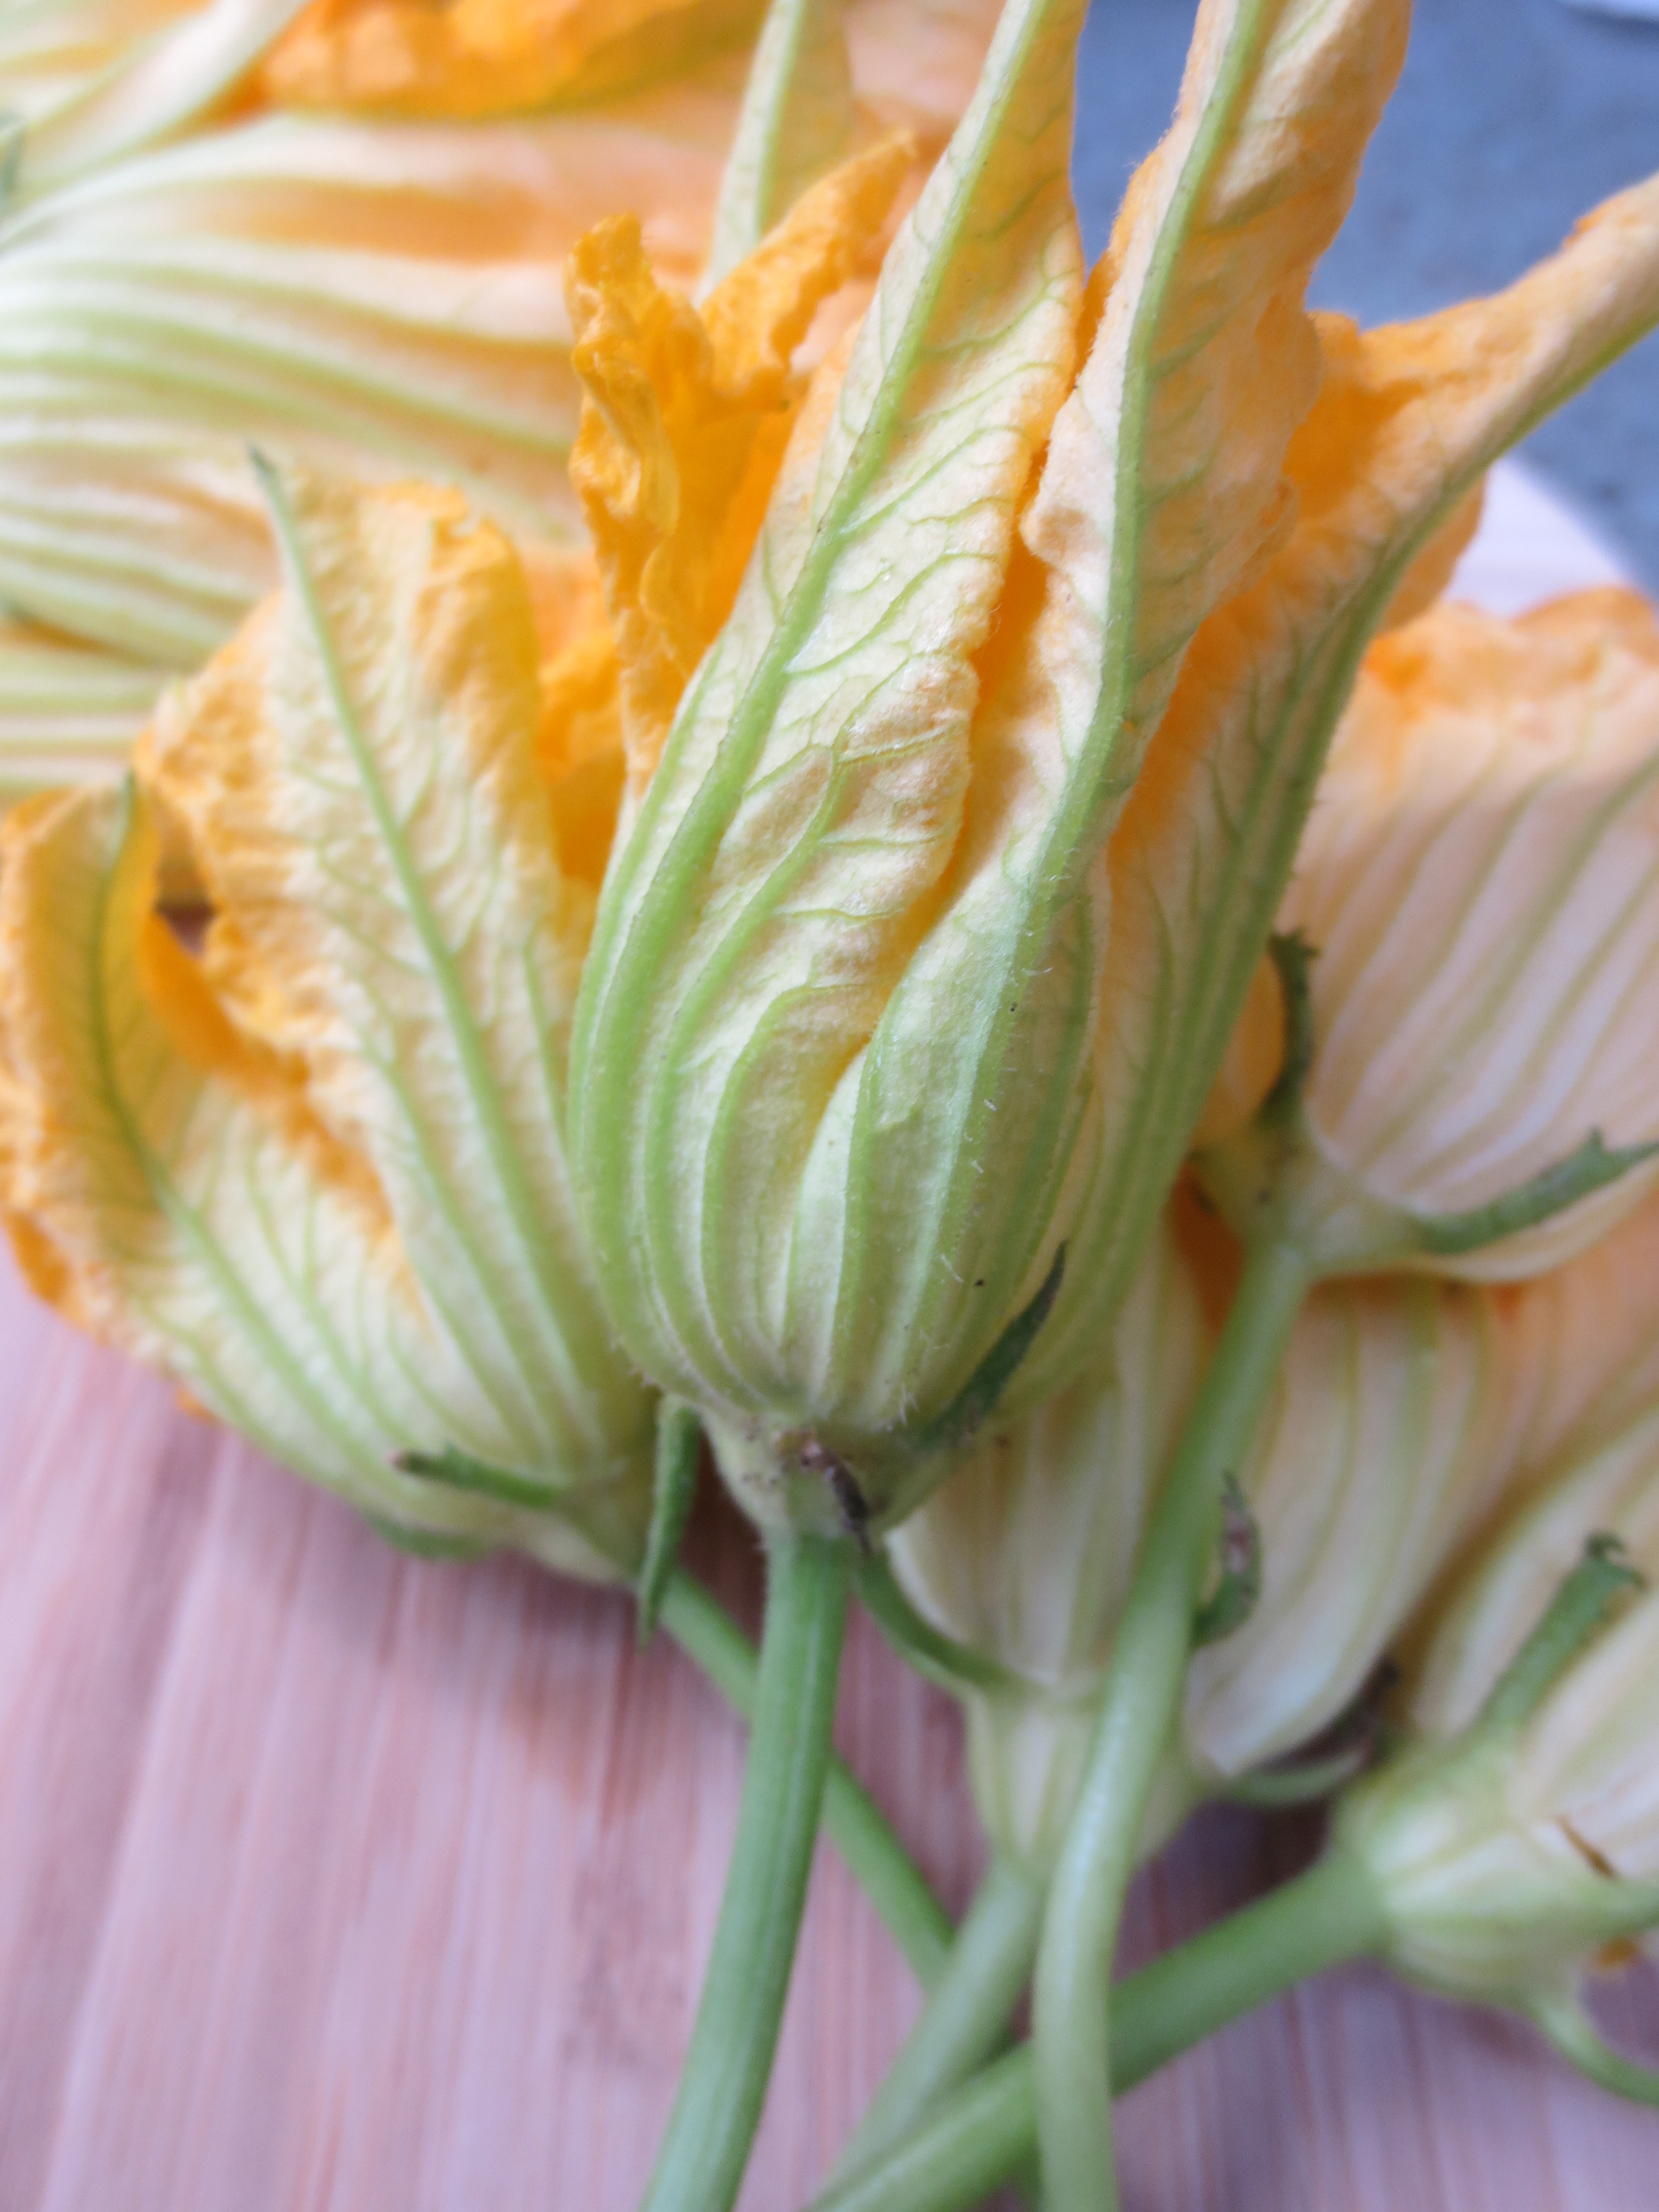


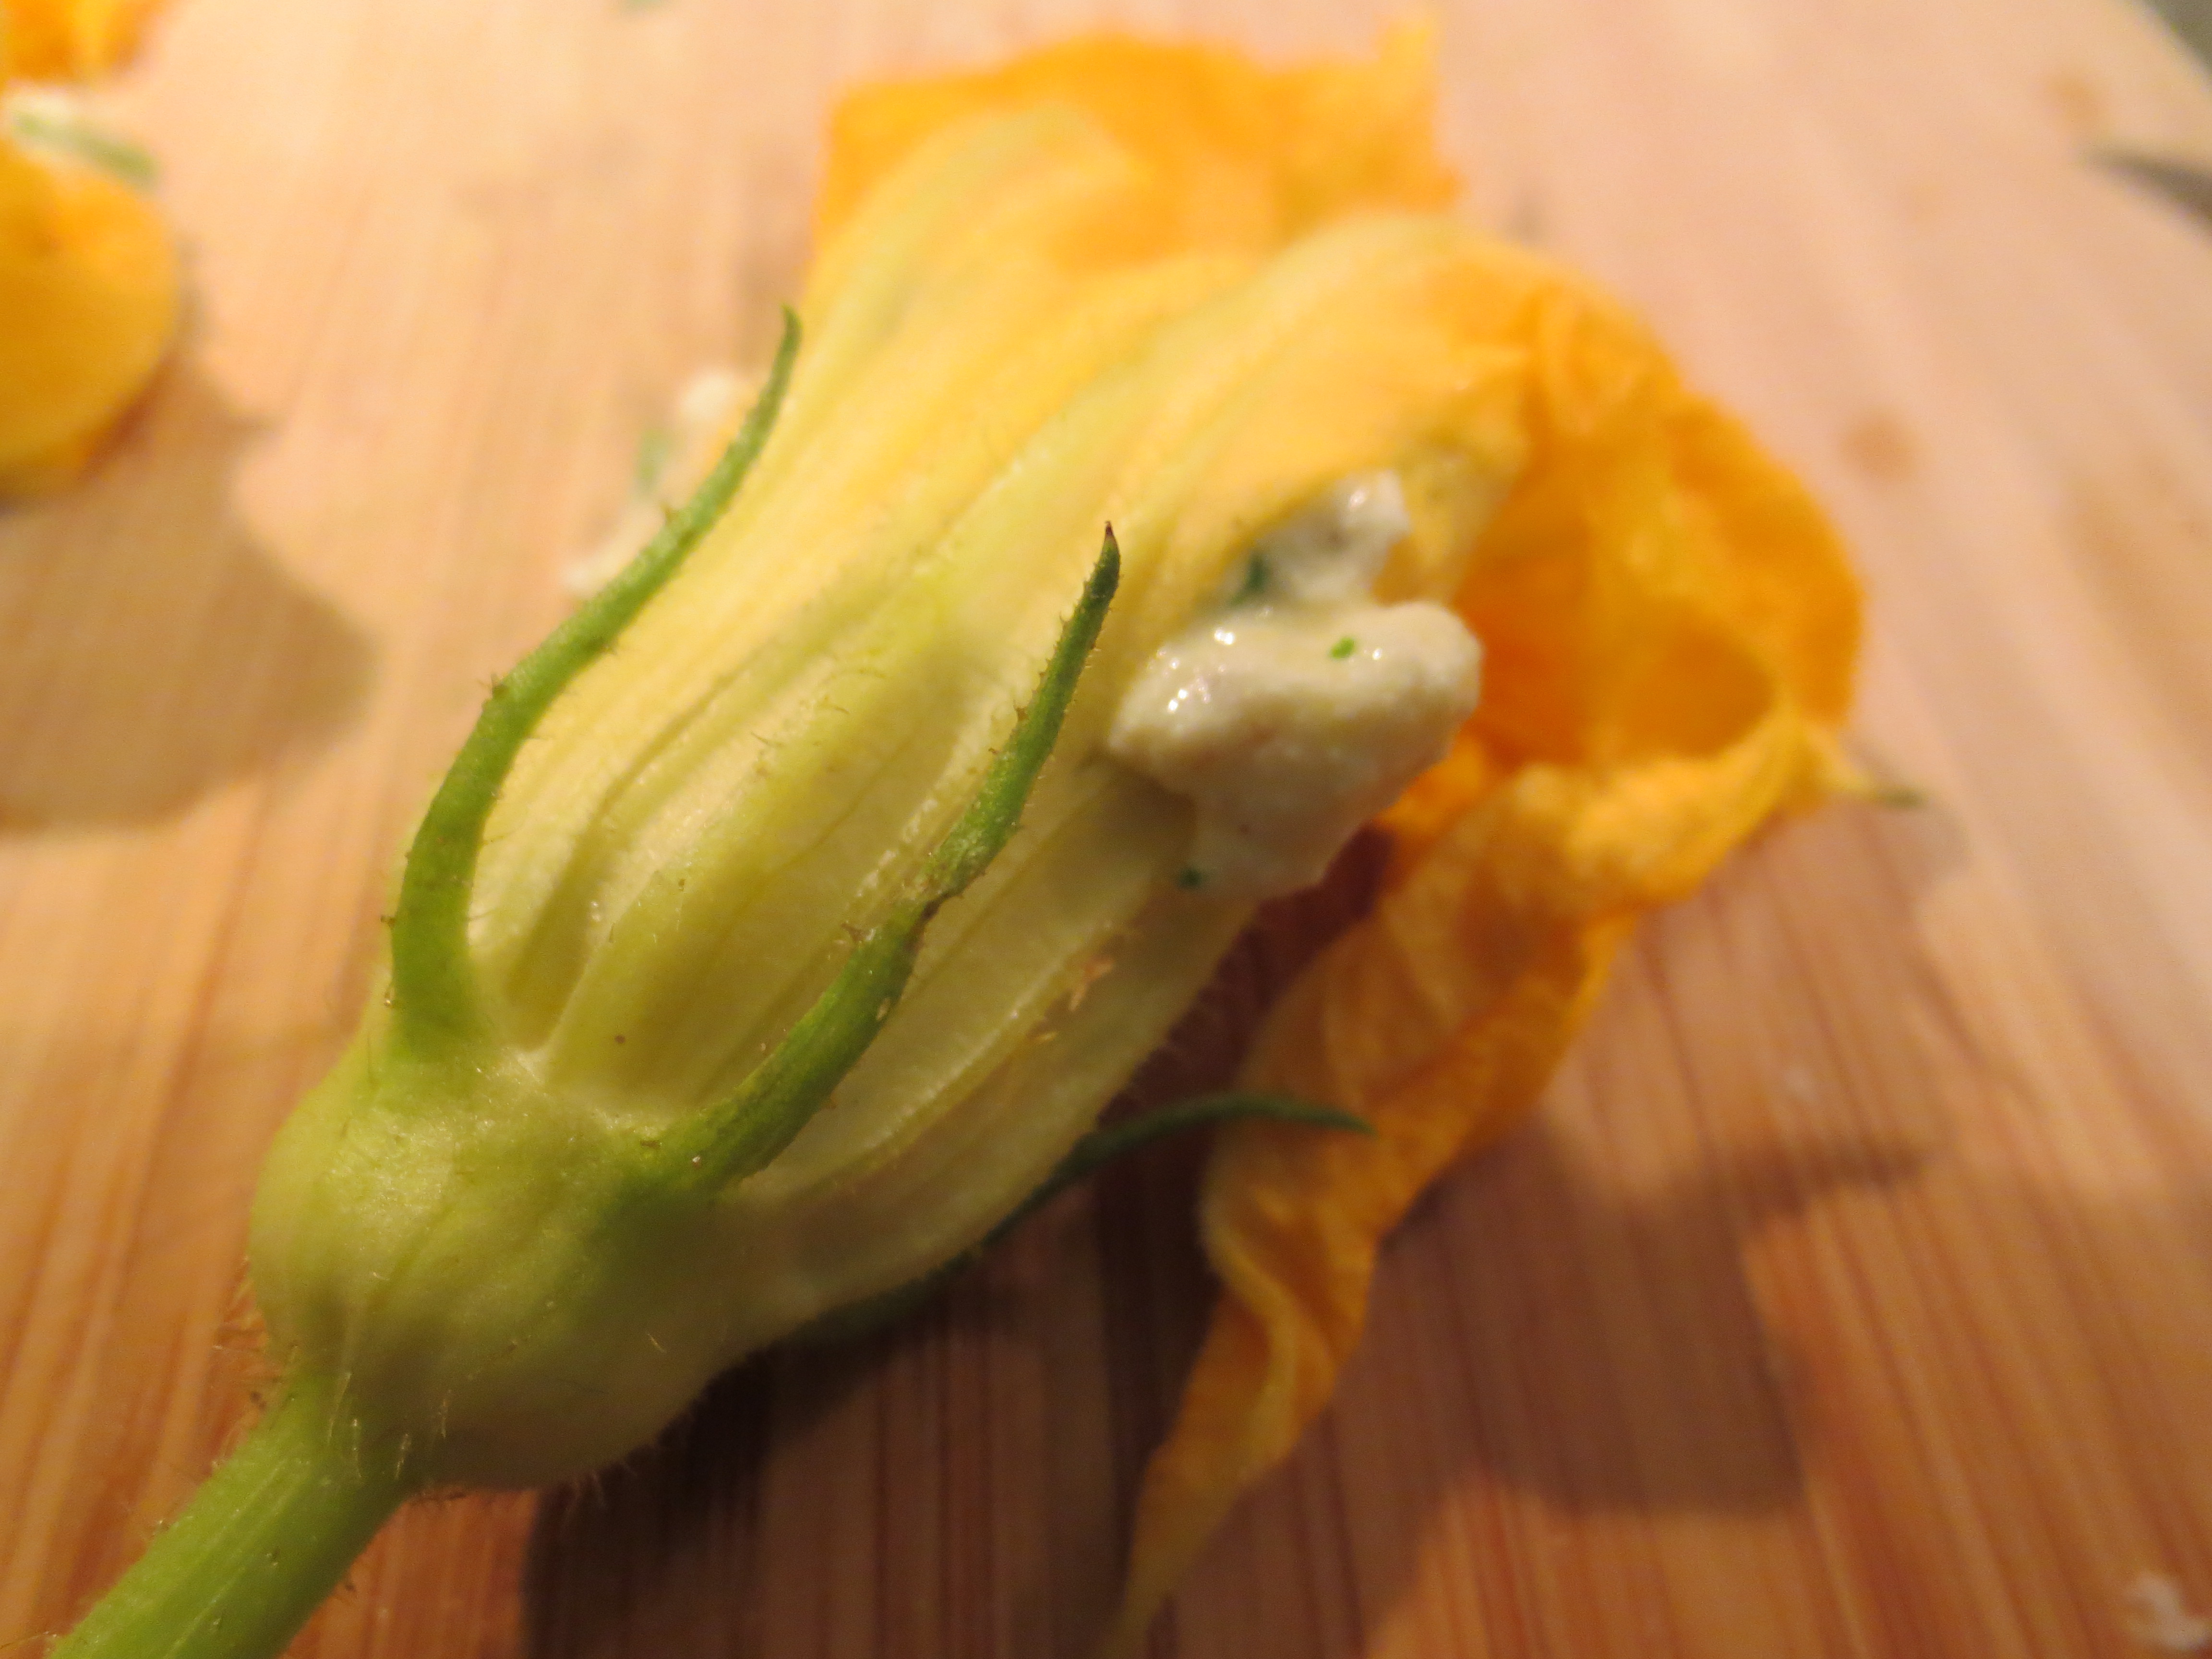
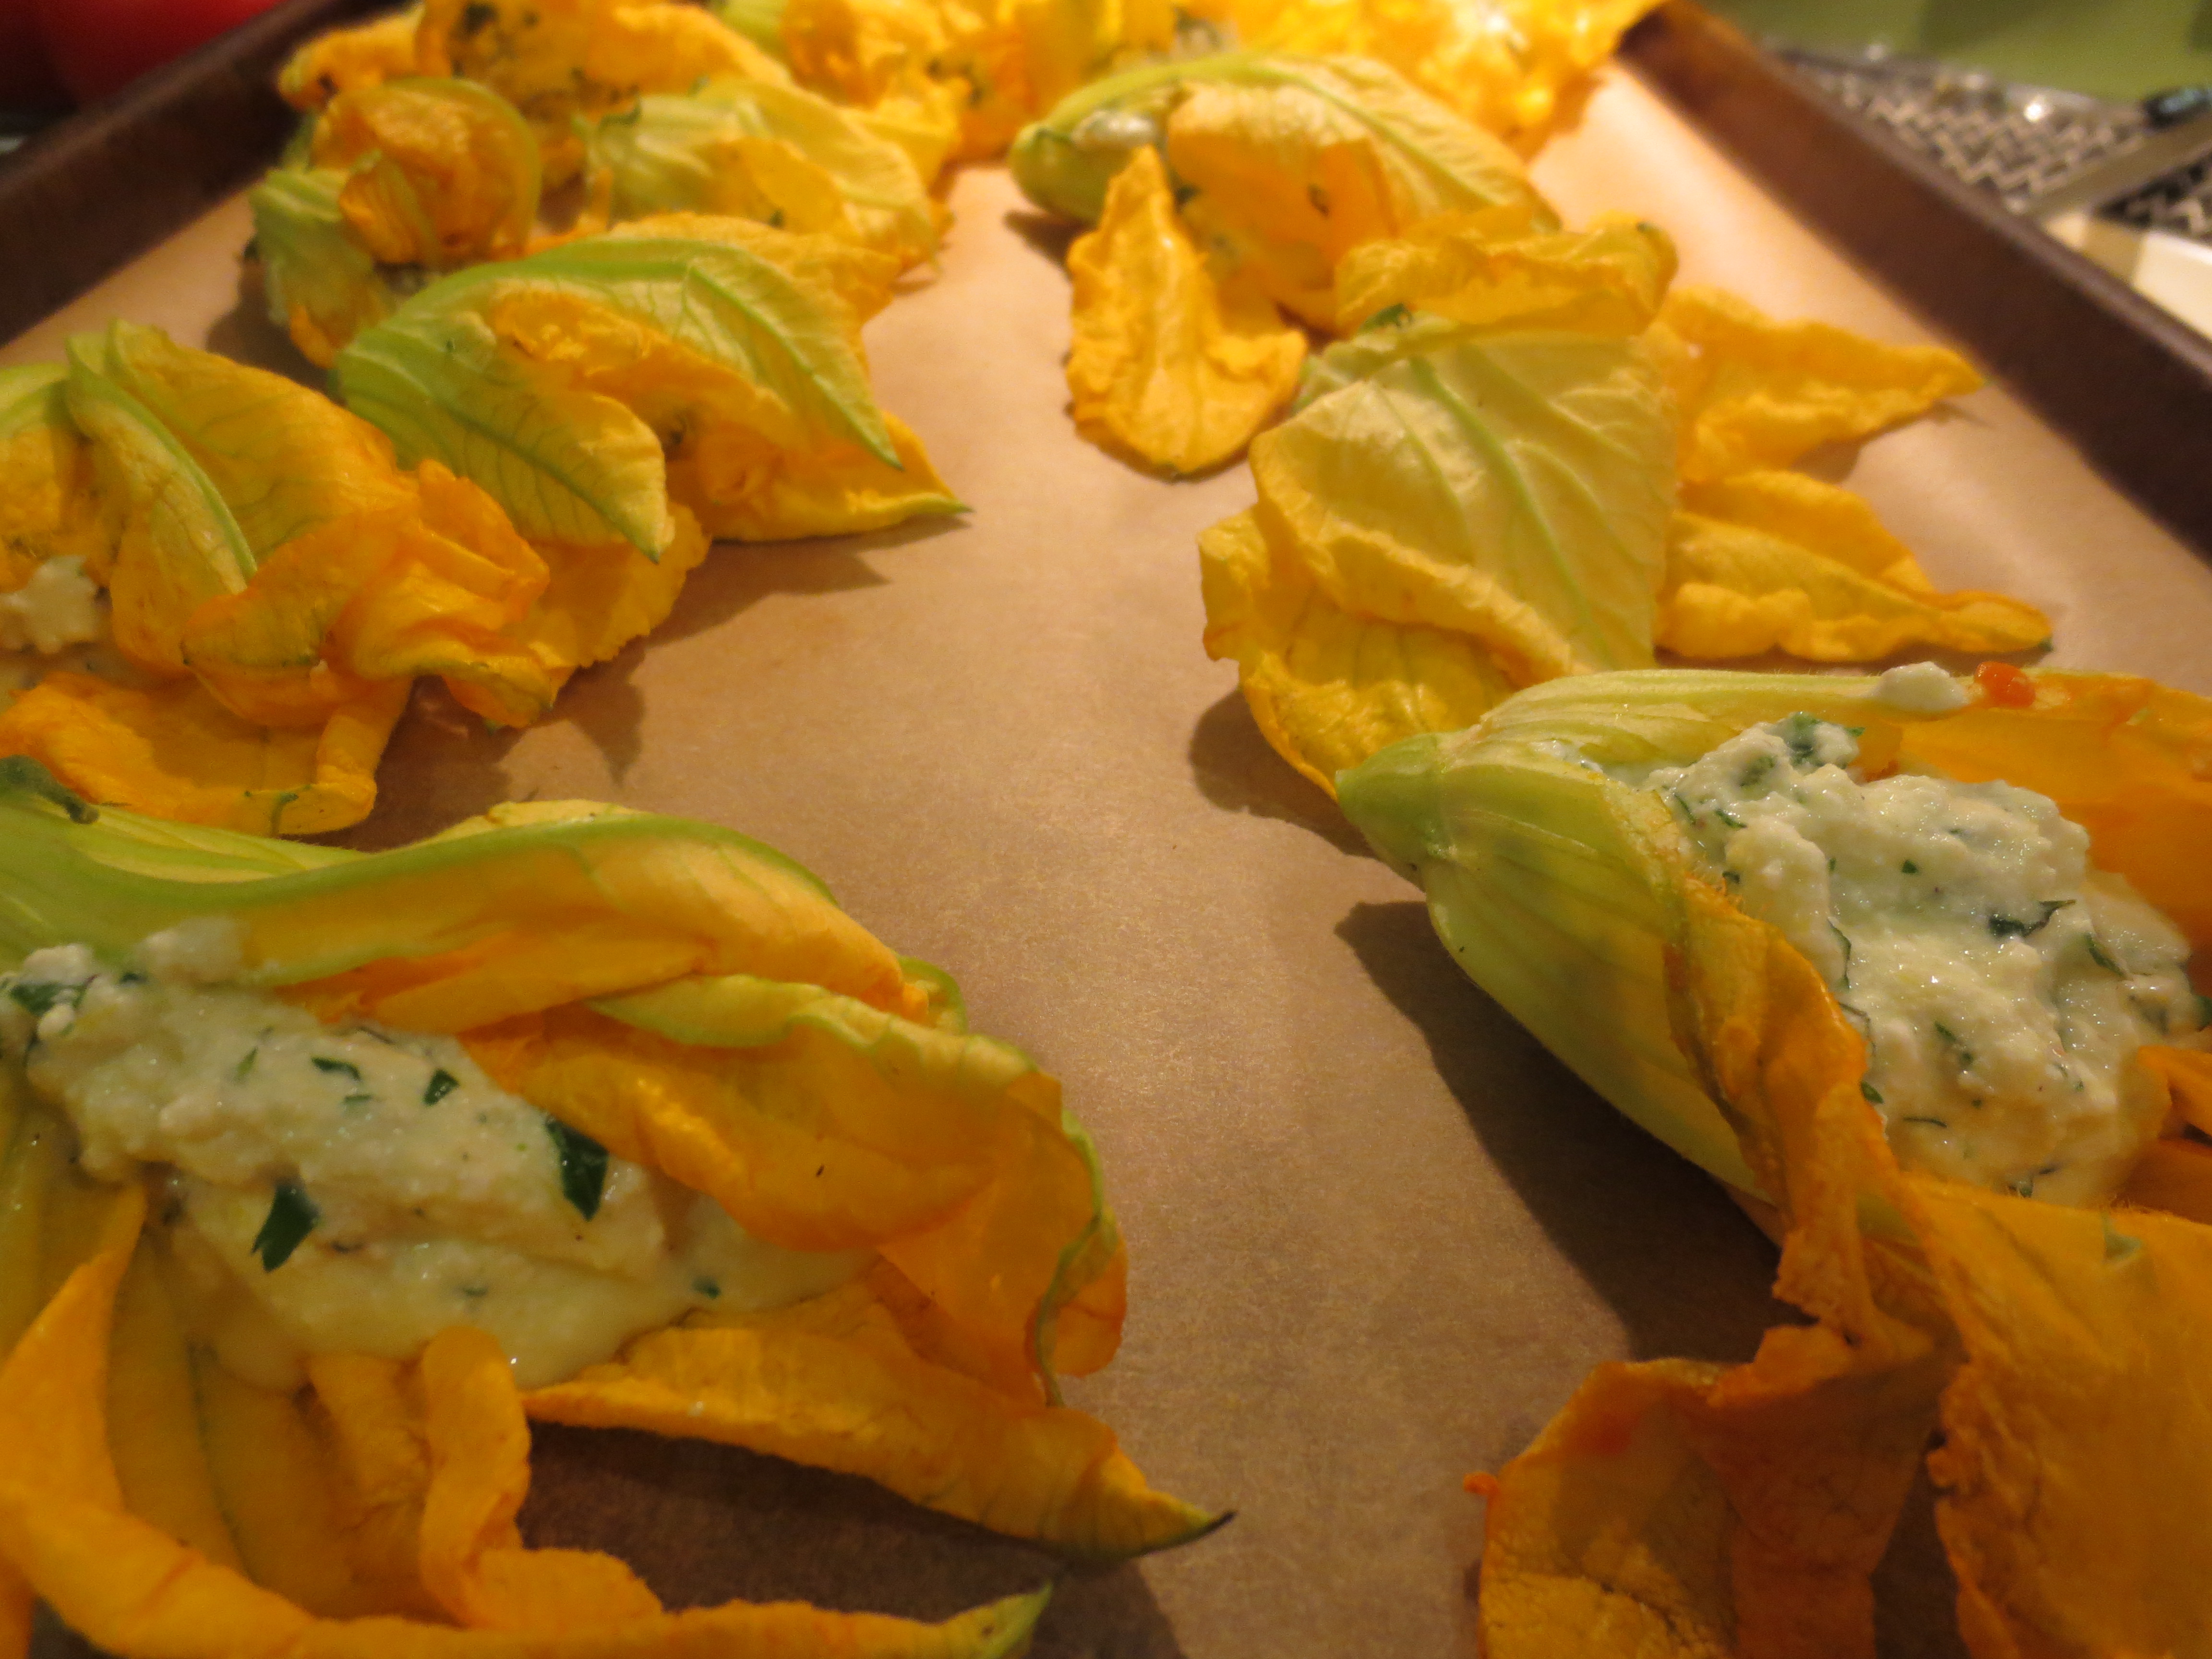 I have made these both cooked in oil in a sauté pan and also baked in the oven. Both are quite good. Cooking them on top of the stove certainly requires more hands on time while baking them is a bit quicker. But I do find that cooking them on the stove as opposed to baking, leaves the filling just a bit more moist and creamy. Either way, they are best eaten right away, leftovers while edible are definitely not as good.
 These make a great appetizer or as a light meal, I like to serve them with a little fresh tomato and herb salad, I don’t think any sauce is needed, but if a little of the tomato juice and dressing soak in I don’t complain.
 Summer Squash Blossoms Stuffed with Ricotta and Herbs
Author: Sweet Green Kitchen’s Jen Jones
Ingredients:
Summer Squash Blossoms – about 16 – prepped by removing stamen, shaking out or brushing off any stow aways, and cutting off the stem or leave it on for presentation
Filling Ingredients: 
1 cup Ricotta cheese
1 Egg
¼ cup chopped fresh herbs – see combo suggestions below
Zest of ½ Lemon
Fresh grated Nutmeg – a pinch, plus Salt & Pepper
Optional – 1/3 cup grated Locatelli Romano cheese
Coating Ingredients: 
3 Eggs
1/3 – ½ cup Bread Crumbs
1/3 – ½ cup grated Locatelli Romano cheese
Butter & Olive Oil – starting with 1 Tablespoon of each, adding more as needed
Optional: extra chopped fresh herbs mixed into bread crumbs & cheese
Fresh Herb Options: I’ve used a variety of herb combinations when making this dish, but I always include parsley no matter what the other herbs are. Some of my favorite combinations for this recipe are: 
Parsley, Mint, Chives, Basil
Parsley, Mint & Oregano
Parsley, Basil & Thyme
Parsley & Thyme
Or simply Parsley
Directions:
The filling – In a small bowl mix together the Ricotta, Egg, Fresh Herbs, Lemon Zest, Nutmeg, Salt & Pepper. Next fold in the grated Romano if using.
In a larger shallow bowl (such as a shallow soup bowl or a pie plate), add the other three Eggs and beat well.
In a second shallow bowl, mix together the Bread Crumbs and grated Romano, plus the herbs if using.
Heat a large non stick skillet over a medium flame. Add about 1 Tablespoon each Butter & Olive Oil, melt.
Now to stuff the Blossoms: Carefully open the petals and add a small spoonful of the Ricotta mixture into each blossom.
Next, dip each blossom into the beaten Eggs and then carefully coat with the breading and cheese mix. Add blossoms to the hot skillet, about 4 or 5 at a time. Cook until lightly browned on one side and then turn to brown the other side. Remove from pan and add more blossoms until all are cooked, adding more butter & olive oil as needed.
Or, place on a parchment lined baking sheet and bake at 375 F for 15-20 minutes.
Serve warm as an appetizer, side dish or main course with a salad of mixed greens or fresh tomato and herbs dressed lightly with lemon and olive oil. Enjoy!

Recipe Notes: The filling is enough to stuff 16-20 blossoms, if you wish to make less I would still mix up the complete filling recipe and then… If I have any leftover filling and breading (I do as my mother always did, who learned it from my Italian Nana),I add them together, adding any extra of any of the ingredients if needed and then form a fritter and cook that in the same pan as the blossoms, a yummy little extra!


i love getting feedback, here are some of your most recent comments…