
Category Archives: Entrees
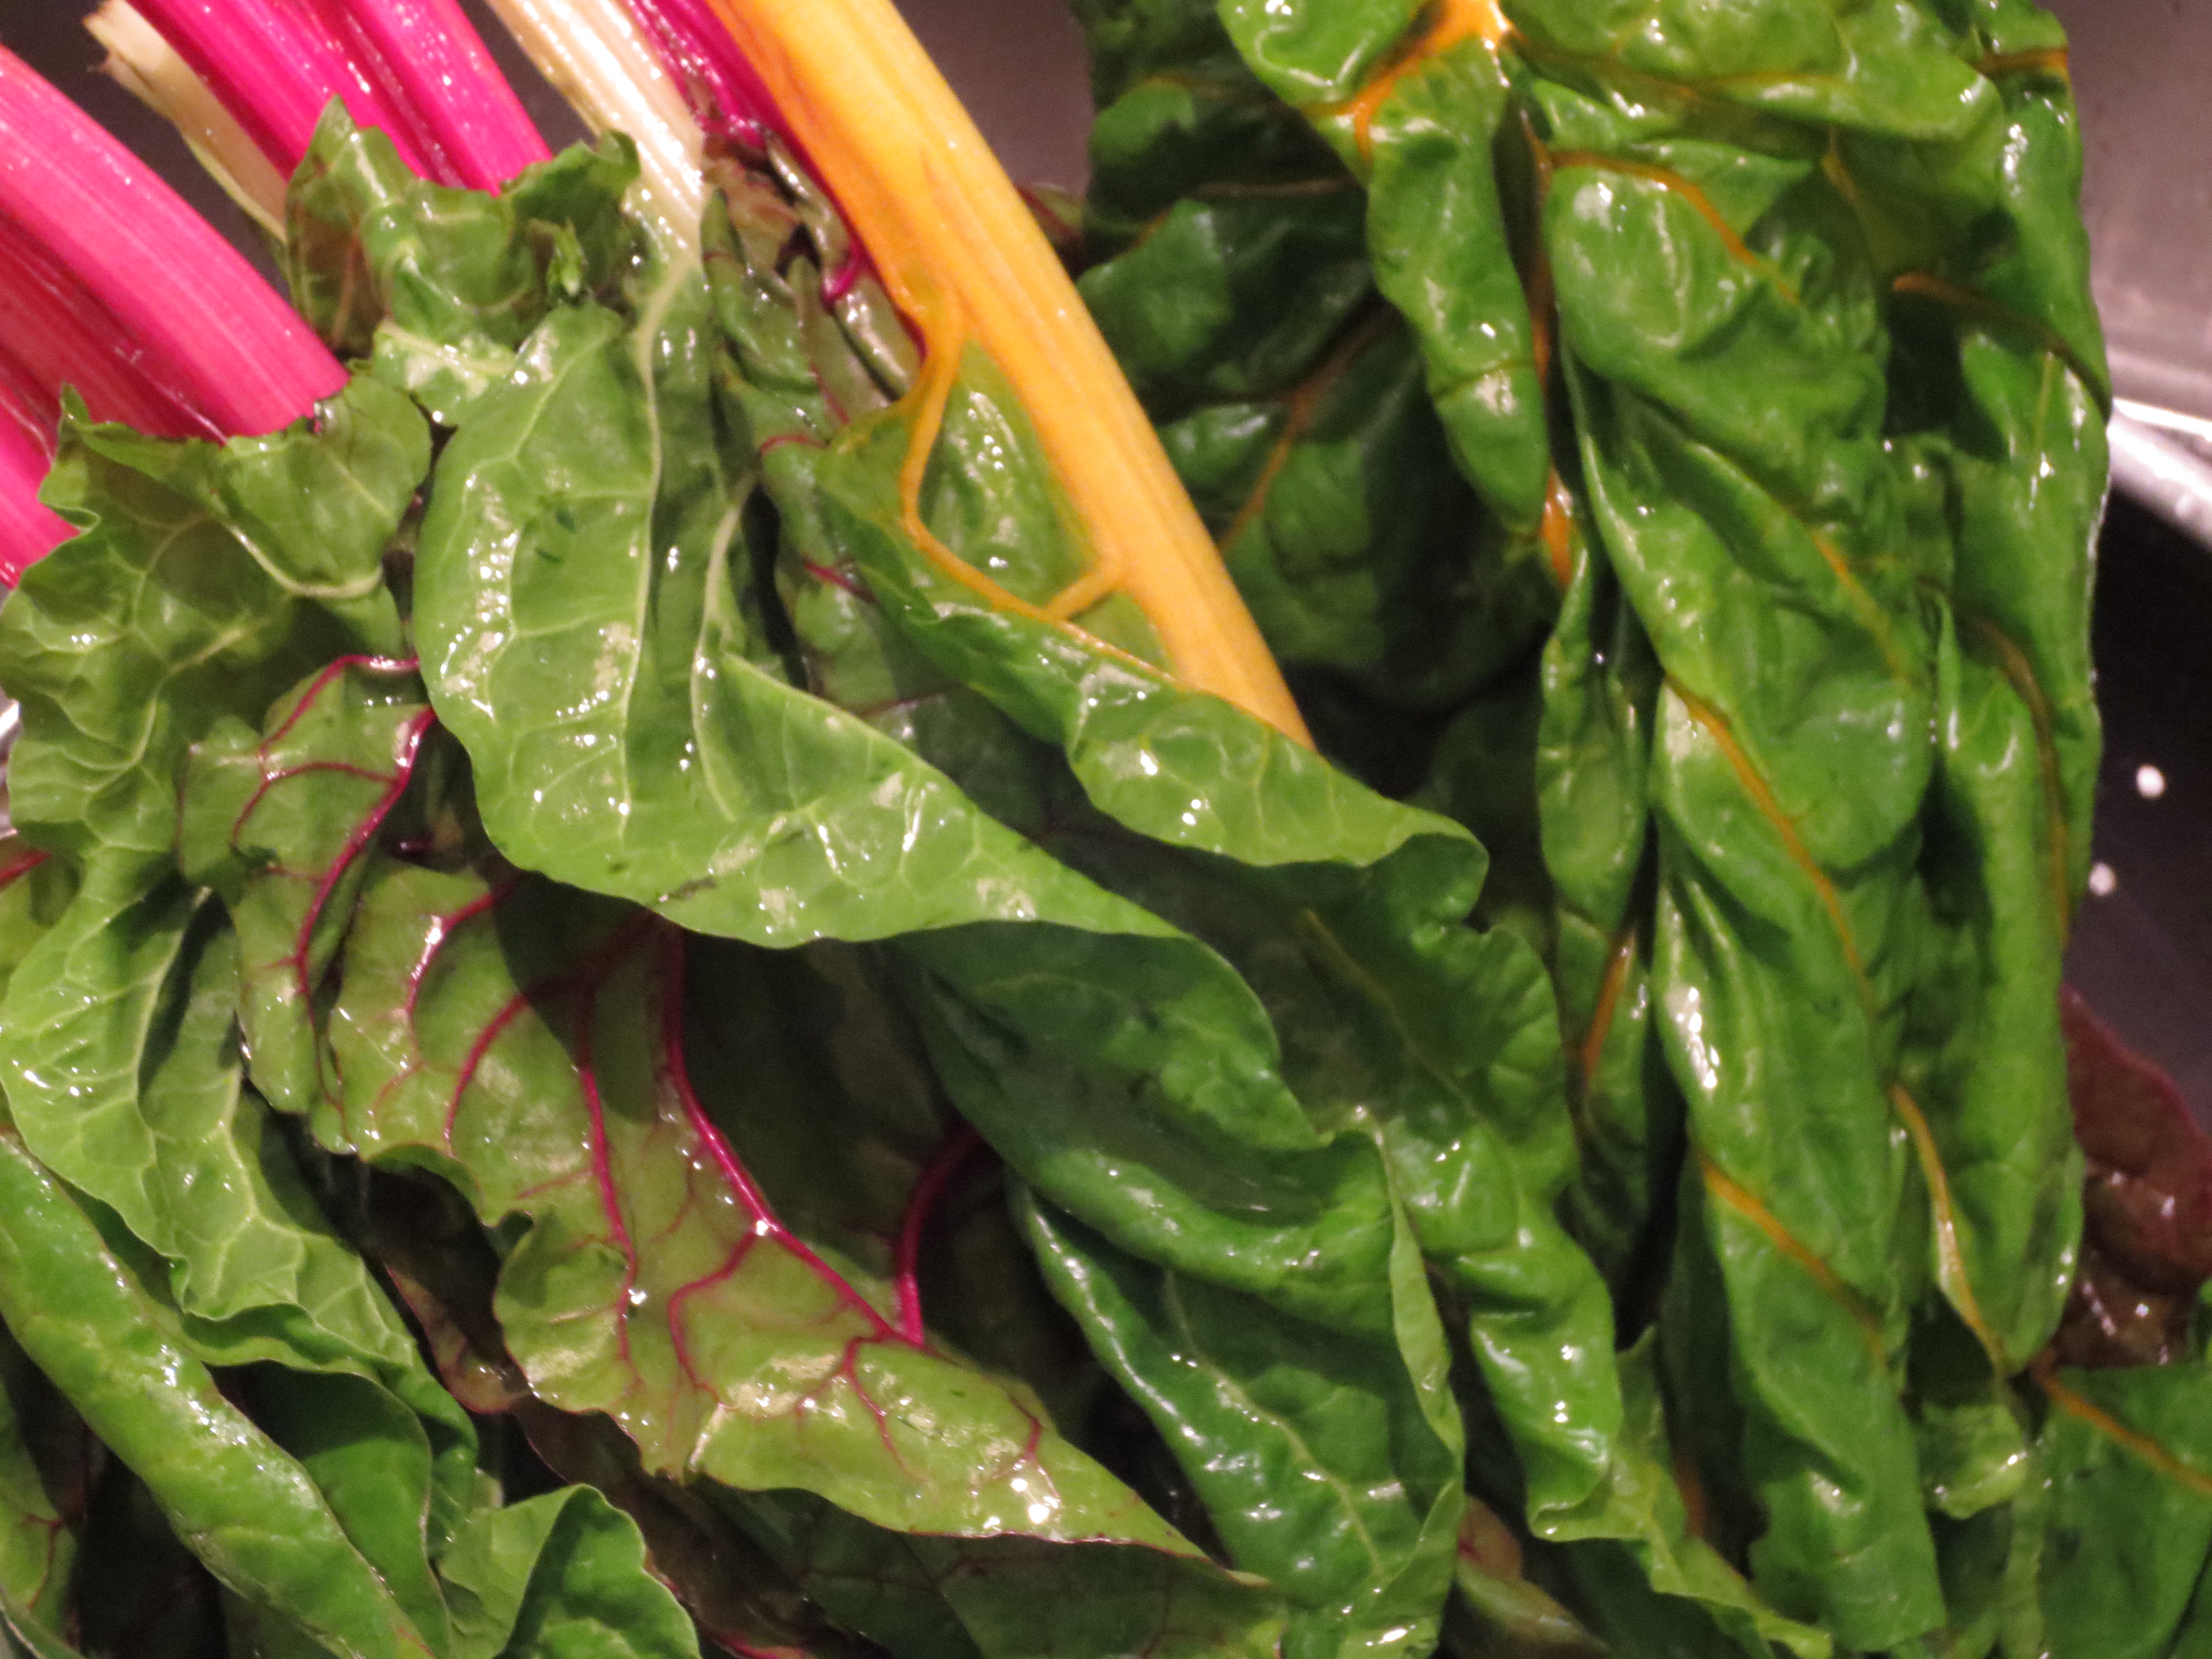
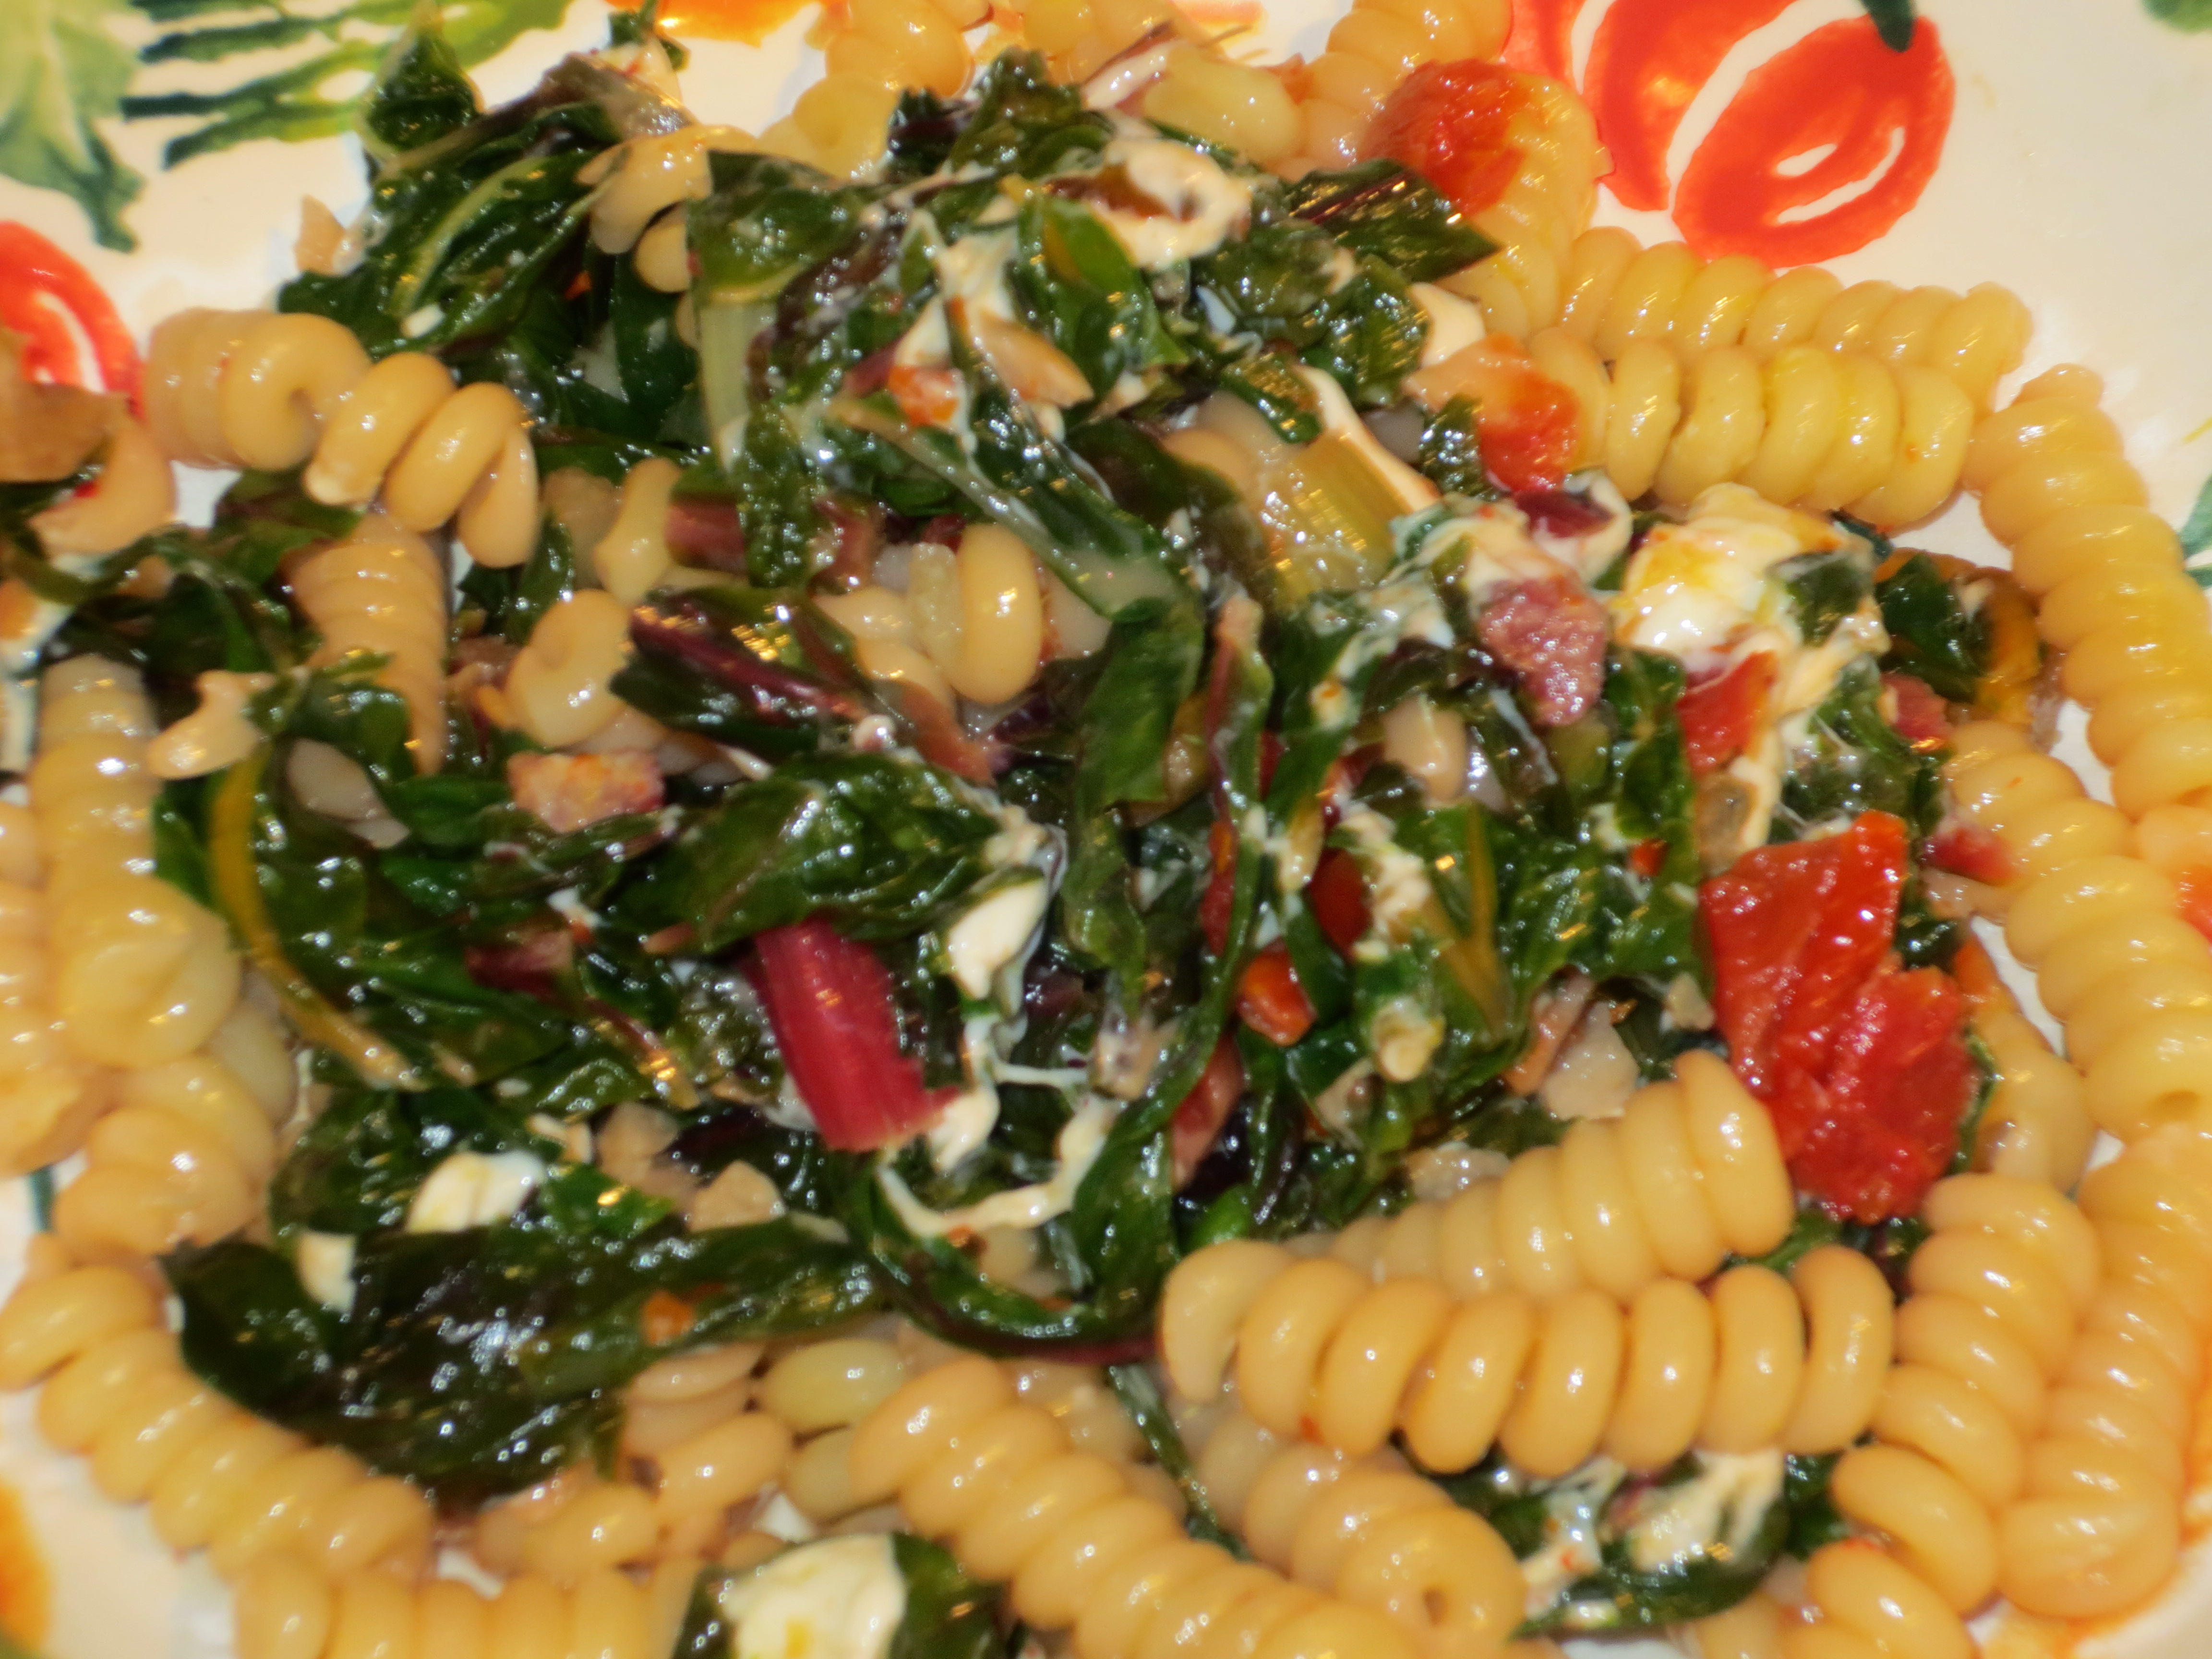
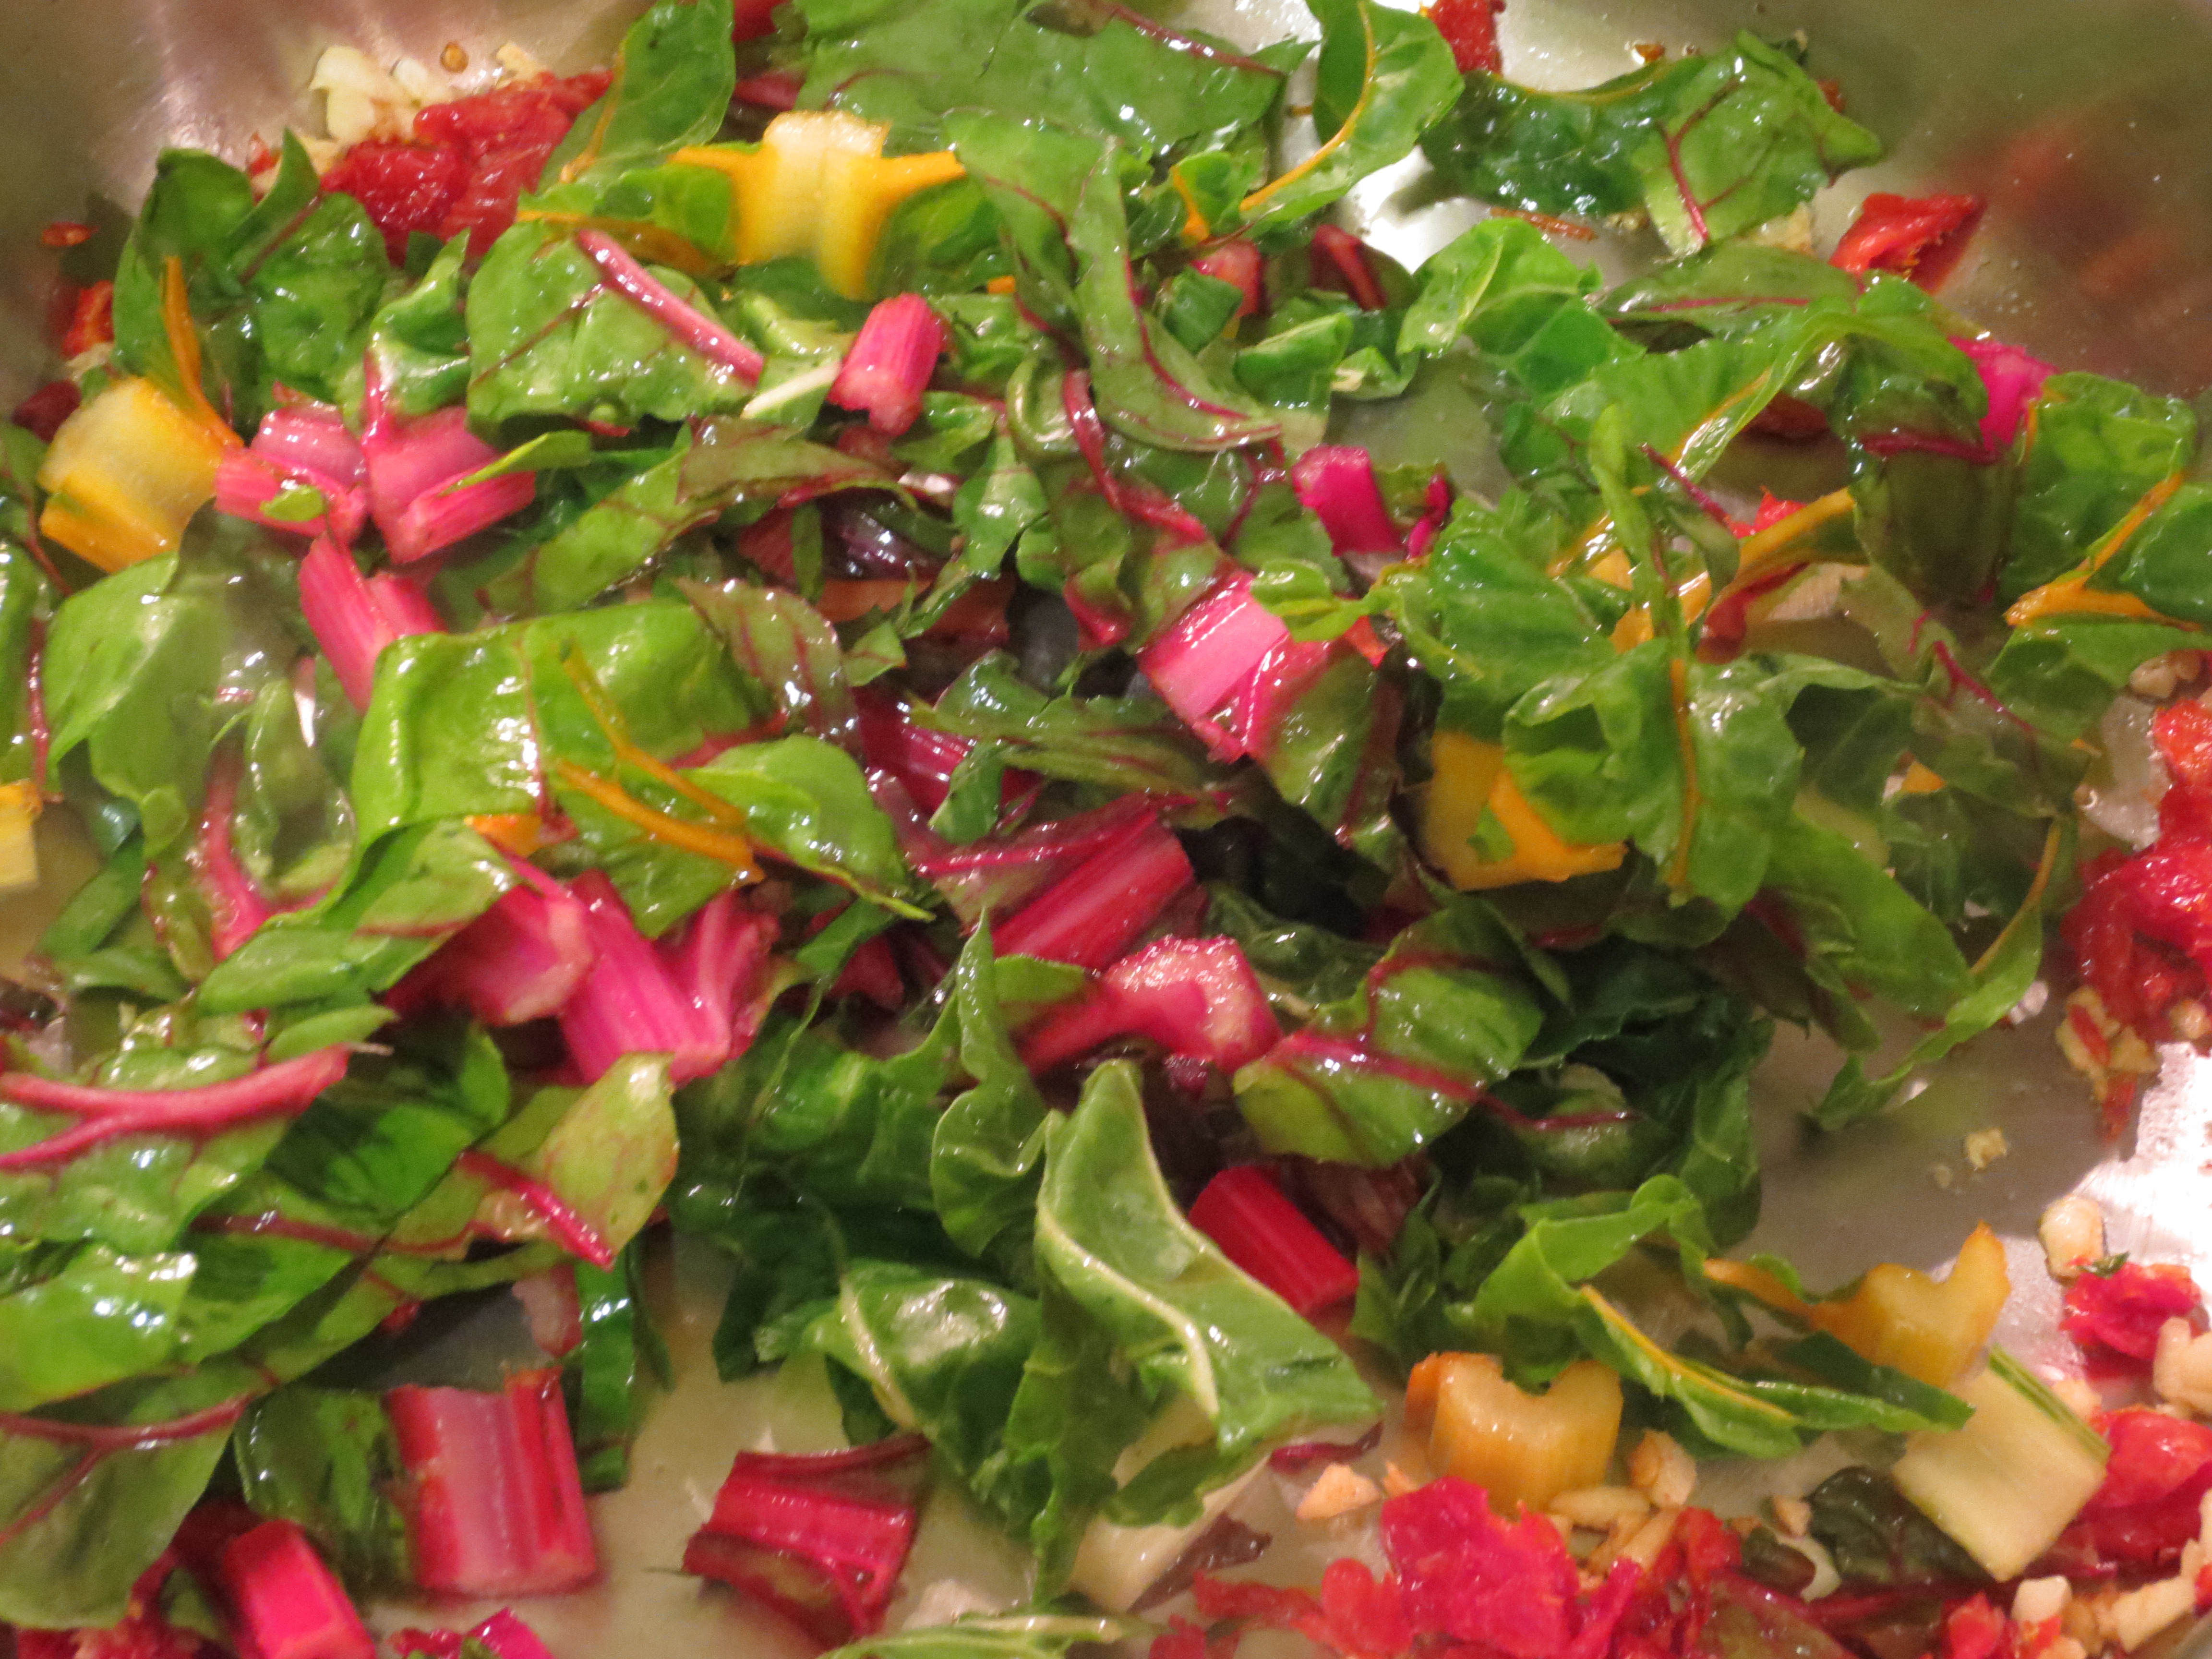
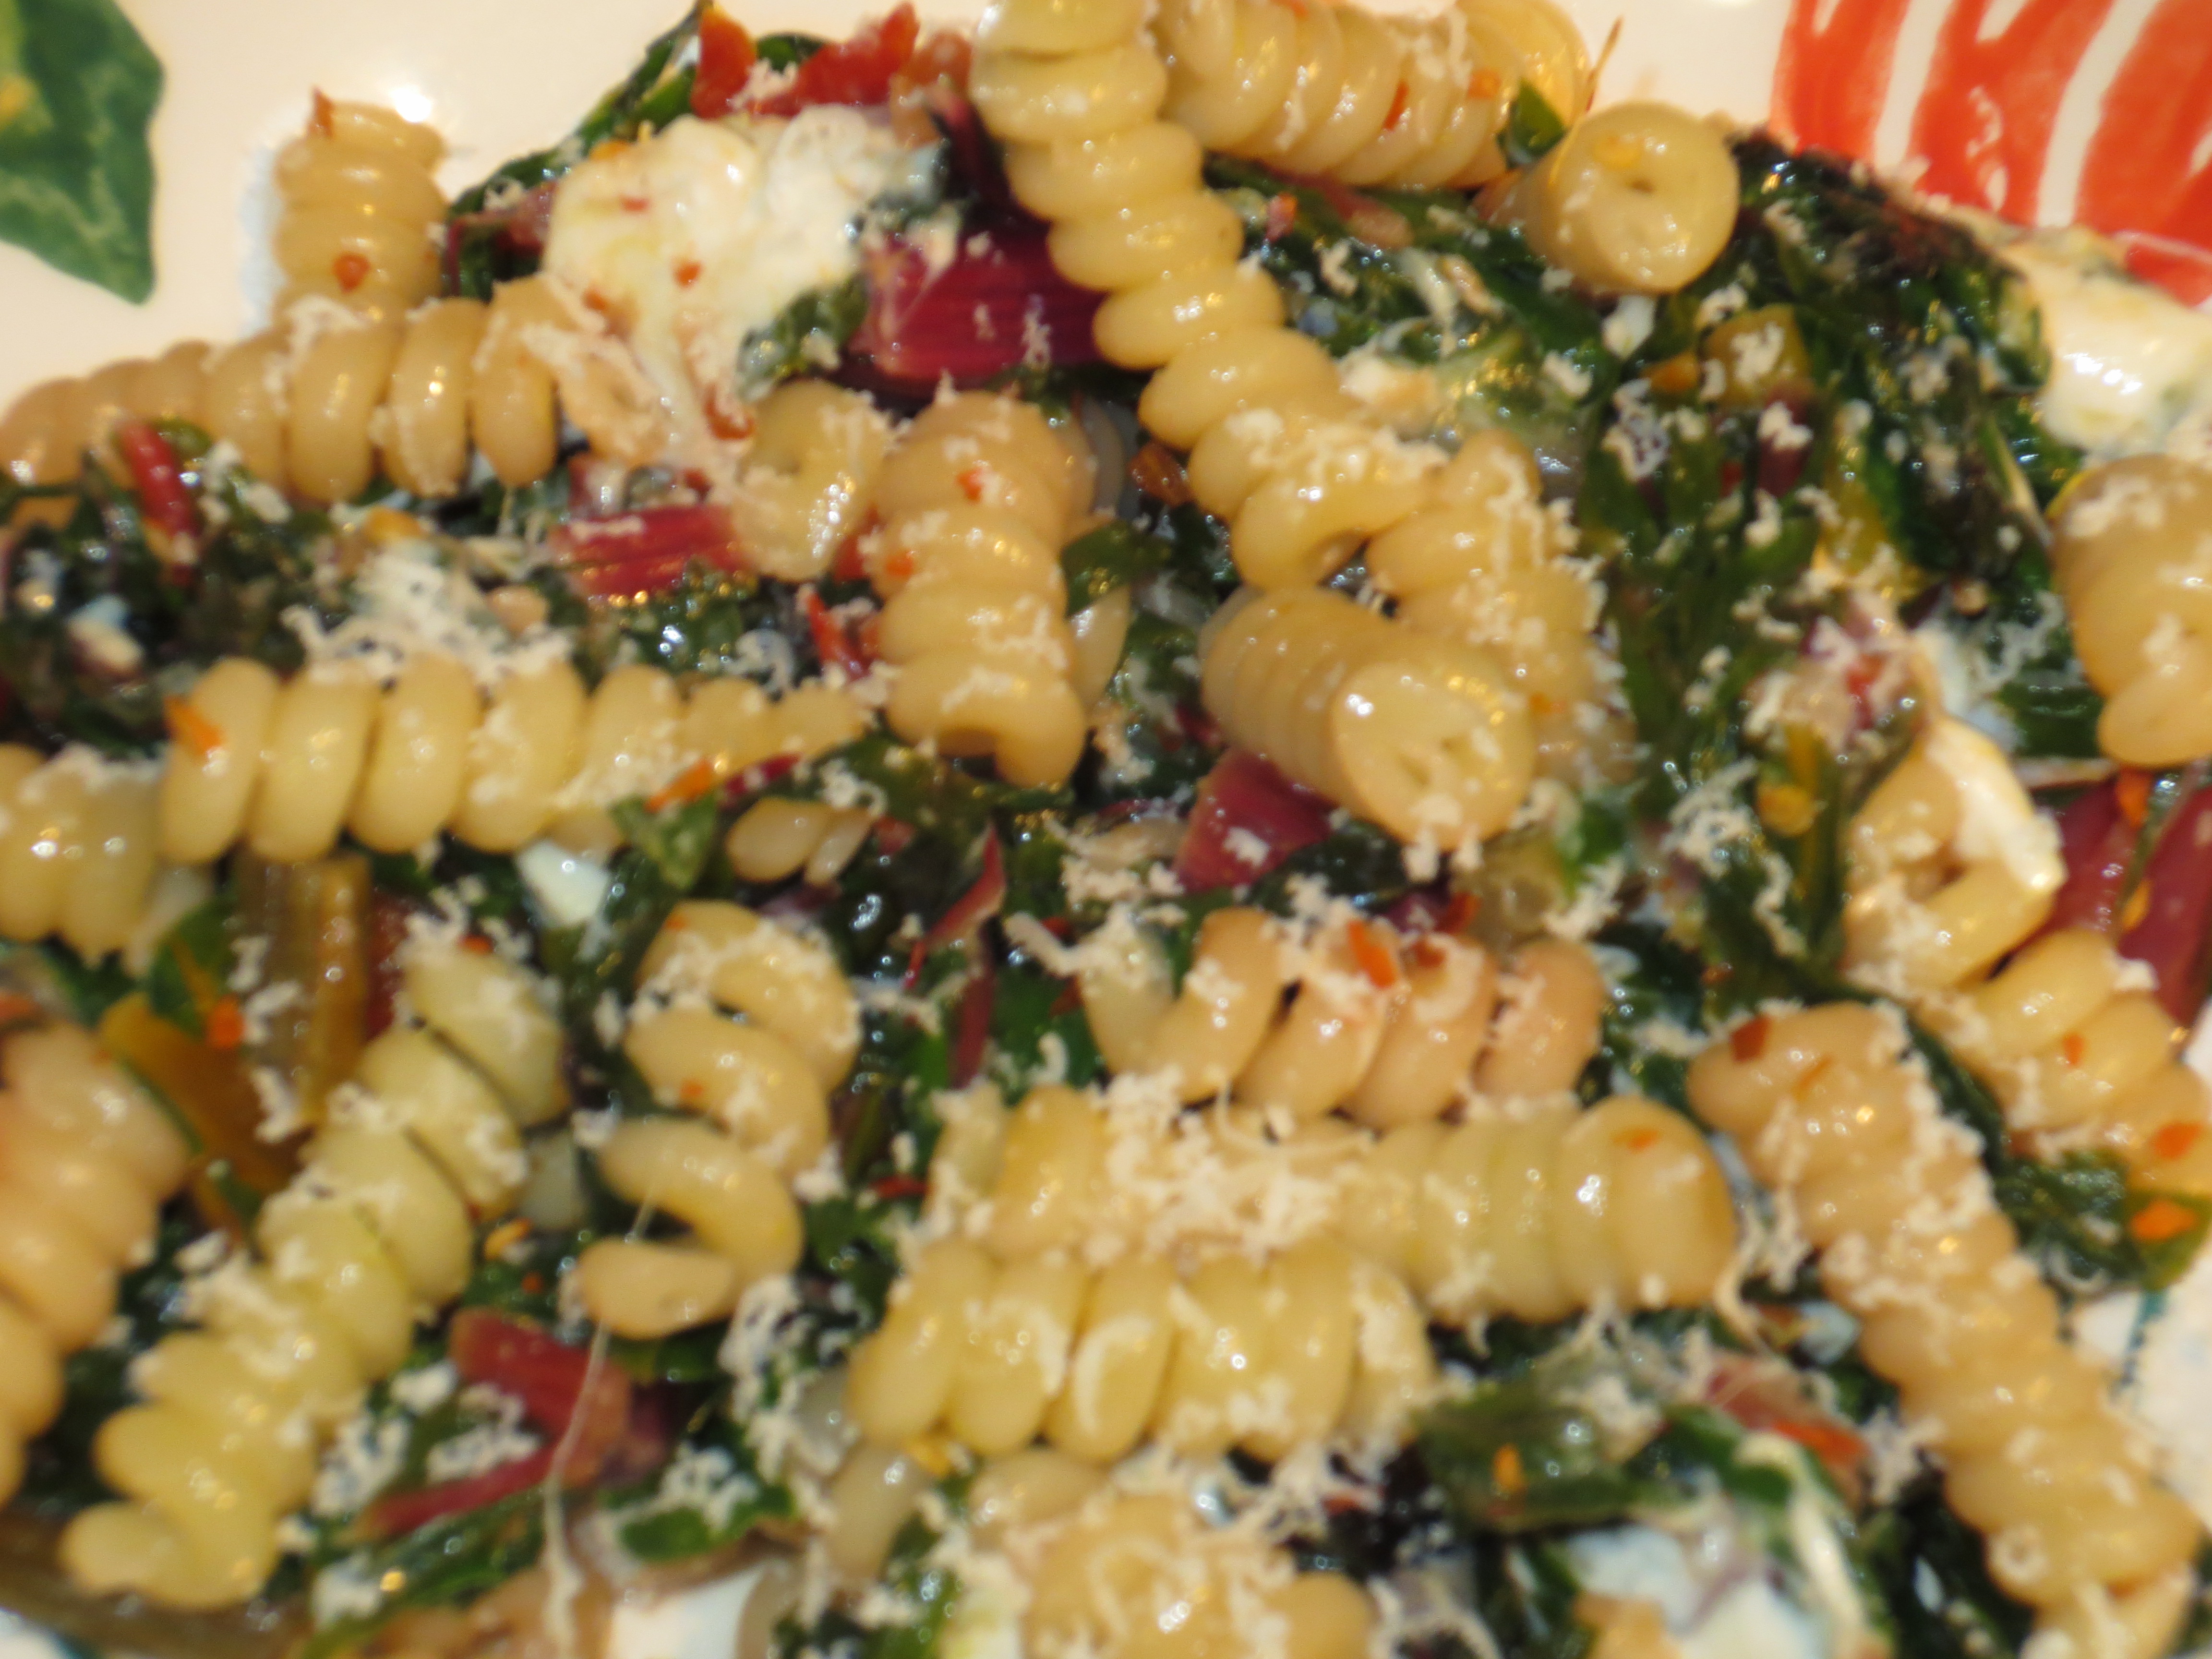
Rainbow Chard with Melty Fresh Mozzarella and Fusilli Pasta
Author: Sweet Green Kitchen’s Jen Jones
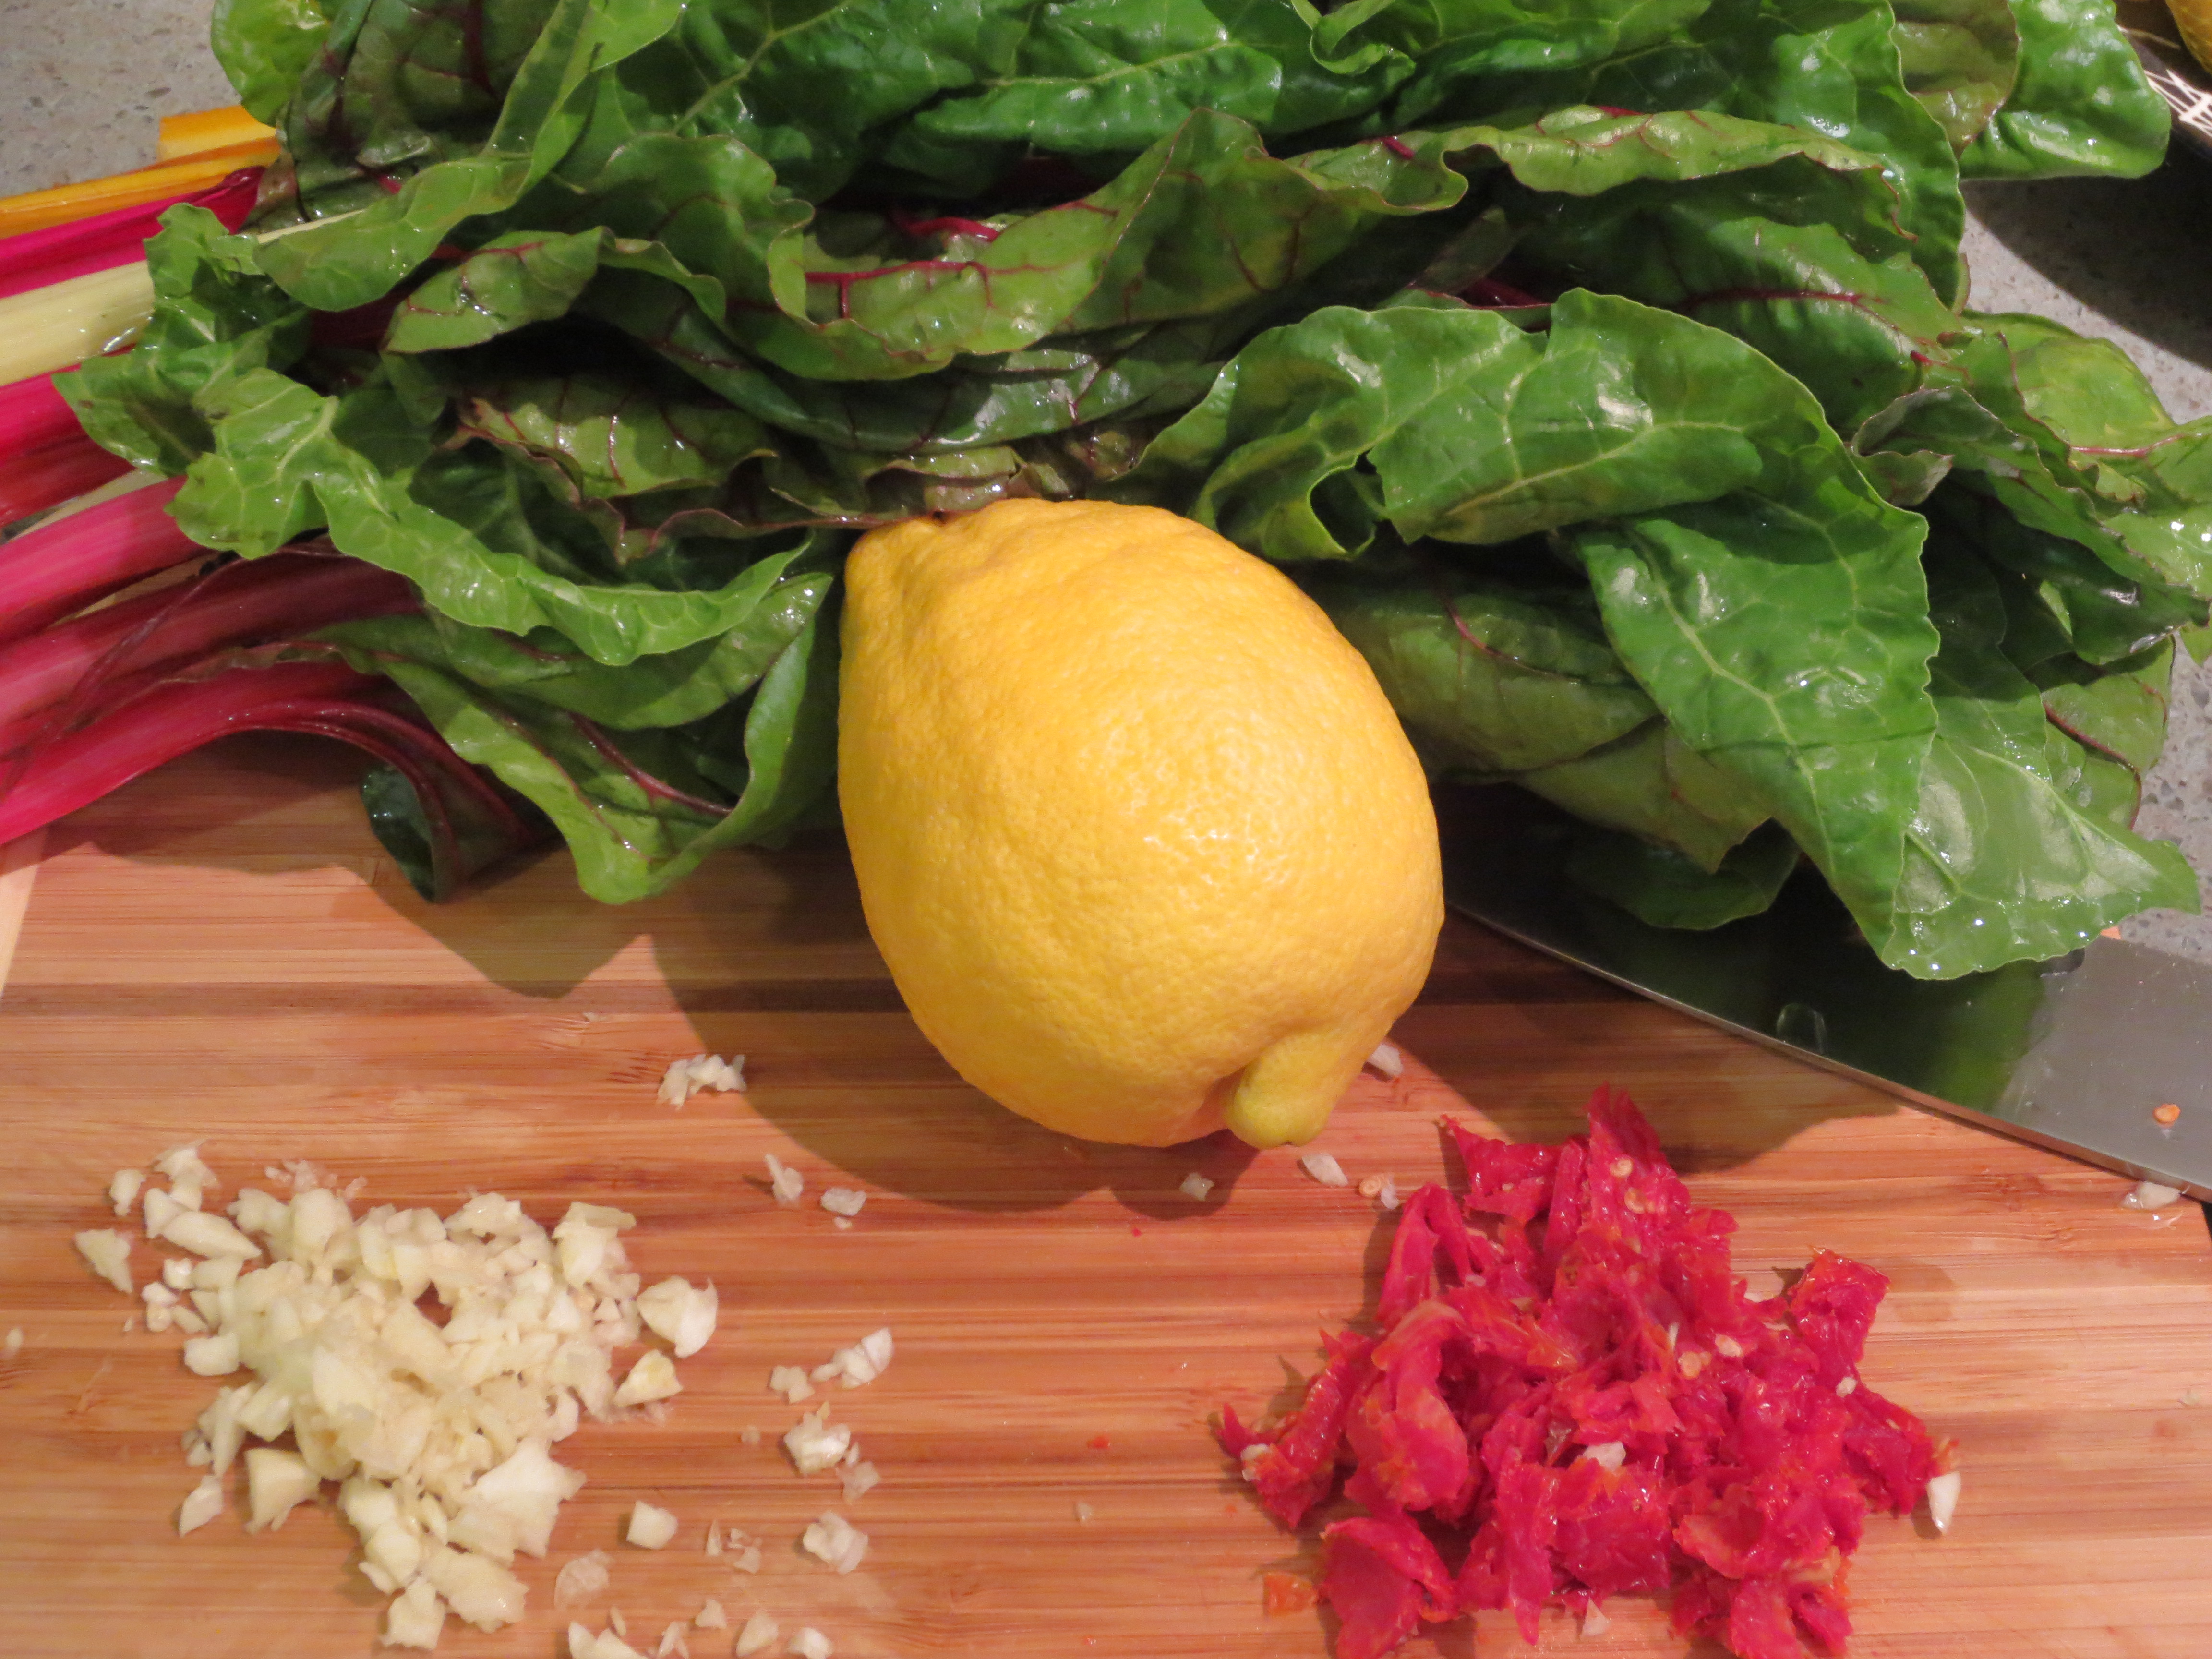
Chop Garlic and Sundried Tomatoes. Wash Rainbow Chard and then cut into ribbons. I do this by stacking all the leaves and then folding them over lengthwise, then slicing across (a sharp knife should cut through the stack pretty easily). Cut Mozzarella into small cubes.


Stir in about 2 – 3 Tablespoons of Grated Romano cheese and then the Lemon Zest and Red Pepper Flakes. At this point you can pour in some of the reserved pasta cooking liquid to start creating a bit of a sauce (note, you may not need to use all the reserved liquid, add a little at a time and more as needed).

Next pour in the cooked Pasta and then the chopped Mozzarella, plus another drizzle of Olive Oil, stir to combine and until the Mozzarella begins to melt into the chard and pasta. Add more liquid if necessary and top with a little more grated Romano if you like.


Lentil “Meatballs”
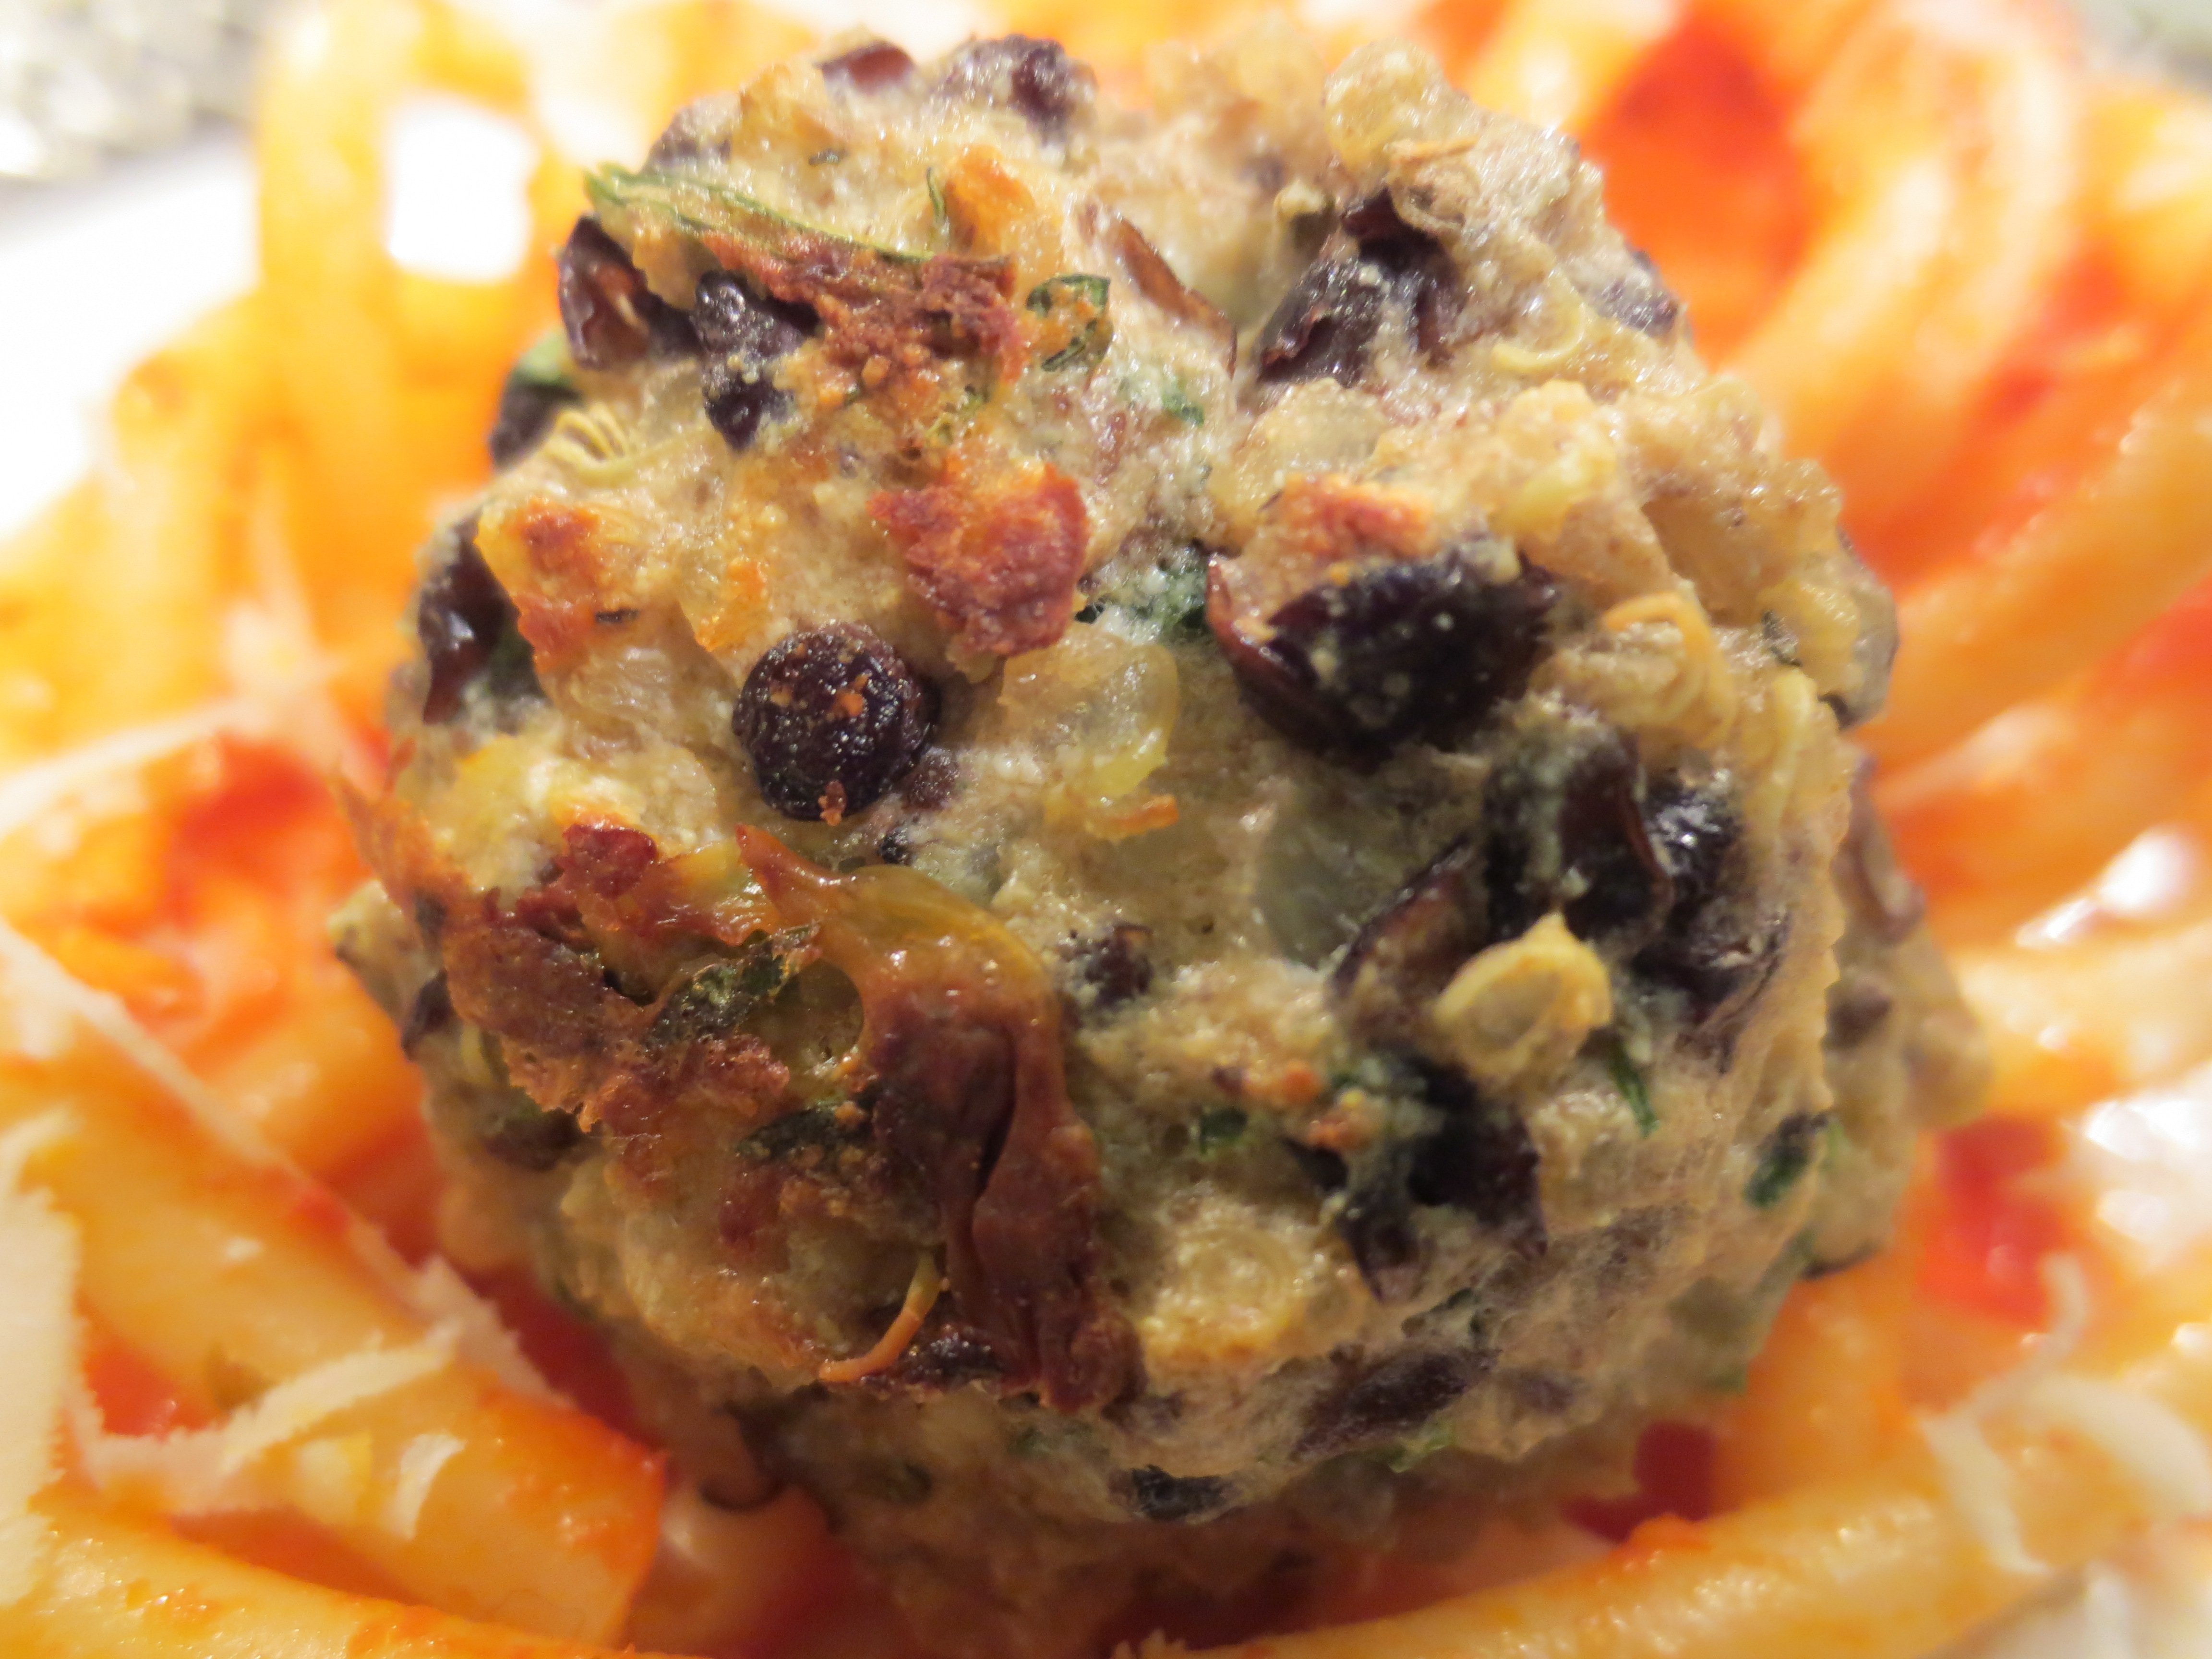
Lentil Meatballs
Author: Sweet Green Kitchen’s Jen Jones
Adapted from: Sara Forte’s “The Sprouted Kitchen”
Meat free, gluten free, but full on flavor! These tasty lentil meatballs are the perfect prescription for any vegetarian missing that classic childhood favorite “spaghetti and meatballs”. But these little bites are so yummy even meat eaters won’t miss the meat. These are in regular rotation at chez Jones.
Ingredients:
1 can black lentils – about 2 cups (*see recipe note below)
2 eggs
¾ cup ricotta cheese (I use part skim)
¼ cup freshly grated pecorino Romano cheese (Locatelli is the best)
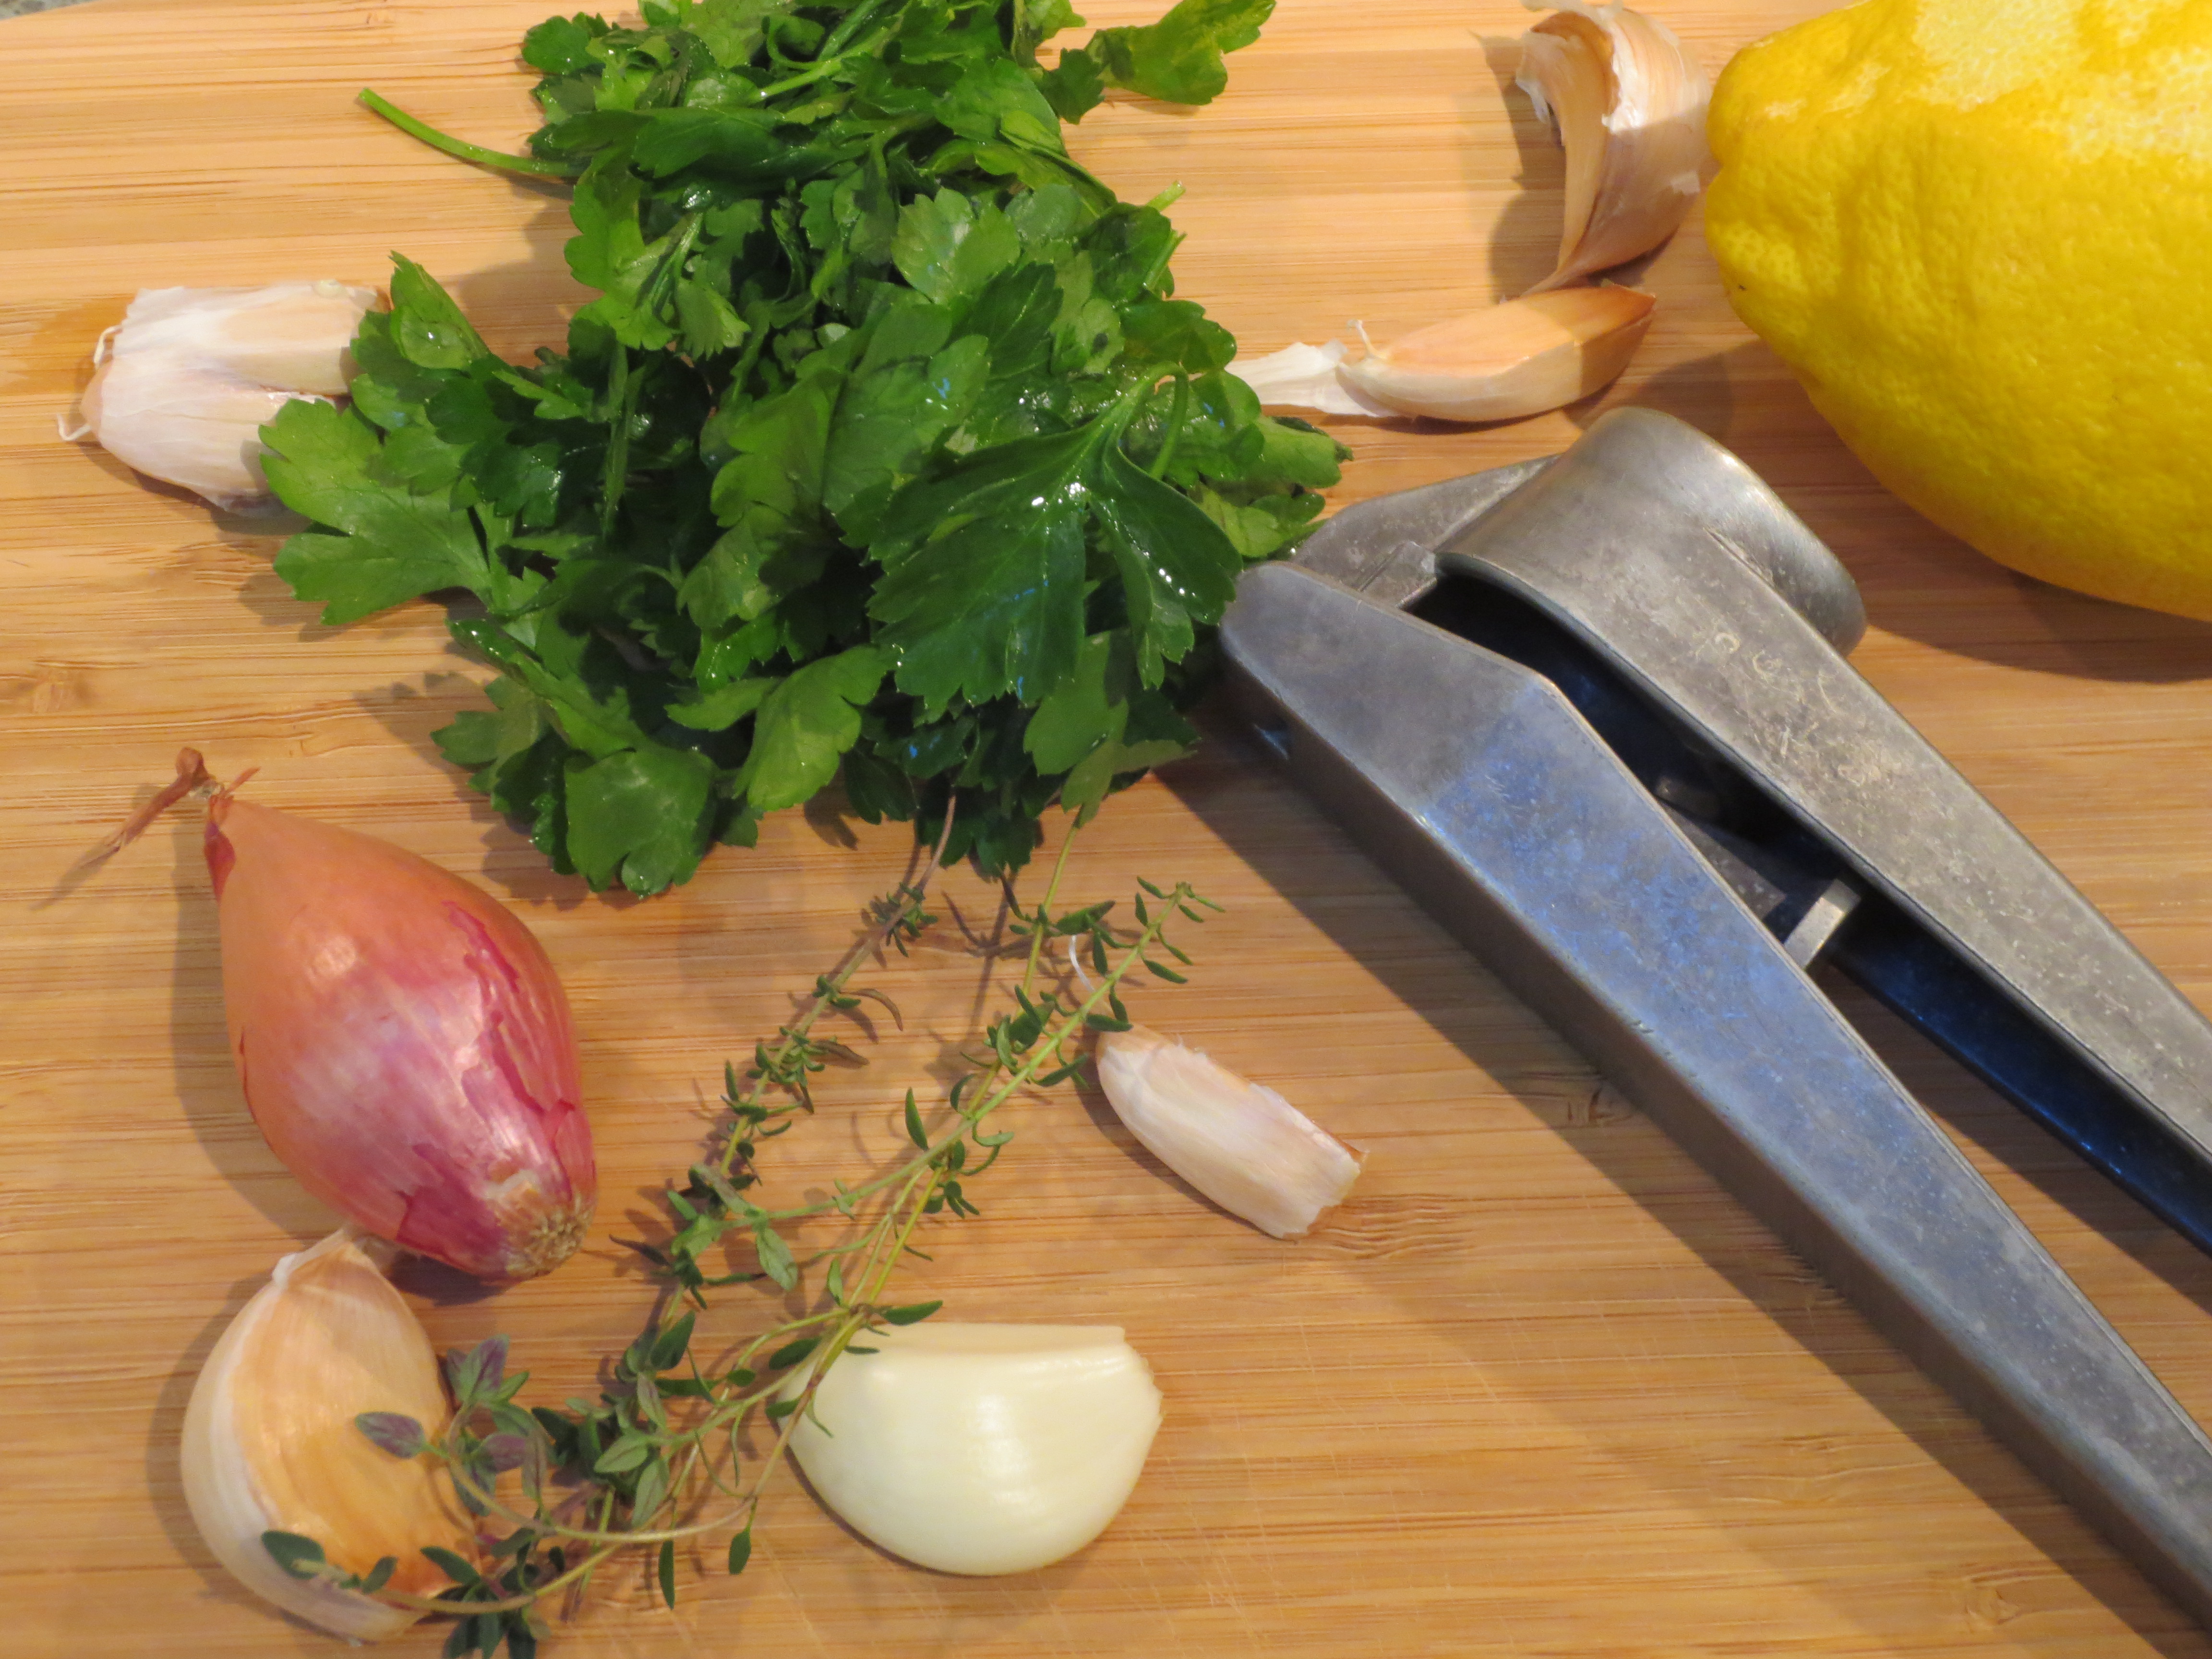
2 cloves garlic – crushed
1 shallot – finely chopped
2 Tablespoons chopped fresh parsley
A few sprigs of fresh thyme
1 ½ teaspoons dried Italian seasoning
½ teaspoon fennel seeds
½ teaspoon sea salt
½ teaspoon crushed red pepper flakes (more or less to taste)
Lemon zest – from about ½ – 1 whole lemon
1 Tablespoon olive oil (I use extra virgin always)
1 cup cooked quinoa (use leftover or cook ¼ cup dry with ½ cup water in advance)


Directions:
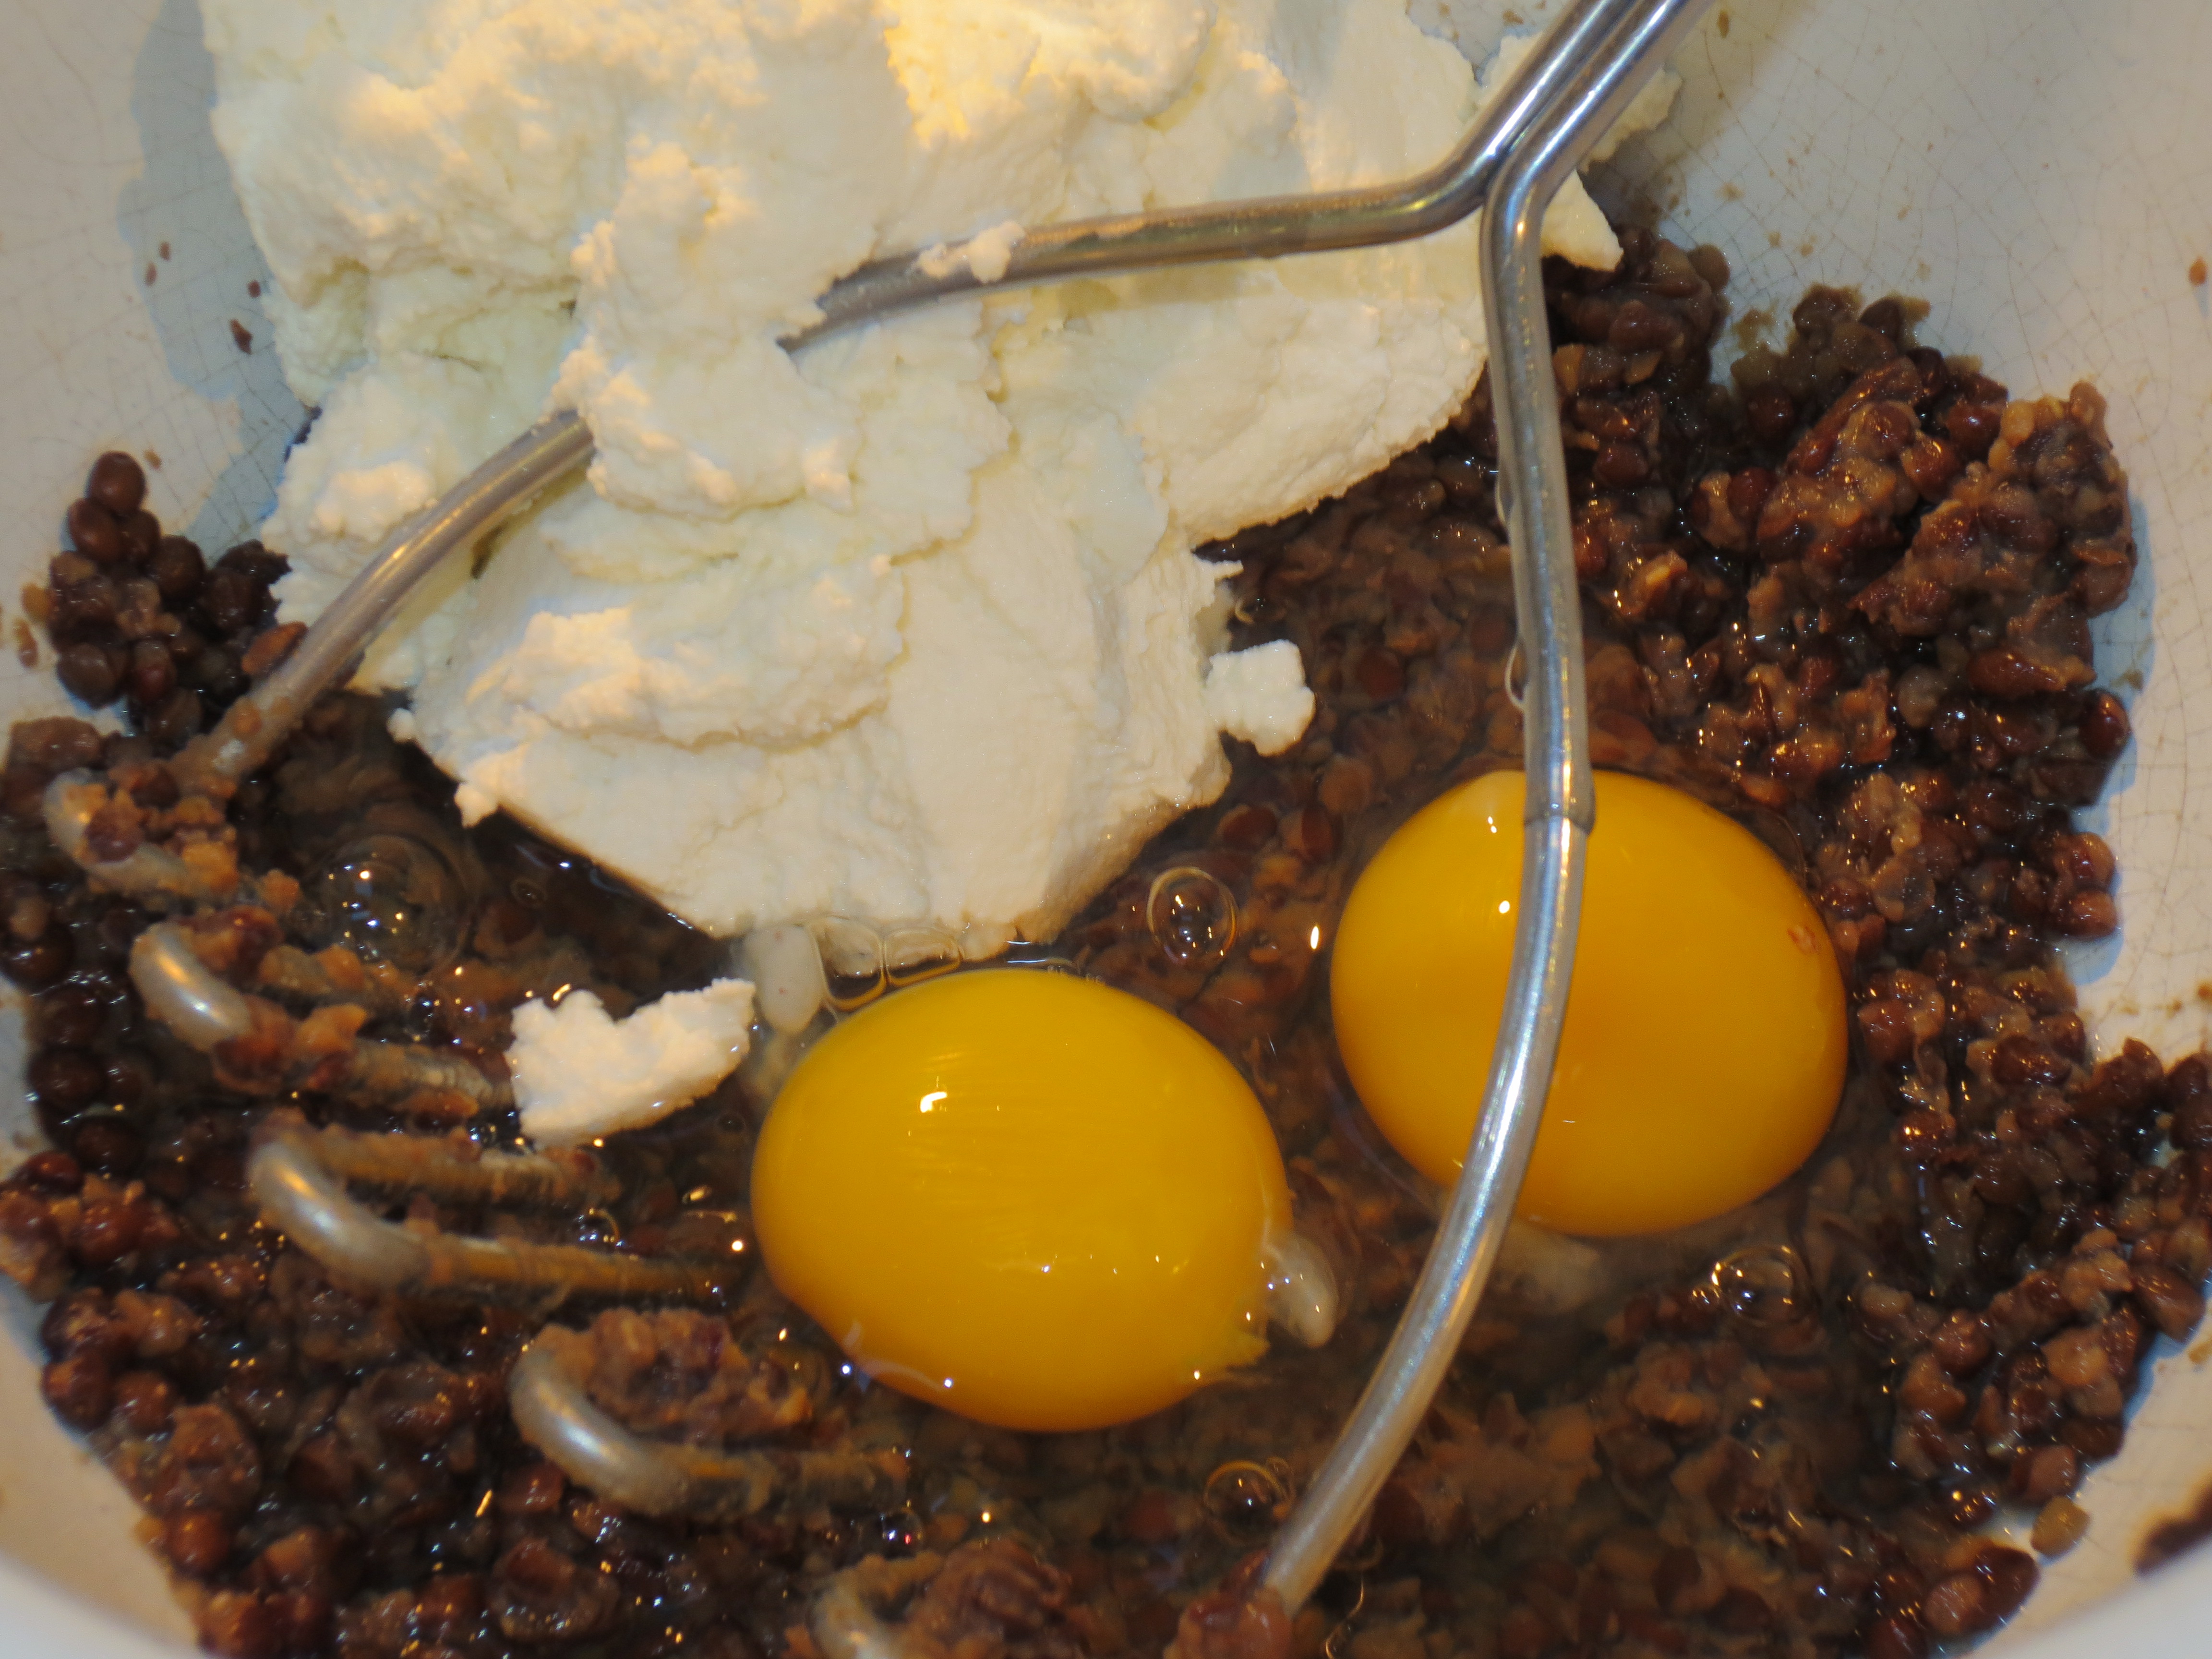
Drain and rinse the lentils and place in a medium size bowl. Mash the lentils with the back of a fork or potato masher, but don’t completely pulverize, you want to still have some intact lentils.

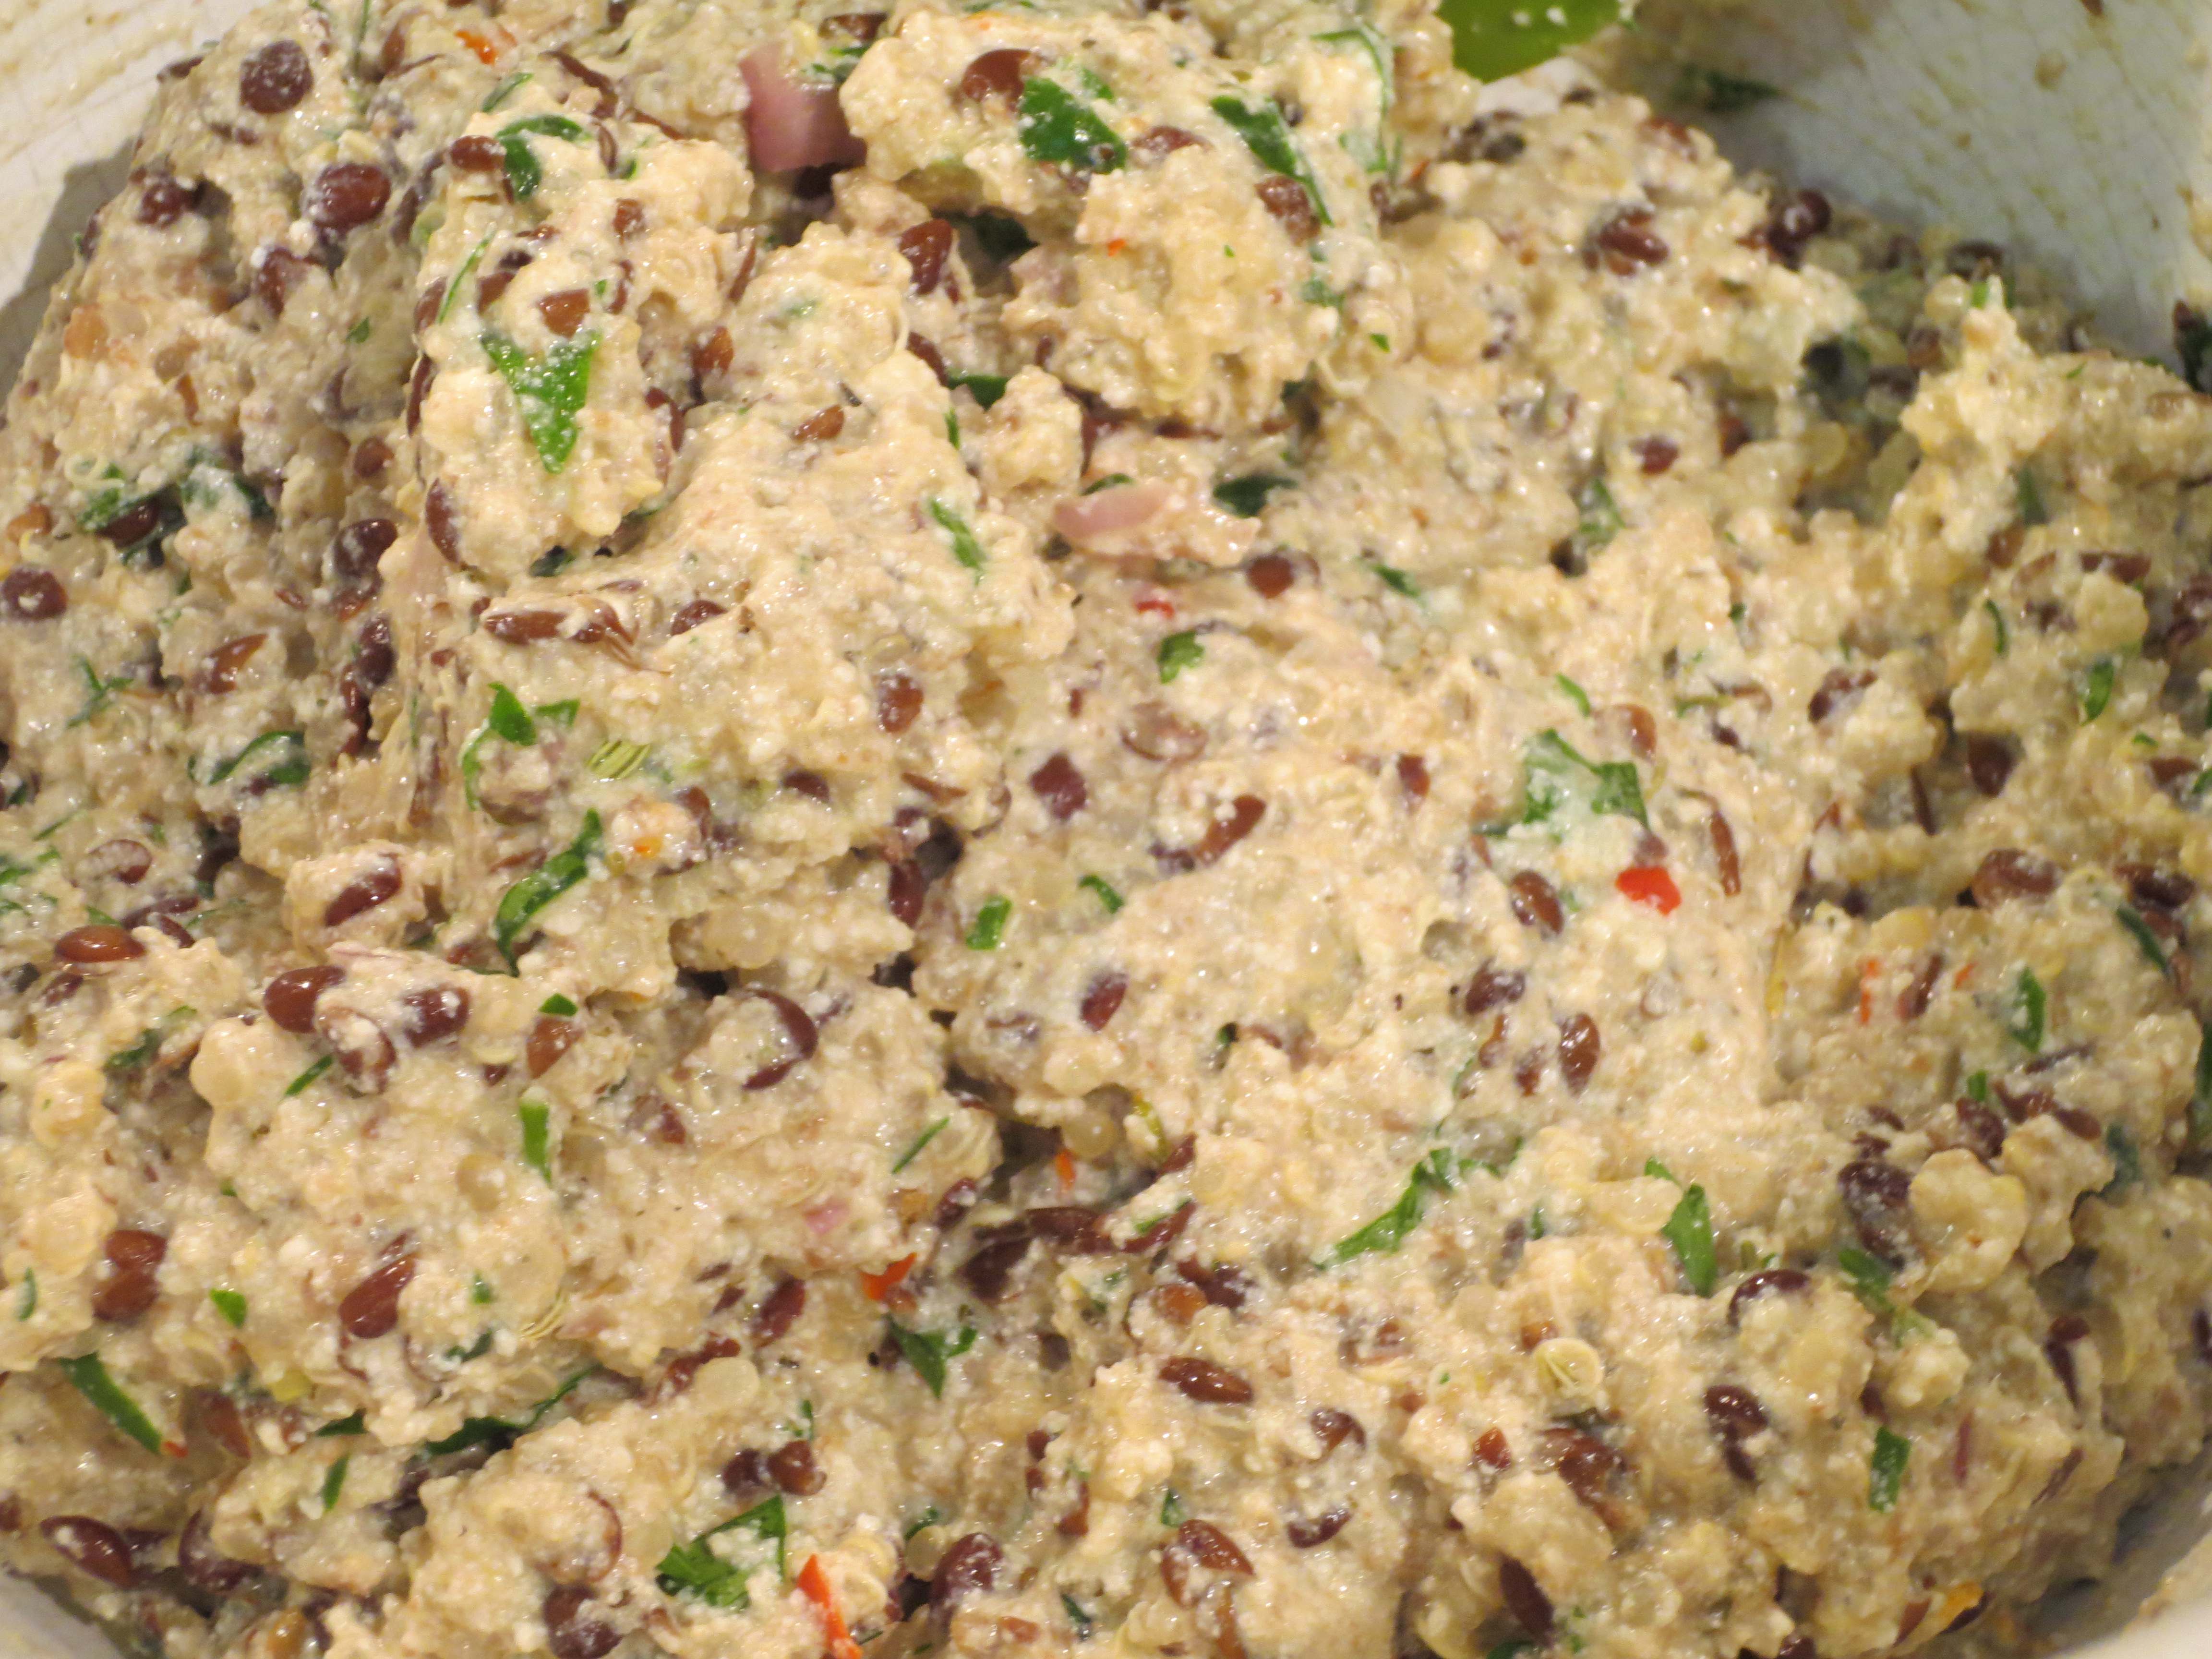
Add to the lentils all remaining ingredients except the quinoa. Mix well to combine and then add in the quinoa and mix through.


To help keep the mix from falling apart, place in the refrigerator to chill for about 15 minutes. You could also mix this up in the morning and then have it all ready to go at dinner time or even mix it all up the night before.
While chilling…Preheat oven to 400 F. And if you plan to serve with spaghetti, start boiling your water and/or prepping the rest of your meal.
After your mix has chilled, line a rimmed baking pan with parchment paper or brush the pan with olive oil if you don’t have any parchment on hand.
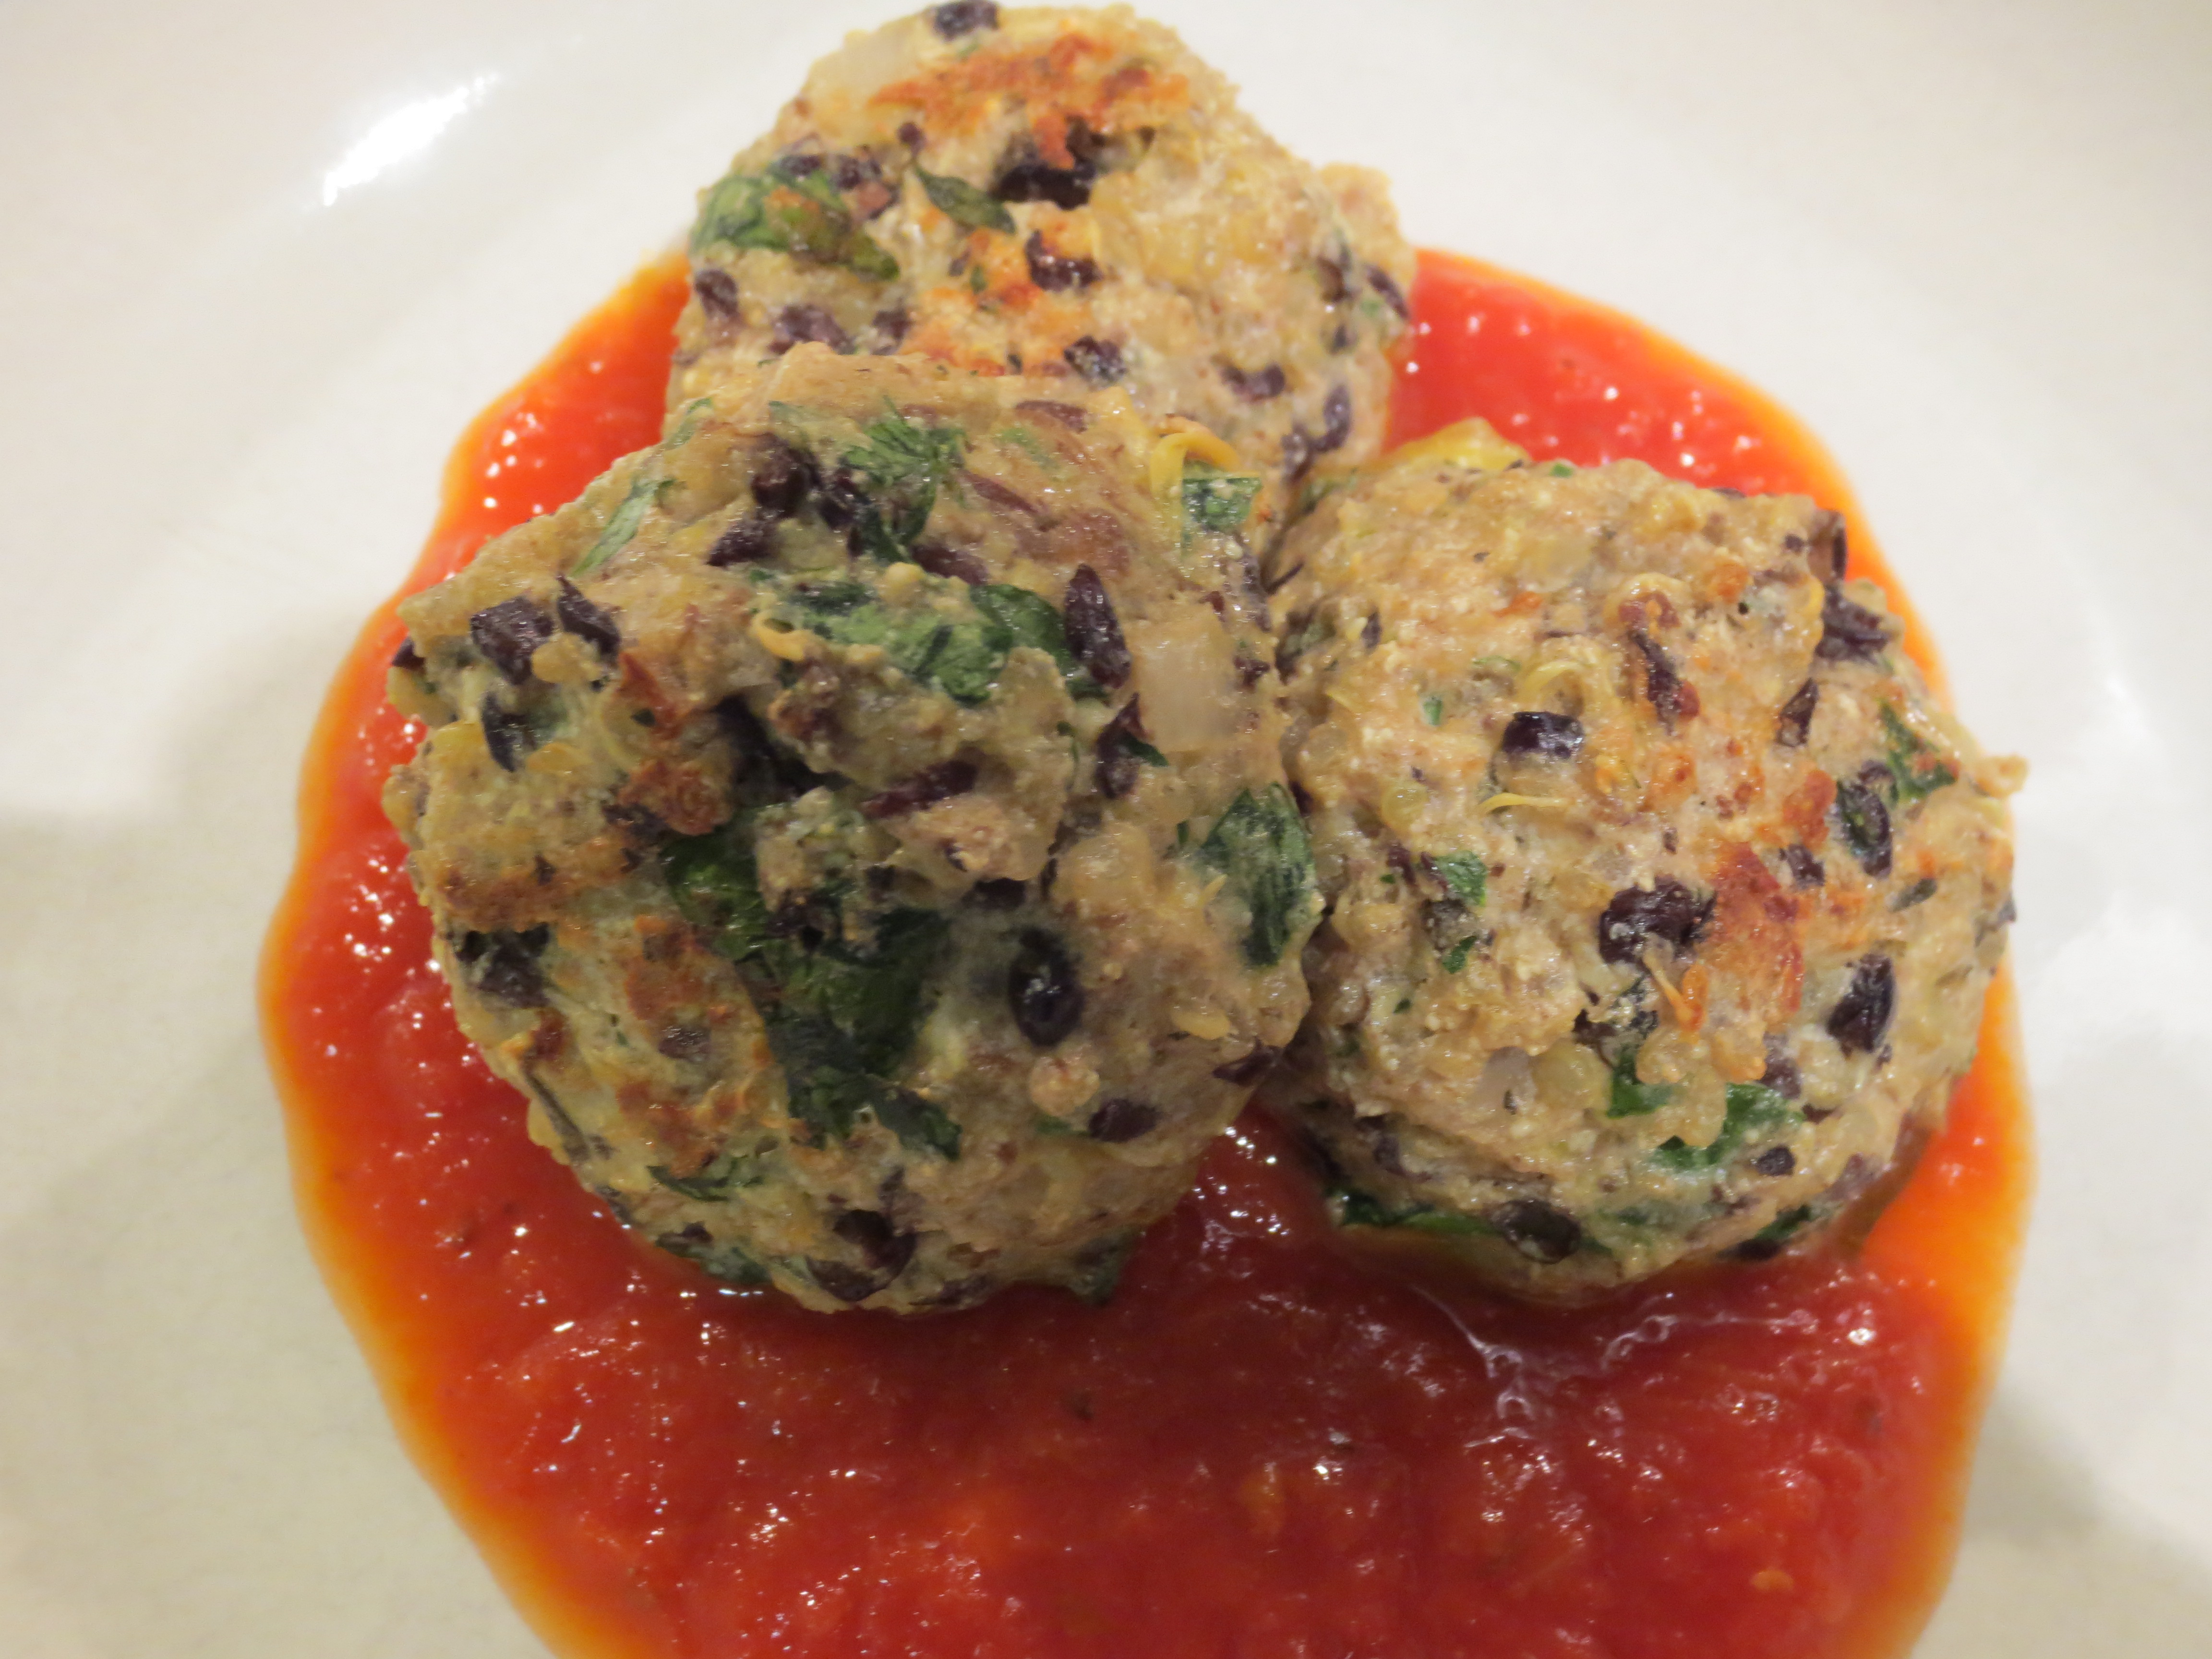
 Remove the bowl from the refrigerator and start forming balls, about 1 inch in diameter. I use my smallest spring loaded ice cream scoop to form the balls, place them on the pan and then press any loose ends together with my fingers once they’re all on the pan. This recipe makes about 28-32 balls. These don’t need a lot of space on the pan, so I pack them in pretty tight but don’t let them touch.

Bake for 15 minutes at 400 F, until the bottoms begin to brown and then carefully turn and bake another 10 minutes.
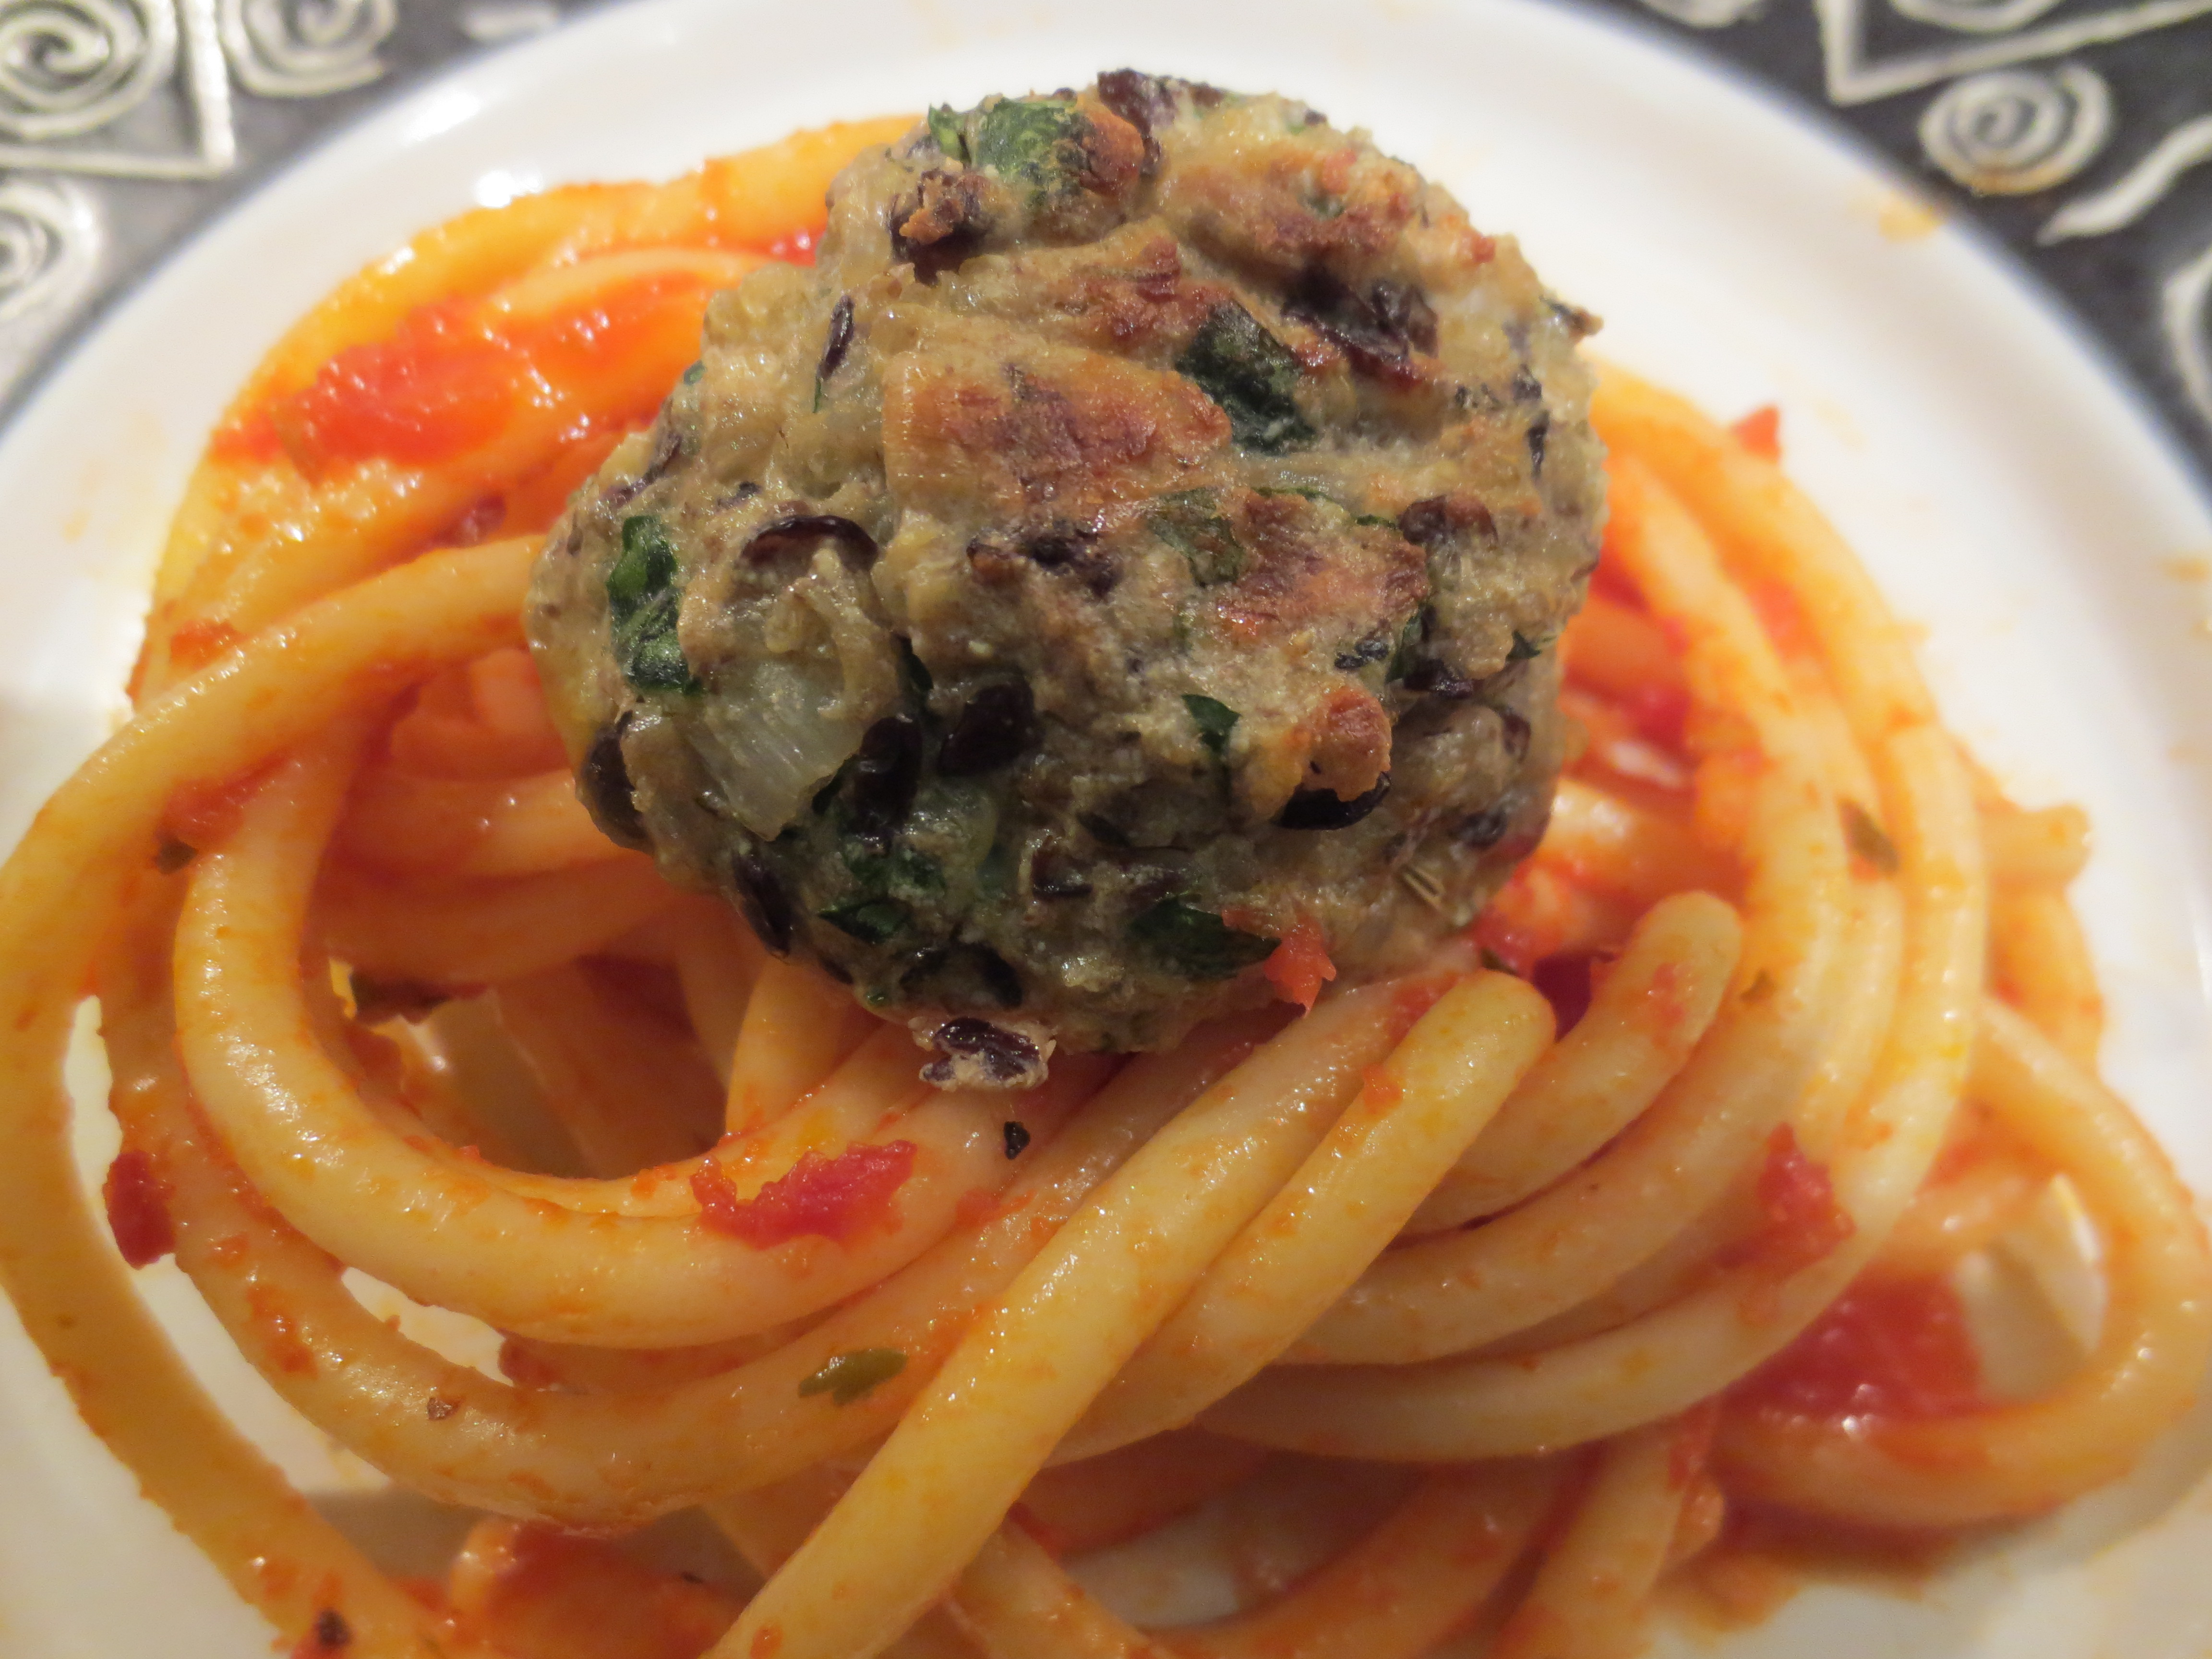
Serve atop spaghetti with your favorite tomato sauce, I like them with a spicy tomato sauce, but marinara is tasty too. Or if you’d like to skip the pasta, they’re also great atop sautéed greens, like swiss chard. You could even squish them between some Italian bread with tomato sauce for a yummy vegetarian meatball sub. A little extra grated Romano cheese over the top completes it. Enjoy!

Recipe notes: don’t be dismayed if you feel like this makes too many, cooled leftovers freeze great for a quick meal in the future, just defrost and reheat. You could also serve these as party hors d’oeuvres with a little pesto dipping sauce.
*Also a note about lentils, I use black lentils also known as French lentils here, they are a bit firmer and hold up better than brown or green lentils when mashed and I like that slightly al dente bite they lend to these meatballs. If you can’t find them canned, you could easily cook up a batch of dried, lentils are the one bean that cooks up quickly without any need for overnight soaking.
For printable version click here
Slow Roasted Salmon with Soy Ginger Marinade

Slow Roasted Salmon with Soy Ginger Marinade
Author: Sweet Green Kitchen’s Jen Jones
I rarely cook fish at home, for a lot of reasons which I won’t bore you with, but there are a few I’ll mention here now. One is Colin. He doesn’t like it. Give him a plate of sushi or a platter of pickled or smoked fish and he’s a very happy man (he’s not even Jewish!). But once cooked, he won’t go near it with a ten foot pole. Also and probably in part because of the fact that I don’t cook it often, I’m afraid to. Fish is so easy to overcook and dry out, who wants to spend the money, time and effort to just end up ruining it? Not me. And lastly, it almost goes without saying, it tends to stink up the place and the aforementioned Colin, hater of all cooked fish, really detests the smell of it. BUT, Skyler LOVES cooked Salmon and begs me regularly to make it. I’ve been able to get away without for some time, since thankfully my dad prepares it often for us, but not often enough for Skyler. Now, finally I have discovered a perfectly easy way to cook salmon in my house without the smell, really it’s true. Slow roasting in the oven at a low temperature, bathed in marinade, Salmon cooks up moist and delicious with absolutely no fishy odor, absolutely none.
I came up with this super simple marinade years ago and it has been a family favorite ever since. With just a few ingredients this marinade is so flavorful and is not only perfect for salmon, but chicken too which makes it great for dinner parties and extended family gatherings, where so many different people need to be pleased! When the weather’s warm we forgo the oven and make this on the grill, which is actually how it all began years ago.
2 Servings, but the recipe easily multiplies to feed more
Ingredients:
About ¾ pound Salmon fillet (preferably wild caught or Organic)
Marinade:
3 Tablespoons low sodium Soy Sauce
1 ½ Tablespoons Water
½ Tablespoon Toasted Sesame Oil
Just under 1 Tablespoon peeled & grated fresh Ginger
Generous sprinkle of Sesame Seeds
2 Scallions – sliced

Directions:
Preheat Oven to 300 degrees F.
I like to remove the skin from my salmon fillet (but only if roasting in the oven, when grilling outside I leave the skin on), but this is purely a personal choice, if you like the skin by all means leave it on.
To remove the skin, place the fillet on a cutting board skin side down (I usually leave it resting on the paper it was wrapped in to keep my board clean) and run a very sharp knife between the skin and flesh, this may take a little bit of effort. If you’re not a “professional fish skinner”, I find that it makes it easier to cut a large fillet into portions before trying to remove the skin.
Prepare the marinade by mixing the Soy Sauce, Water, Sesame Oil and grated Ginger in a small bowl or directly in the dish you plan to roast in (I use an 8 inch square Pyrex dish). Place the salmon and marinade in your baking dish. Sprinkle with sesame seeds and the white and light green pieces of scallion (reserving the dark green pieces for a garnish).
At this point, you can either leave the Salmon to marinade for a little while or longer if you wish to prepare it ahead of time (in which case don’t preheat your oven). If you’re not going to cook the Salmon fairly soon, cover and place in the refrigerator.
When the oven is ready, put the Salmon bathed in all the marinade in the oven and slow roast for 25-35 minutes, depending upon how large or thick your fillets are and how you like it cooked. After 20-25 minutes, I check for doneness by cutting a large piece halfway through with a butter knife. With the marinade and low temperature, unlike a lot of other fish preparations, this is really difficult to overcook. The marinade also cooks down to create a nice sauce. 
Once cooked to your liking, remove the salmon from the oven and sprinkle the remaining dark green slices of scallion on top and serve. This is actually quite tasty straight out of the oven or at room temperature. Enjoy!
Recipe Notes: If you’ve made enough for a crowd and end up with leftovers, you can keep them refrigerated for a day or two. I prefer not to reheat any leftovers as I feel like it changes the taste and texture of the salmon a bit, plus reheating in the microwave will stink A LOT. I just eat leftovers cold, they are delicious over a salad or in a wrap with some sliced avocado.
Unfortunately, I can’t give you cooking times or temps for chicken.
I’ll make your life easy, if cooking for a crowd, here’s the recipe quantities my parent’s use: Good for about 4-6 pounds combined of Salmon and Chicken breast. Extra marinade will keep well in the fridge for at least a week.
Soy Ginger Marinade for a Crowd:
1 cup low sodium Soy Sauce
½ cup water
Grated 2 inch piece of peeled ginger
1 Tablespoon Toasted Sesame Oil
2 Tablespoons Sesame Seeds
4-6 chopped Scallions
Crispy Quinoa Fritters

It’s Meatless Monday! Truth be told it’s Meatless Monday every day of the week around here, but whether you embrace a Vegetarian lifestyle all of the time or you just try to eat a little less meat here and there, this recipe is perfect. Quinoa is the only plant based complete protein and with the addition of eggs and cheese, this makes a delicious protein packed Vegetarian main dish, which also wouldn’t be bad as a side dish when you’re not embracing the meat free world. Bonus, they’re even gluten free. If you have leftover quinoa or cook it the day or two before, these fritters come together quickly, with a cheesy, crispy exterior, complete the meal with a salad and/or roasted veggies, yum.
Crispy Quinoa Fritters
Author: Sweet Green Kitchen’s Jen Jones
Adapted from one of my favorite recipe books, Heidi Swanson’s “Super Natural Every Day”, Little Quinoa Patties.
Ingredients:
3 cups cooked Quinoa (from 1 cup uncooked)
4 extra large Eggs (I use Organic)
Chopped Red Onion – 1 small or ½ of one large OR about 4 Shallots
3 cloves Garlic – minced
¼ cup chopped Parsley
½ teaspoon Sea Salt, or more to taste
¼ teaspoon Red Pepper Flakes, or more to taste
½ cup Chick Pea (Garbanzo) Flour OR ½ cup dried Bread Crumbs
½ cup grated Asiago Cheese (Gruyere would also be good)
1 cup (divided) grated Pecorino Romano OR Parmesan
About 1 – 2 Tablespoons Butter or Olive Oil or a combo
Optional:
Zest of one Lemon
Juice of ½ Lemon
Chopped Sun Dried Tomatoes
Fresh Herbs – about 1 teaspoon Thyme or Oregano
Directions:
In a medium bowl combine the Quinoa, Eggs, Onion, Garlic, Parsley, Salt & Red Pepper, Chick Pea Flour or Bread Crumbs, Asiago Cheese, ½ cup of the Romano cheese and any of the optional ingredients you like. Chill in the refrigerator for 15 minutes or longer (sometimes I mix it up in the morning and then it’s ready to go when I get home at night).
After 15 minutes, heat the butter and/or olive oil (I like a combo of both) in a large non stick skillet. Scoop out about ¼ cup of the quinoa mixture (I use a spring loaded ice cream scoop, pressing it against the inside of the bowl to help it hold together a little more) and drop it into the heated skillet. About 6 – 7 fritters should fit in the pan. Cover and cook over medium heat for 7 – 10 minutes until the bottoms are browned. Adjust the flame if not browning quickly enough.


Sprinkle some of the remaining ½ cup of Romano cheese on top of each fritter and then flip over in the pan and flatten out a bit with the spatula. Cover the pan and cook for another 7 minutes or so until browned on the other side.
Remove from the skillet and place on a serving platter and then continue to cook the rest. Adding a little more butter or olive oil to the pan as needed
Makes about 12-15 fritters, serve 2-3 per person.
Leftovers keep great in the fridge for a few days, they’re good cold or heated up. Enjoy them over a salad or in a wrap, if you like with a little hummus and hot sauce as Colin does.
Note: we’ve tried these with all types of different sauces and finally came to the conclusion they’re perfect all on their own.


i love getting feedback, here are some of your most recent comments…