Category Archives: Main Dish

Slow Roasted Salmon with Soy Ginger Marinade

IMG_3768 Slow Roasted Salmon with Soy Ginger Marinade plate

Slow Roasted Salmon with Soy Ginger Marinade

Author: Sweet Green Kitchen’s Jen Jones

I rarely cook fish at home, for a lot of reasons which I won’t bore you with, but there are a few I’ll mention here now.  One is Colin.  He doesn’t like it. Give him a plate of sushi or a platter of pickled or smoked fish and he’s a very happy man (he’s not even Jewish!).  But once cooked, he won’t go near it with a ten foot pole.  Also and probably in part because of the fact that I don’t cook it often, I’m afraid to.  Fish is so easy to overcook and dry out, who wants to spend the money, time and effort to just end up ruining it? Not me.  And lastly, it almost goes without saying, it tends to stink up the place and the aforementioned Colin, hater of all cooked fish, really detests the smell of it.  BUT, Skyler LOVES cooked Salmon and begs me regularly to make it.  I’ve been able to get away without for some time, since thankfully my dad prepares it often for us, but not often enough for Skyler.  Now, finally I have discovered a perfectly easy way to cook salmon in my house without the smell, really it’s true.  Slow roasting in the oven at a low temperature, bathed in marinade, Salmon cooks up moist and delicious with absolutely no fishy odor, absolutely none.

I came up with this super simple marinade years ago and it has been a family favorite ever since.  With just a few ingredients this marinade is so flavorful and is not only perfect for salmon, but chicken too which makes it great for dinner parties and extended family gatherings, where so many different people need to be pleased! When the weather’s warm we forgo the oven and make this on the grill, which is actually how it all began years ago. 

2 Servings, but the recipe easily multiplies to feed more

Ingredients:

About ¾ pound Salmon fillet (preferably wild caught or Organic)


Marinade:IMG_3758 Scallions with Soy Ginger Marinade ingredients

3 Tablespoons low sodium Soy Sauce

1 ½ Tablespoons Water

½ Tablespoon Toasted Sesame Oil

Just under 1 Tablespoon peeled & grated fresh Ginger

Generous sprinkle of Sesame Seeds

2 Scallions – sliced

IMG_3759


Directions:

Preheat Oven to 300 degrees F. 

I like to remove the skin from my salmon fillet (but only if roasting in the oven, when grilling outside I leave the skin on), but this is purely a personal choice, if you like the skin by all means leave it on. 

To remove the skin, place the fillet on a cutting board skin side down (I usually leave it resting on the paper it was wrapped in to keep my board clean) and run a very sharp knife between the skin and flesh, this may take a little bit of effort.  If you’re not a “professional fish skinner”, I find that it makes it easier to cut a large fillet into portions before trying to remove the skin. 

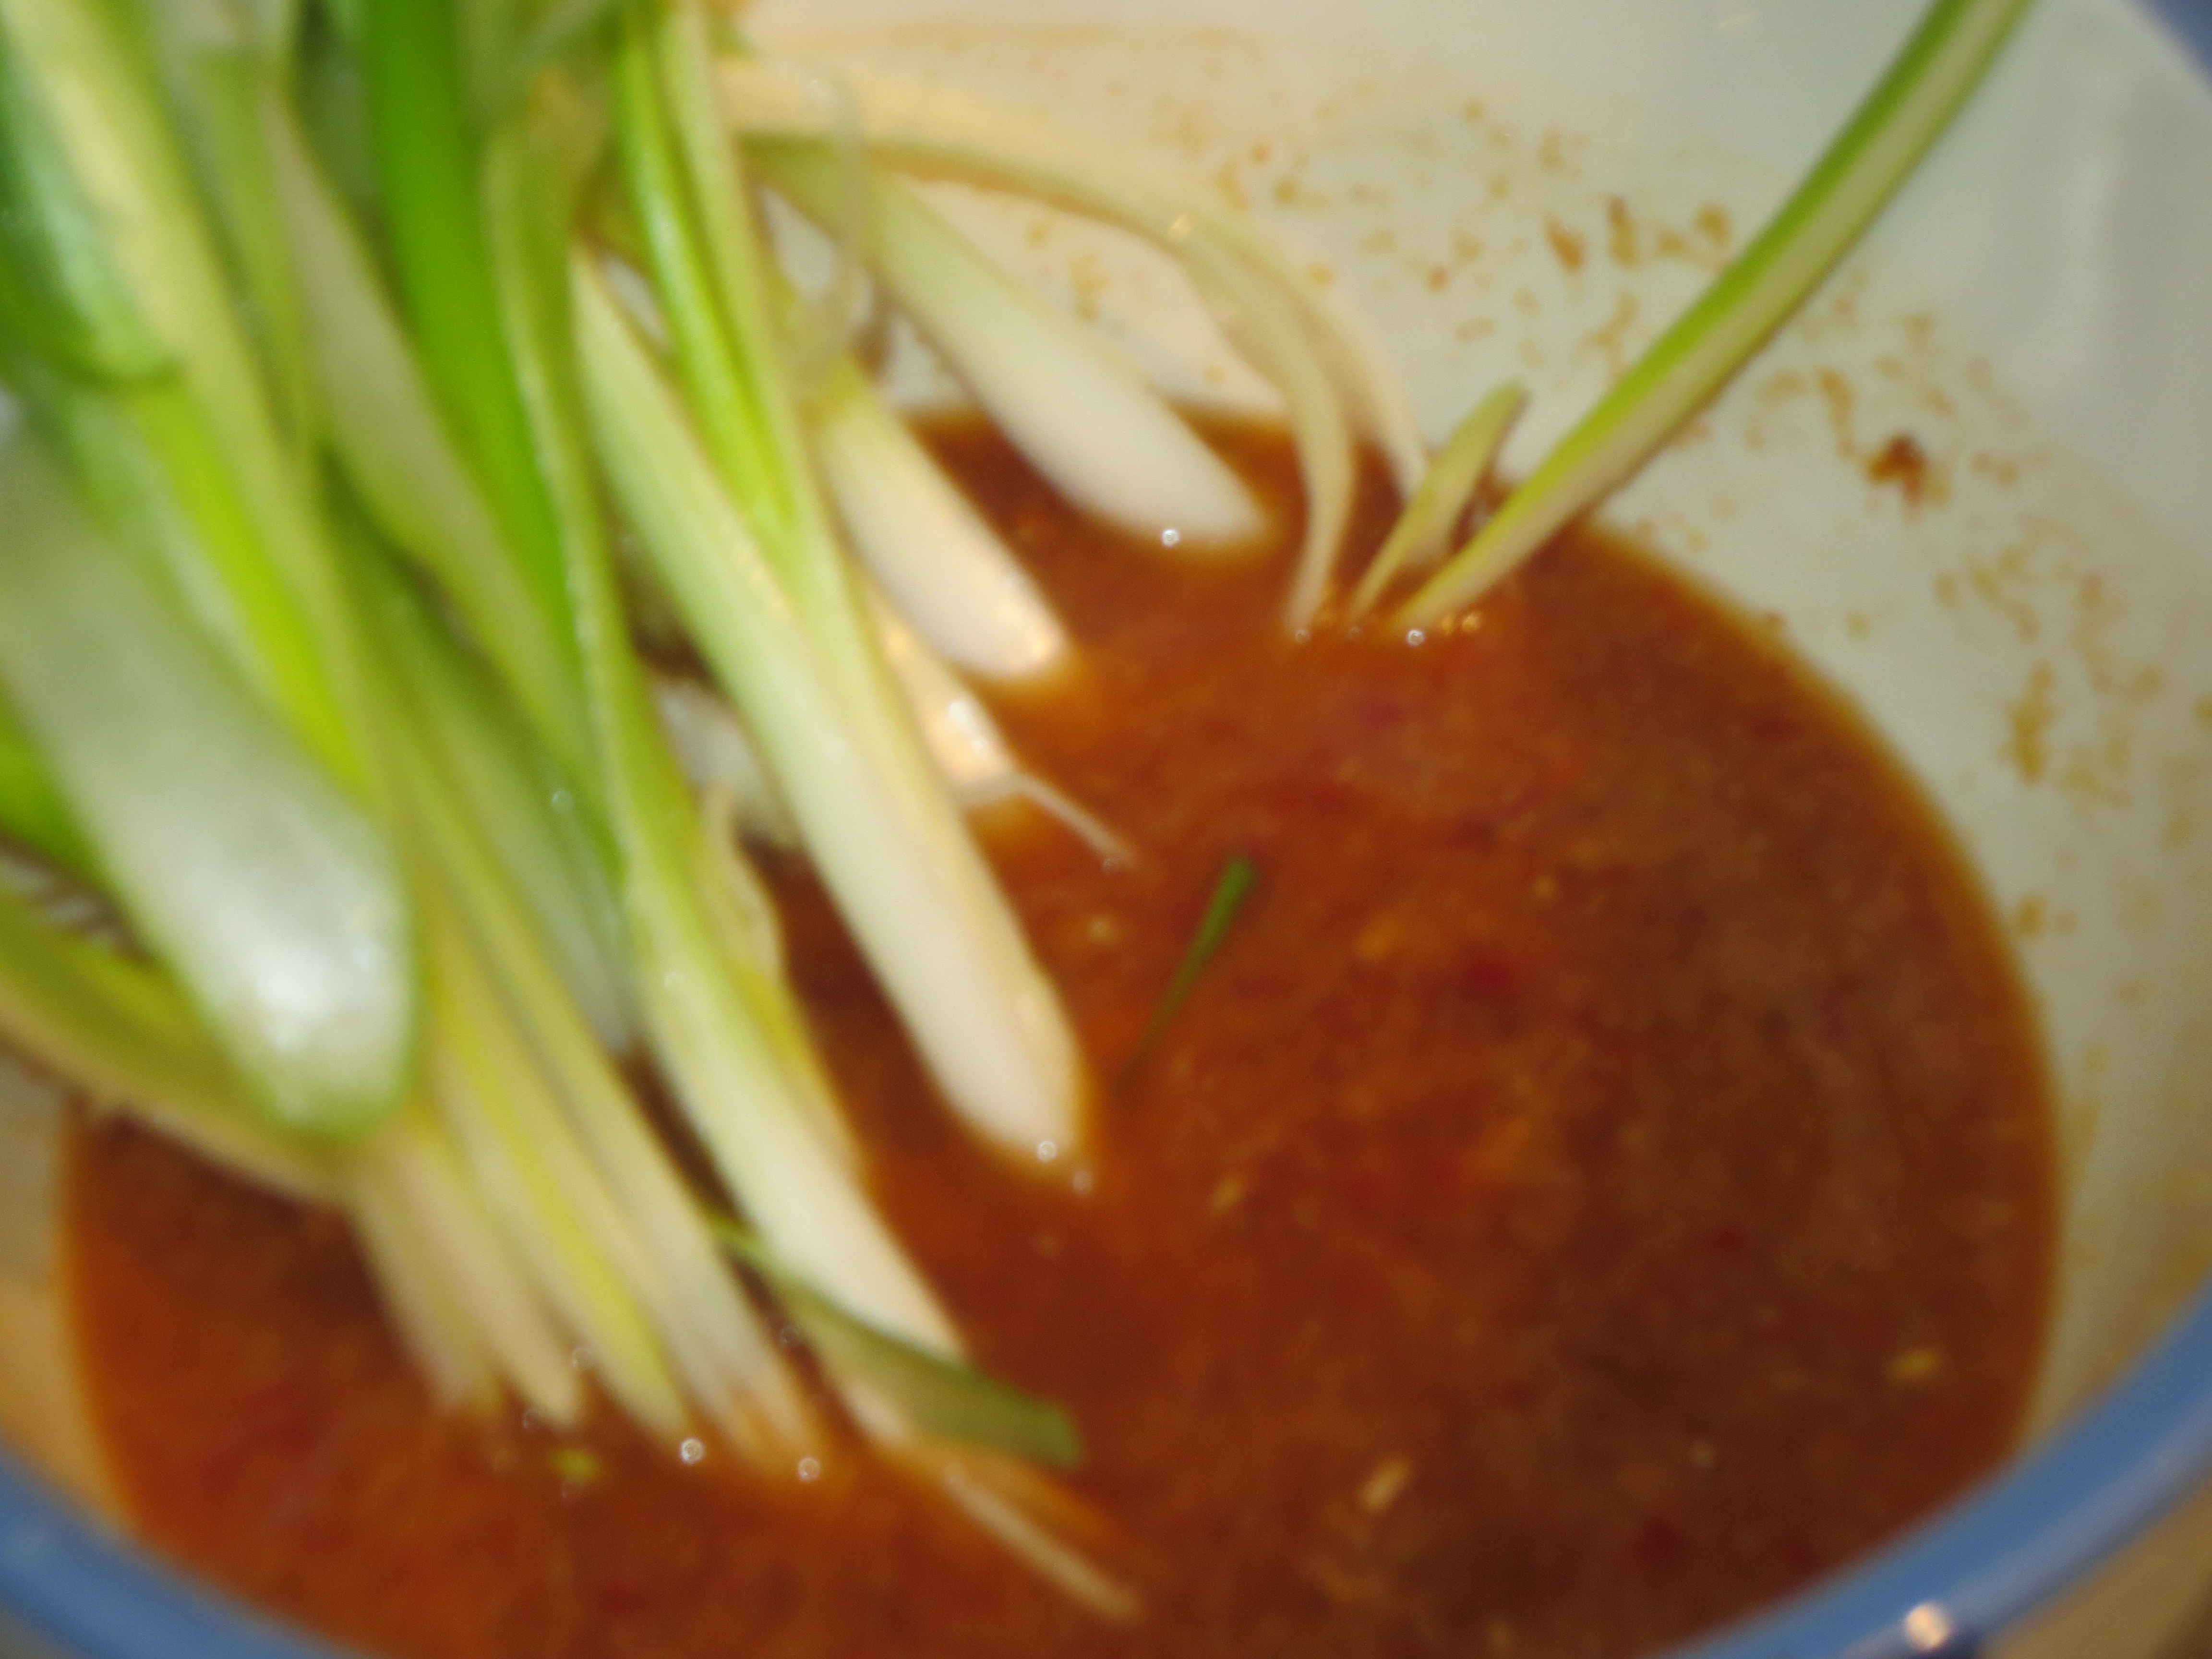
Prepare the marinade by mixing the Soy Sauce, Water, Sesame Oil and grated Ginger in a small bowl or directly in the dish you plan to roast in (I use an 8 inch square Pyrex dish).  Place the salmon and marinade in your baking dish.  Sprinkle with sesame seeds and the white and light green pieces of scallion (reserving the dark green pieces for a garnish). 

At this point, you can either leave the Salmon to marinade for a little while or longer if you wish to prepare it ahead of time (in which case don’t preheat your oven).  If you’re not going to cook the Salmon fairly soon, cover and place in the refrigerator. 

When the oven is ready, put the Salmon bathed in all the marinade in the oven and slow roast for 25-35 minutes, depending upon how large or thick your fillets are and how you like it cooked.  After 20-25 minutes, I check for doneness by cutting a large piece halfway through with a butter knife.  With the marinade and low temperature, unlike a lot of other fish preparations, this is really difficult to overcook.  The marinade also cooks down to create a nice sauce. IMG_3763 Slow Roasted Salmon with Soy Ginger Marinade

Once cooked to your liking, remove the salmon from the oven and sprinkle the remaining dark green slices of scallion on top and serve.  This is actually quite tasty straight out of the oven or at room temperature.  Enjoy!


Recipe Notes:  If you’ve made enough for a crowd and end up with leftovers, you can keep them refrigerated for a day or two.  I prefer not to reheat any leftovers as I feel like it changes the taste and texture of the salmon a bit, plus reheating in the microwave will stink A LOT.  I just eat leftovers cold, they are delicious over a salad or in a wrap with some sliced avocado.

Unfortunately, I can’t give you cooking times or temps for chicken.

I’ll make your life easy, if cooking for a crowd, here’s the recipe quantities my parent’s use:  Good for about 4-6 pounds combined of Salmon and Chicken breast.  Extra marinade will keep well in the fridge for at least a week.

Soy Ginger Marinade for a Crowd:

1 cup low sodium Soy Sauce

½ cup water

Grated 2 inch piece of peeled ginger

1 Tablespoon Toasted Sesame Oil

2 Tablespoons Sesame Seeds

4-6 chopped Scallions

Crispy Quinoa Fritters

IMG_3704

It’s Meatless Monday! Truth be told it’s Meatless Monday every day of the week around here, but whether you embrace a Vegetarian lifestyle all of the time or you just try to eat a little less meat here and there, this recipe is perfect.  Quinoa is the only plant based complete protein and with the addition of eggs and cheese, this makes a delicious protein packed Vegetarian main dish, which also wouldn’t be bad as a side dish when you’re not embracing the meat free world.  Bonus, they’re even gluten free. If you have leftover quinoa or cook it the day or two before, these fritters come together quickly, with a cheesy, crispy exterior, complete the meal with a salad and/or roasted veggies, yum.IMG_3689


Crispy Quinoa Fritters

Author: Sweet Green Kitchen’s Jen Jones

Adapted from one of my favorite recipe books, Heidi Swanson’s “Super Natural Every Day”, Little Quinoa Patties.

Ingredients:

3 cups cooked Quinoa (from 1 cup uncooked)

4 extra large Eggs (I use Organic)

Chopped Red Onion – 1 small or ½ of one large OR about 4 Shallots

3 cloves Garlic – minced

¼ cup chopped Parsley

½ teaspoon Sea Salt, or more to taste

¼ teaspoon Red Pepper Flakes, or more to taste

½ cup Chick Pea (Garbanzo) Flour OR ½ cup dried Bread Crumbs

½ cup grated Asiago Cheese (Gruyere would also be good)

1 cup (divided) grated Pecorino Romano OR Parmesan

About 1 – 2 Tablespoons Butter or Olive Oil or a combo

Optional:

Zest of one Lemon

Juice of ½ Lemon

Chopped Sun Dried Tomatoes

Fresh Herbs – about 1 teaspoon Thyme or Oregano


Directions:

In a medium bowl combine the Quinoa, Eggs, Onion, Garlic, Parsley, Salt & Red Pepper, Chick Pea Flour or Bread Crumbs, Asiago Cheese, ½ cup of the Romano cheese and any of the optional ingredients you like.  Chill in the refrigerator for 15 minutes or longer (sometimes I mix it up in the morning and then it’s ready to go when I get home at night).IMG_3686 Quinoa Fritter mix

After 15 minutes, heat the butter and/or olive oil (I like a combo of both) in a large non stick skillet.  Scoop out about ¼ cup of the quinoa mixture (I use a spring loaded ice cream scoop, pressing it against the inside of the bowl to help it hold together a little more) and drop it into the heated skillet.  About 6 – 7 fritters should fit in the pan.  Cover and cook over medium heat for 7 – 10 minutes until the bottoms are browned.  Adjust the flame if not browning quickly enough.

IMG_2465 Quinoa Fritters in the panIMG_2466 Qunioa Fritters flipped

Sprinkle some of the remaining ½ cup of Romano cheese on top of each fritter and then flip over in the pan and flatten out a bit with the spatula.  Cover the pan and cook for another 7 minutes or so until browned on the other side.

Remove from the skillet and place on a serving platter and then continue to cook the rest.  Adding a little more butter or olive oil to the pan as needed

Makes about 12-15 fritters, serve 2-3 per person. 

Leftovers keep great in the fridge for a few days, they’re good cold or heated up.  Enjoy them over a salad or in a wrap, if you like with a little hummus and hot sauce as Colin does.     

Note: we’ve tried these with all types of different sauces and finally came to the conclusion they’re perfect all on their own.


Click here for printable version

Simple Asian Tofu

IMG_3086

Simple Asian Tofu

Author: Sweet Green Kitchen’s Jen Jones

Vegan

4-6 Servings

Ingredients:

2 – 12 ounce packages Extra Firm Tofu (or Sprouted Super Firm Tofu)

4 Tbsp Low Sodium Soy Sauce

1 Tbsp Sesame Oil

1 Tbsp Honey or Agave Syrup

1 heaping tsp Chili Garlic Sauce (found in the Asian aisle, I use the one with the Rooster)

2 Tbsp Orange Juice

1-2 Tbsp Water

2-4 Scallions – thinly sliced lengthwise, cut into 2-3 inch pieces

Canola Oil or Cooking Spray


Directions:

Prepare Tofu: Remove from package and drain out liquid.  Place in a rimmed plate or pie dish (to catch any liquid that releases) wrapped in a few paper towels and top with a heavy object (book, cast iron skillet, etc).  Allow to press and drain out excess liquid for about 20 minutes.  Note: do not skip this process, it will affect the texture of your finished dish and the tofu will not fully absorb the marinade.IMG_2487

Meanwhile, Prepare the Marinade: Combine remaining ingredients, up to the Canola Oil/Cooking Spray in a small bowl or directly in whatever container you will marinate the Tofu in.


After 20 minutes or so, unwrap the Tofu and slice each block into about 8 equal pieces (my last slice almost always ends up a bit slimmer).  Leave the Tofu in slabs OR if you prefer, cut each slab in half lengthwise into “fingers”.

In a small casserole dish or lidded container, pour a little bit of the marinade on the bottom of the dish and then layer the sliced Tofu, pouring a bit more marinade between layers and top with all remaining marinade.  Add the sliced scallions. Slosh around a bit so all the Tofu is covered in the marinade.  Cover the dish and refrigerate. 

IMG_2489IMG_2496

Allow the Tofu to marinate in the refrigerator for at least 30 minutes, all day, over night or up to 2 days.  You can prepare it in the morning and it’s ready to go when you get home from work.


To cook: If pan searing, heat a non stick 12 inch skillet over medium heat coated with a bit of Canola (or other light) Oil.  If baking, pre-heat oven to 375 and spray a rimmed sheet pan with Cooking Spray. 

Remove Tofu from refrigerator, leaving the marinade behind, place pieces in your prepared pans.  A 12 inch skillet can hold about 8 slabs or 12-16 fingers of Tofu at a time.  Cook in batches, removing finished Tofu to a serving platter.  Save the marinade. 

Pan Searing: Over medium-high heat, cook the Tofu about 7-8 minutes on the first side, then carefully flip and cook another 3 ½ – 4 minutes until both sides are golden.  If necessary, add a little more oil to the pan.

IMG_3089_Simple Asian Tofu

When all the Tofu has been pan seared and placed on a serving platter, pour the saved marinade into the hot skillet, lowering the heat to avoid splattering.  If you wish, add a little more orange juice into the pan to help deglaze and make it a little more saucy (note there will not be a lot of sauce).  Cook for a few minutes, allowing the marinade to reduce and slightly carmelize.  You can then add some of the Tofu back to the pan and flip around the sauce or simply pour the sauce over the finished Tofu. The scallions can be cooked slightly with the marinade or left raw. 

Oven Baking: Place all the Tofu in a single layer with a little space between each piece on the baking pan.  Cook Tofu at 375 F for about 20 minutes, then flip and cook an additional 10-15 minutes, until both sides are lightly browned.  

IMG_3094_Baked Simple Asian Tofu

Oven Baked Simple Asian Tofu

Notes about cooking methods:  Pan frying the tofu will allow the exterior to brown and carmelize a bit more, while leaving the center a bit softer.  When I have the time to let the tofu rest a bit after cooking or plan ahead to serve it cold or at room temperature, I much prefer it cooked this way.  However, if I am going to eat the tofu warm, I prefer the oven baked method, which will result in tofu that is a little drier (but not in a bad way) and firmer.  Also, pan frying requires a bit more of your time and presence as you need to keep an eye on things, whereas if you oven bake, you can just pop it in and forget about it for a little while.  Either way, it’s delicious and a frequent meal in our home.  Enjoy